
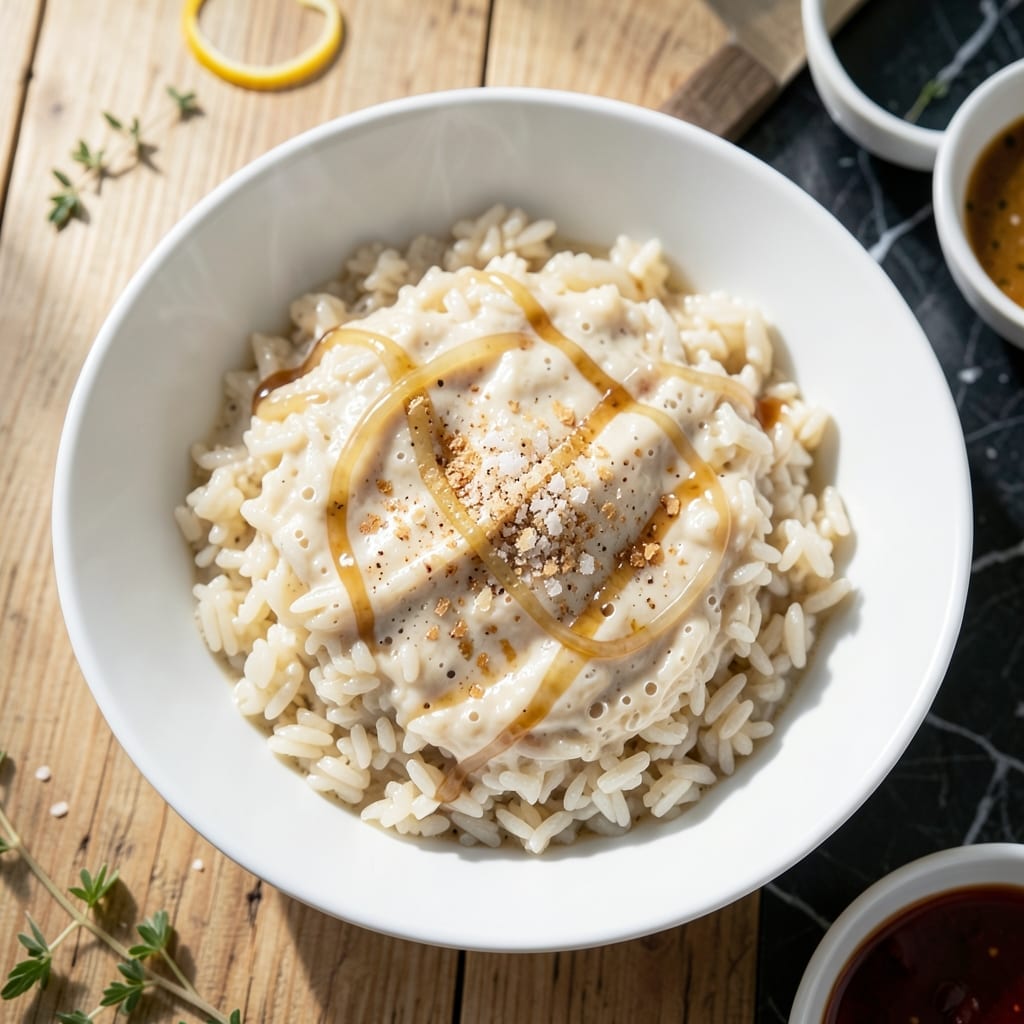
This traditional Asian base transforms simple glutinous rice into a tangy, slightly effervescent foundation for countless desserts. The fermentation process develops complex flavors that can’t be replicated through shortcuts.
With just rice, water, and time, you’ll create a versatile ingredient that elevates sweet soups, cakes, and puddings. The technique requires patience but rewards with authentic taste and texture.
Ingredients for Fermented Sweet Rice
Transform glutinous rice into a tangy fermented base with these essential ingredients for authentic Asian desserts.
| Ingredient | Amount | Notes |
|---|---|---|
| Glutinous Rice 🍚 | 2 cups | Sweet rice, rinsed thoroughly |
| Filtered Water 💧 | 4 cups | Room temperature, chlorine-free |
| Sugar 🍚 | 2 tbsp | Granulated, for fermentation kickstart |
| Rice Vinegar 🍶 | 1 tbsp | Optional, accelerates fermentation |
| Salt 🧂 | ½ tsp | Fine sea salt preferred |
| Yeast 🍞 | ¼ tsp | Active dry, for reliable fermentation |
| Pandan Leaves 🌿 | 2 whole | Optional, for aromatic flavor |
| Banana Leaf 🍃 | 1 piece | Optional, for traditional wrapping |
The glutinous rice is non-negotiable—look for short-grain sweet rice at Asian markets or the international aisle. Brands like Kokuho Rose or Sushi Rice work well. Chlorine in tap water can inhibit fermentation, so filtered or bottled water is ideal. If using yeast, ensure it’s fresh (check expiration date) for reliable results.
No glutinous rice? Short-grain white rice can work but texture will differ. Skip the yeast? Use a piece of pineapple or extra sugar to kickstart fermentation naturally. Pandan leaves add floral notes but aren’t essential. For a stronger tang, increase vinegar to 2 tbsp—just balance with a touch more sugar.
Store fermented rice in an airtight container in the fridge for up to 1 week. For longer storage, freeze portions for 3 months. The flavor deepens over time, so making it a day ahead is ideal (worth the wait).
Why You’ll Love This Recipe
- Hands-Off Ferment: I mix the rice, water, and a pinch of sugar, then let time do the work—no babysitting required.
- Sweet-Tangy Magic: The rice vinegar gives it that bright, slightly sour kick that balances the sugar so well.
- Breakfast to Dessert: I serve it warm with fruit for breakfast or chilled as a light dessert after dinner.
- Stretches for Days: A big batch lasts all week in the fridge, and honestly, it just gets better with age.
Step-by-Step Instructions for Fermented Sweet Rice
This method ensures consistent fermentation and the perfect tangy base for your Asian desserts.
Step 1: Rinse and Soak the Glutinous Rice
Place the 2 cups Glutinous Rice in a fine-mesh strainer and rinse under cold running water until the water runs completely clear. This removes excess starch that could interfere with fermentation. I find that 6-7 rinses are typically required to achieve this clarity.
Transfer the rinsed glutinous rice to a large bowl and cover with the 4 cups Filtered Water. The water should completely submerge the grains by at least 1 inch. Add the 2 whole Pandan Leaves if using—they’ll infuse subtle floral notes during soaking. Let this rest at room temperature for 4-6 hours or overnight.
Step 2: Prepare the Fermentation Starter
In a small bowl, combine the 2 tbsp Sugar, 0.25 tsp Yeast, and 1 tbsp Rice Vinegar. The sugar provides immediate food for the yeast, while the vinegar creates an ideal acidic environment. Stir until the sugar dissolves completely—this should take 1-2 minutes of vigorous stirring.
Add the 0.5 tsp Salt to this mixture and stir again. The salt not only seasons the rice but also helps control the fermentation rate. You should see small bubbles forming within 5 minutes, indicating the yeast is activating. This starter will jumpstart the fermentation process when added to the rice.
Step 3: Combine and Begin Fermentation
Drain the soaked glutinous rice thoroughly, discarding the soaking water but reserving the pandan leaves if used. Transfer the rice to a clean, non-reactive container with a lid. I prefer using a glass or food-grade plastic container for this purpose.
Pour the prepared starter mixture over the drained rice. If using the pandan leaves, tuck them into the rice mixture. The liquid should just cover the rice—if it doesn’t, add a small amount of additional filtered water. Stir gently but thoroughly to ensure even distribution of the starter. The mixture should have a slightly viscous, porridge-like consistency.
Step 4: Ferment to Perfection
Cover the container loosely—this allows gases to escape while protecting from contaminants. Place the container in a warm, draft-free spot. I find the top of my refrigerator or inside a turned-off oven with the light on provides ideal conditions. The ambient temperature should be between 75-85°F for optimal fermentation.
Let the mixture ferment undisturbed for 24-48 hours. You’ll know it’s ready when the surface develops a frothy layer and you detect a tangy, slightly sour aroma. The grains should appear slightly swollen and the liquid should have a milky, slightly effervescent quality. Stir once daily if fermenting for the full 48 hours to prevent mold growth on the surface.
Step 5: Finish and Store
Once fermentation is complete, give the mixture a final stir. The texture should be creamy with individual grains still visible. At this point, you can use the fermented sweet rice immediately or store it for later use.
For storage, transfer to airtight containers. If using the 1 piece Banana Leaf for traditional presentation, line your storage container with it before adding the rice. The fermented rice will keep in the refrigerator for up to 5 days. The flavor will continue to develop and become more tangy over time. Before using, you may need to adjust the consistency with a small amount of water, as the rice will thicken slightly during storage.
Pro Tips For Making Fermented Sweet Rice
- Soak the Rice: Give the glutinous rice a long soak—at least 4 hours or overnight. I learned this the hard way when my first batch turned out dry and unevenly fermented.
- Use Filtered Water: Skip tap water; the chlorine can interfere with fermentation. I was skeptical until I tried it, but filtered water makes a real difference in the final tangy flavor.
- Skip Cold Rice: Make sure the cooked rice is fully cooled to room temperature before adding sugar and vinegar—adding them to hot rice can kill the fermentation process.
- Stir Daily: Give the mixture a good stir every 24 hours to prevent mold from forming on the surface. It’s a small step, but it saves batches.
Pro Cooking Tips for Perfect Results
Temperature Control
Maintain consistent warmth between 75-85°F for optimal fermentation. I use the top of my refrigerator or a turned-off oven with the light on. A seedling heat mat under the container works perfectly for precise control.
Starter Activation
Always verify your yeast is active before mixing with rice. Test by combining 0.25 tsp Yeast with 1 tsp Sugar in ¼ cup warm water. Bubbles should appear within 5-10 minutes. If not, your yeast is dead. 💡
Container Selection
Use non-reactive containers like glass or food-grade plastic. Avoid metal, which can react with acidic fermentation. I prefer wide-mouth mason jars for easy stirring and monitoring. Leave at least 2 inches of headspace to accommodate expansion.
Daily Monitoring
Check your mixture daily for signs of progress. A frothy surface and tangy aroma indicate healthy fermentation. If you see mold, discard and restart—this usually means contaminants entered during preparation.
Fermentation Timeline
At 75°F, expect 48 hours for full fermentation. Warmer temps (85°F) may reduce this to 24 hours. Colder environments will slow the process significantly. I recommend using a thermometer to track ambient temperature accurately.
Final Texture Check
The rice should be creamy with visible grains when ready. If too thick, stir in ¼ cup filtered water. If too thin, let it ferment 6-12 more hours. The tanginess will increase with time, so taste frequently after 24 hours. 🌟
Nutrition Facts
Frequently Asked Questions
Why does the rice need to be rinsed so thoroughly?
Rinsing removes excess starch that could turn the mix gluey and inhibit fermentation. Stop when the water runs completely clear—this typically takes 6-7 rinses.
Can I skip the yeast and use natural fermentation?
Yes! Use pineapple juice or extra sugar to kickstart wild fermentation. Expect a longer process (48-72 hours) and slightly less predictable results.
How do I know if fermentation failed?
If there’s no frothy layer, sour aroma, or bubbling after 48 hours, it likely didn’t work. Check your yeast freshness and temperature next time.
What’s the best way to use fermented rice?
Blend into sweet soups, layer in cakes, or mix with coconut milk for pudding. The tangy flavor pairs perfectly with mango or palm sugar.

- Fried Rice Mix Recipe: Customizable Pantry Staple for Quick Meals - October 6, 2026
- Fruit Loop Rice Crispy Treats Recipe: Colorful Crunch With Marshmallow Magic - October 6, 2026
- Erewhon Rice Balls Recipe: Copycat Crispy and Creamy Bites - October 6, 2026