
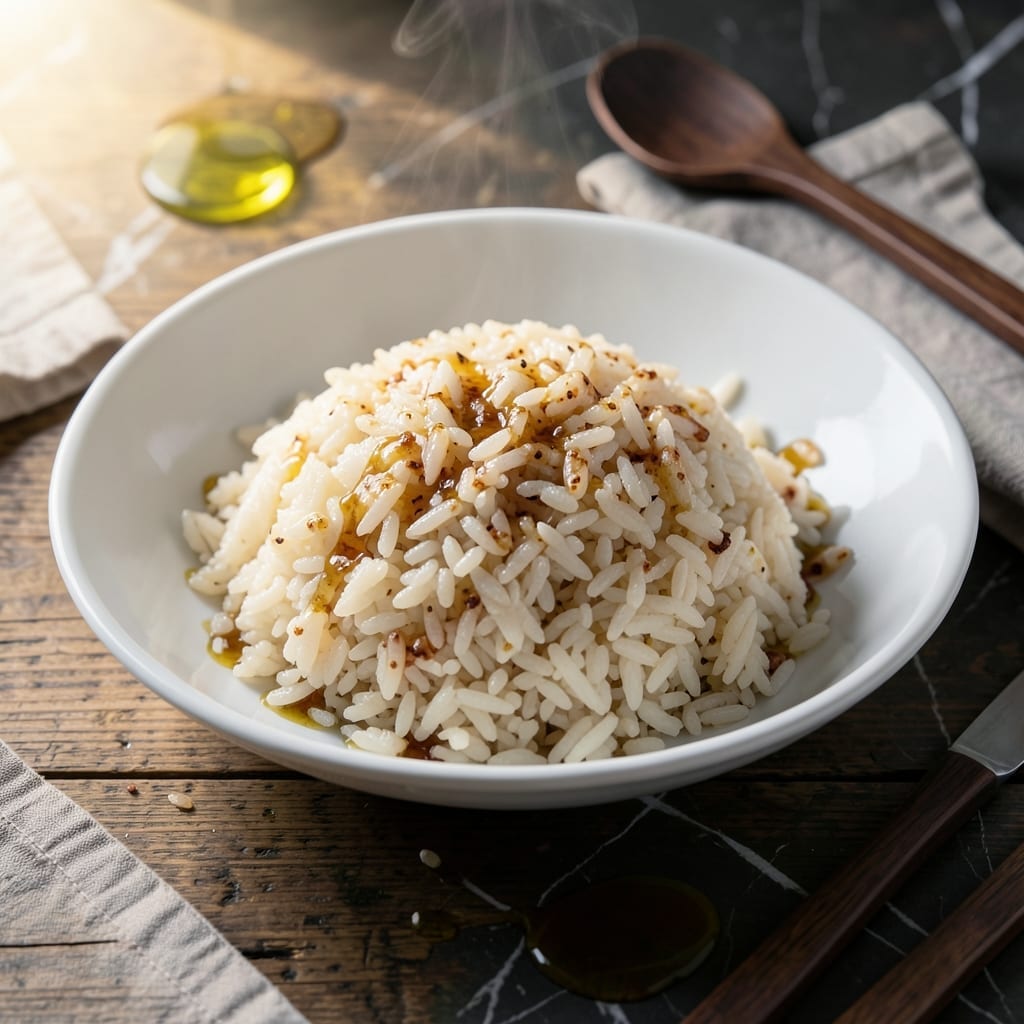
Achieving perfectly fluffy Japanese rice at home is simpler than you might think. This method delivers consistent results with minimal effort, using just rice and water. The key lies in the right ratio and precise cooking technique.
I’ve refined this approach over years of testing, ensuring each grain stays separate and tender. The process involves soaking the rice before cooking, which helps it absorb moisture evenly. A heavy pot with a tight lid prevents steam from escaping.
What you’ll get is rice that’s light, slightly sticky, and ideal for pairing with any dish. The texture is just right—not mushy, not dry. It’s the foundation of countless Japanese meals, from simple bowls to elaborate feasts.
Follow these steps, and you’ll have restaurant-quality rice every time. No special equipment required.
Ingredients for Fuji Rice
Five simple ingredients for that classic, fluffy Japanese rice texture everyone loves.
| Ingredient | Amount | Notes |
|---|---|---|
| Japanese Short-Grain Rice 🍚 | 2 cups | Rinsed until water runs clear |
| Water 💧 | 2 ½ cups | Filtered or spring water |
| Rice Vinegar 🍯 | 1 tbsp | Optional for flavor enhancement |
| Salt 🧂 | ½ tsp | Kosher or sea salt |
| Sugar 🍬 | 1 tsp | Optional for balance |
The rice is everything here. Koshihikari or Nishiki are the gold standard brands you’ll find at Asian markets or the international aisle. Look for bags labeled “short-grain” or “sushi rice”—they’re the same thing (just don’t grab jasmine or basmati by mistake). I always buy in 5-10 lb bags since it’s a staple in our house (and it keeps for months).
No rice vinegar? A splash of apple cider or white vinegar works in a pinch. The salt and sugar are optional but highly recommended—they bring out the rice’s natural sweetness. If you’re using a rice cooker, the ratio stays the same: 1 part rice to 1.25 parts water. For extra fluffiness, let it steam off-heat for 10 minutes after cooking.
Uncooked rice keeps in a sealed container for 1-2 years. Cooked rice stays fresh in the fridge for 3-4 days or freezes for 1 month. Pro tip: spread it on a tray before freezing to prevent clumping (worth the extra minute).
Why You’ll Love This Recipe
- One Pot Wonder: So simple—just rice, water, and a quick mix of vinegar, sugar, and salt. I’ve made it while simultaneously folding laundry.
- Sweet-Tangy Balance: The rice vinegar gives it that bright zing, while the sugar rounds it out perfectly. Honestly, it’s the kind of flavor that makes me sneak a bite straight from the pot.
- Pairs With Everything: I’ve served this with teriyaki chicken, grilled salmon, even just a fried egg on top. Between us, it’s my meal prep MVP.
- Keeps Like a Dream: Leftovers stay soft and tasty for days in the fridge. I’ll be real: I’ve eaten it cold right out of the container more than once.
Step-by-Step Instructions for Light and Fluffy Japanese Rice
Here’s my foolproof method for achieving perfectly tender grains every single time.
Step 1: Rinse the Rice Until Water Runs Clear
Place the 2 cups Japanese Short-Grain Rice in a fine-mesh strainer and rinse under cold running water. I use my hand to agitate the grains gently, watching as the water turns cloudy with excess starch. This step is crucial—it removes the surface starch that would otherwise make your rice gummy.
Continue rinsing until the water runs completely clear, which usually takes 4-5 rinses. Don’t skip this process. I’ve found that properly rinsed rice absorbs water more evenly and results in fluffier, more distinct grains. Shake the strainer gently to remove excess water after the final rinse.
Step 2: Soak and Cook the Rice
Transfer the rinsed rice to your rice cooker or heavy pot and add the 2.5 cups Water. I always use filtered or spring water for the best flavor. Let the rice soak in the water for 20-30 minutes before cooking—this ensures even hydration and prevents uneven cooking.
If using a rice cooker, simply press start and let it do its work. For stovetop cooking, bring the water to a boil over medium-high heat, then reduce to low, cover, and simmer for 15 minutes. Don’t lift the lid during cooking—steam is your friend here and peeking releases it prematurely.
Step 3: Season and Fluff the Rice
Once the rice is cooked (all water should be absorbed and the grains tender), let it sit covered for 10 minutes. This resting period allows the grains to firm up and absorb any remaining moisture. Then, transfer the rice to a large bowl.
In a small bowl, whisk together the 1 tbsp Rice Vinegar, 0.5 tsp Salt, and 1 tsp Sugar until dissolved. Drizzle this mixture over the warm rice. Using a rice paddle or wooden spoon, gently fold the seasoning into the rice with a cutting motion—this separates the grains without crushing them.
Step 4: Finish and Serve Immediately
Continue folding until the rice is evenly coated with the seasoning mixture and has cooled slightly. You’ll notice the grains become glossy and distinct, which is exactly what you want. The rice should hold its shape when pressed lightly with the paddle.
Taste and adjust seasoning if needed, though I find the measurements provided hit the perfect balance. Serve the rice immediately while still warm—it’s at its best fresh from the pot. The texture should be tender yet slightly firm, with a subtle sheen from the vinegar mixture and no hint of mushiness.
Pro Tips For Making Fuji Rice
- Rinse Thoroughly: Wash the Japanese short-grain rice in 3-4 changes of cold water until it runs nearly clear—I learned this the hard way after ending up with gummy rice that tasted like raw starch.
- Use Less Water: For every cup of rice, stick to 1 cup of water, not the usual 1.25—short-grain soaks up less than you’d expect, and extra liquid just makes it mushy.
- Soak 30 Minutes: Sounds like a hassle, but soaking the rice before cooking guarantees even cooking and that perfect sticky texture Fuji rice is known for.
- Mix Seasonings Well: Dissolve the sugar and salt completely in the rice vinegar before folding it into the cooked rice—this prevents grainy pockets of undissolved sugar in the final dish.
Wine and Beer Pairings for This fuji rice
Japanese Beers
Crisp, clean beers like Sapporo or Asahi Super Dry complement this dish beautifully. Their light body and mild bitterness cut through the rice’s subtle sweetness. I always keep a 6-pack chilled for quick weeknight dinners. 🍺
Sake Pairings
Junmai sake works wonders with its mild acidity and umami notes. Try Dassai 39 for a premium experience or Gekkeikan Horin for a budget-friendly option. Serve chilled in ochoko cups for authenticity.
White Wines
Dry whites with good acidity pair well. I recommend Pinot Grigio from Alto Adige or a Sauvignon Blanc from New Zealand. Their citrus notes balance the rice’s delicate flavor without overpowering it.
Green Tea
For a non-alcoholic option, sencha or genmaicha tea offers a refreshing contrast. Brew at 175°F for 2-3 minutes to avoid bitterness. The grassy notes complement the rice perfectly. 💚
Rosé Wines
A dry Provence rosé with its crisp acidity and red fruit notes can be surprising. Look for pale pink options from Côtes de Provence. Serve well-chilled at 45-50°F.
Nutrition Facts
Frequently Asked Questions
Can I use a different type of rice?
Short-grain is essential for that sticky texture. Koshihikari or Nishiki work best. Avoid jasmine or basmati—they won’t give you the same result.
Why do I need to soak the rice first?
Soaking for 20-30 minutes ensures even hydration. This prevents uneven cooking and helps each grain absorb moisture uniformly. Skipping this can lead to hard centers.
How do I keep it from getting mushy?
Rinse until water runs clear to remove excess starch. Use the right water ratio (1:1.25) and avoid lifting the lid during cooking. Let it rest 10 minutes after.
Can I make this in advance?
Yes! Cooked rice keeps in the fridge for 3-4 days. For longer storage, freeze for up to 1 month. Spread on a tray first to prevent clumping.

- Five Spice Rice Recipe: Aromatic Grains With Warm Spice Balance - October 10, 2026
- Flavoured Basmati Rice Recipe: Aromatic Grains with Spiced Depth - October 10, 2026
- Fish Porridge Rice Cooker Recipe: Hands-Free Congee With Silky Depth - October 10, 2026