
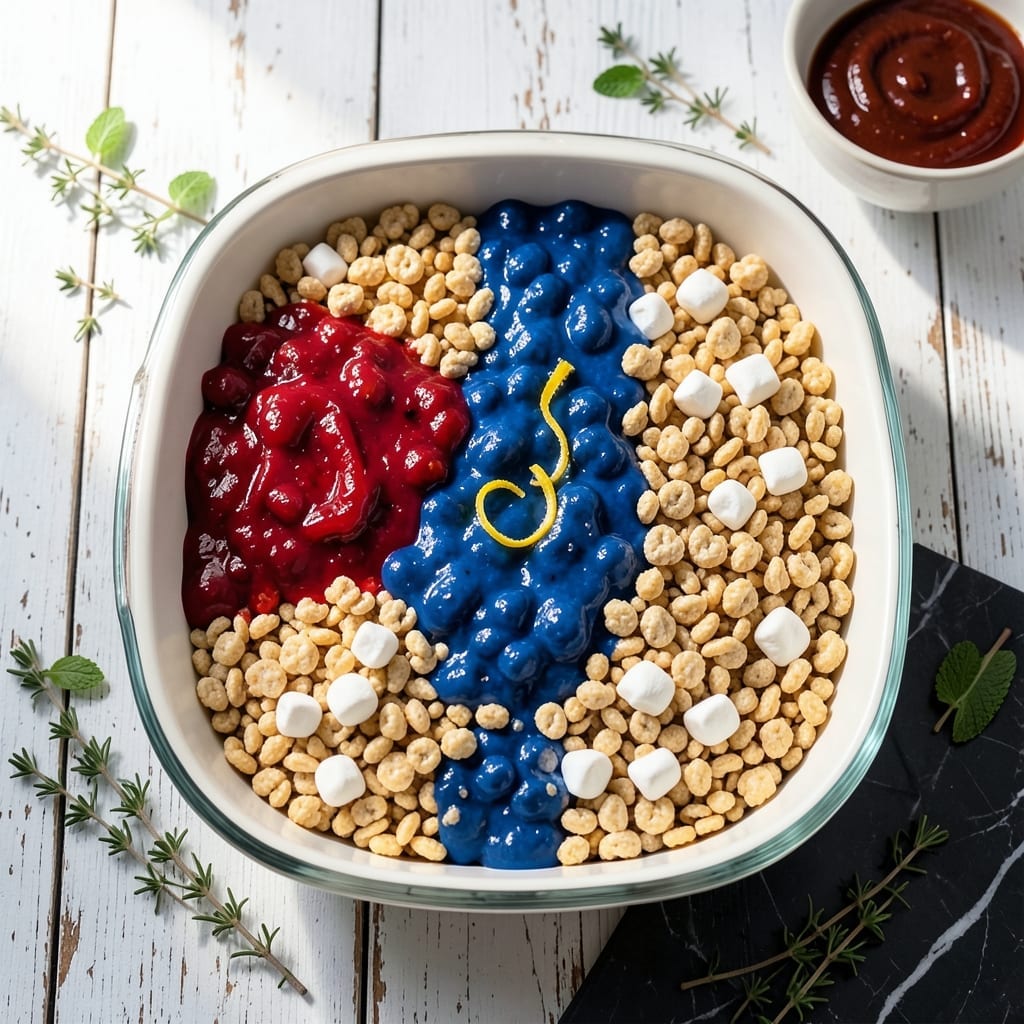
This layered dessert transforms a classic favorite into a patriotic showstopper just in time for summer celebrations. The vibrant red, white, and blue layers create a stunning visual effect while maintaining the chewy, melt-in-your-mouth texture we all love.
With simple ingredients and a no-bake method, this treat comes together quickly for picnics, BBQs, or last-minute gatherings. Each colorful layer builds on the next, delivering sweet marshmallow flavor in every bite.
Ingredients for Fourth of July Rice Krispie Treat
Transform classic ingredients into festive red, white, and blue layers for summer celebrations.
| Ingredient | Amount | Notes |
|---|---|---|
| Rice Krispies Cereal 🥣 | 10 cups | Divided into three portions for layers |
| Mini Marshmallows 🍬 | 16 oz | Divided equally for each layer |
| Unsalted Butter 🧈 | ¾ cup | Divided for melting with marshmallows |
| Red Food Coloring Gel 🎨 | 1 tsp | For vibrant red layer color |
| Blue Food Coloring Gel 🎨 | 1 tsp | For vibrant blue layer color |
| Vanilla Extract 🌿 | 2 tsp | Divided between all layers |
| White Chocolate Chips 🍫 | 1 ½ cups | For white layer, melted with butter |
| Salt 🧂 | ½ tsp | Enhances all flavors |
| Vegetable Shortening 🧈 | 2 tbsp | For greasing pan and hands |
| Red Sprinkles 🎉 | ¼ cup | Optional for red layer decoration |
| Blue Sprinkles 🎉 | ¼ cup | Optional for blue layer decoration |
| White Sprinkles ✨ | ¼ cup | Optional for white layer decoration |
The cereal is the foundation, so Kellogg’s Rice Krispies is the gold standard—off-brands can get soggy. For the marshmallows, Jet-Puffed or Kraft melt the smoothest. Butter quality matters here; Land O’Lakes or Challenge have the right fat content for that perfect chew. Food coloring gels from Wilton or AmeriColor give you those vibrant hues without watering down the mixture.
Out of mini marshmallows? Large ones cut into quarters work in a pinch. No white chocolate chips? White candy melts from the baking aisle do the trick. Food coloring not your thing? Natural red from beet juice (reduce it down) and blue from butterfly pea tea work but may mute the colors. The vanilla extract can be swapped with almond extract for a different flavor profile.
These keep at room temperature in an airtight container for up to 5 days. Layer them between parchment to prevent sticking. For longer storage, freeze for up to 2 months—thaw at room temp before serving. Cut into squares just before the party to keep edges sharp.
Why You’ll Love This Recipe
- One Bowl Wonder: I melt the butter and marshmallows in the same pot I use to mix everything—less cleanup than my usual baking mess.
- Nostalgic Crunch: That buttery Rice Krispies snap with gooey marshmallow? It’s the taste of childhood, but with festive red and blue swirls.
- Party Ready: I bring these to BBQs and they’re always the first to disappear—no plates or forks needed.
- Budget Friendly: A box of cereal, a bag of marshmallows, and a little food coloring feed a crowd for under ten bucks. Honestly, it’s my cheapest crowd-pleaser.
Step-by-Step Instructions for Festive Red White and Blue Rice Krispie Layers
Here’s my method for creating these patriotic layers with perfect texture and vibrant colors.
Step 1: Prepare the Pan and Divide Ingredients
Begin by thoroughly greasing a 9×13-inch baking dish with 2 tbsp vegetable shortening, covering the bottom and sides completely. This prevents sticking and makes for clean slices. Divide the 10 cups Rice Krispies Cereal into three equal portions—about 3⅓ cups each—and set aside.
Measure out the 16 oz Mini Marshmallows and divide them equally among three microwave-safe bowls. Do the same with the 0.75 cup unsalted butter, portioning ¼ cup into each bowl. This separation ensures each colored layer has consistent flavor and binding power.
Step 2: Create the Red and Blue Marshmallow Mixtures
In the first bowl, combine ¼ cup unsalted butter and one portion of Mini Marshmallows. Microwave on high for 1 minute, then stir until smooth. Add 1 tsp red food coloring gel and ⅔ tsp vanilla extract, mixing until the color is fully incorporated and vibrant.
Repeat the process in the second bowl with 1 tsp blue food coloring gel and another ⅔ tsp vanilla extract. Work quickly—the marshmallow mixture sets fast as it cools. If the colors aren’t bold enough, add a tiny bit more gel, but avoid overmixing, which can dull the hues.
Step 3: Assemble the Red and Blue Layers
Pour the red marshmallow mixture into the prepared pan and spread it evenly with a greased spatula. Immediately add one portion of Rice Krispies Cereal and press gently to create an even layer. Sprinkle ¼ cup red sprinkles over the top, pressing them lightly into the surface.
Repeat with the blue mixture and another 3⅓ cups Rice Krispies Cereal, topping with ¼ cup blue sprinkles. Let both layers cool for 10 minutes to firm up before adding the white layer. This cooling step prevents color bleeding between the layers.
Step 4: Make and Add the White Chocolate Layer
In a microwave-safe bowl, melt the 1.5 cups white chocolate chips with the remaining ¼ cup unsalted butter in 30-second intervals, stirring between each until smooth. Stir in the remaining ⅔ tsp vanilla extract and ½ tsp salt to balance the sweetness.
Pour this mixture over the blue layer and spread evenly. Add the final portion of Rice Krispies Cereal, pressing gently. Sprinkle ¼ cup white sprinkles on top. Press all layers down firmly with a greased spatula to ensure they hold together when sliced.
Step 5: Chill and Slice for Serving
Let the treats cool at room temperature for 30 minutes, then refrigerate for at least 1 hour to set completely. This chilling time is crucial for clean cuts. Use a sharp knife dipped in hot water to slice into 16 equal squares, wiping the blade between cuts for neat edges.
Serve at room temperature for the best texture. Each square will showcase the vibrant red, white, and blue layers, with the sprinkles adding a festive touch. Store leftovers in an airtight container at room temperature for up to 3 days.
Pro Tips For Making Fourth Of July Rice Krispie Treat
- Melt Butter Low: Use low heat when melting the butter and marshmallows—I learned this the hard way after scorching a batch and ending up with bitter, browned treats.
- Divide Before Coloring: Split the melted marshmallow mixture into two bowls before adding red and blue gel, so you can adjust the intensity of each color separately.
- Press While Warm: Press the cereal into the pan while the marshmallow is still warm and sticky; waiting even 5 minutes makes it harder to shape without crushing the Rice Krispies.
- Use Fresh Cereal: Sounds obvious, but stale Rice Krispies won’t give you that signature snap—check the box date or open a new one for the best texture.
Health Benefits of These Flavors
Quick Energy Boost
These festive treats provide a fast energy source from the Mini Marshmallows and Rice Krispies Cereal, making them perfect for active summer celebrations. The simple carbs give you that immediate pick-me-up when you need it most. 💪
Low-Fat Indulgence
Unlike many desserts, this recipe keeps fat in check with just 0.75 cup unsalted butter spread across 16 servings. The white chocolate chips add richness without going overboard on calories.
Portion Control Friendly
Each 2-inch square serves as a naturally portioned treat, helping you enjoy the sweetness without overdoing it. I find this makes it easier to savor just one—or maybe two—without guilt.
Gluten-Free Option
Swapping regular cereal for gluten-free Rice Krispies makes this treat accessible for those with sensitivities. The texture and taste remain nearly identical, so everyone can join the fun. ✨
Calcium and Protein
The white chocolate chips contribute a small amount of calcium, while the cereal provides a bit of iron and B vitamins. It’s not a health food, but every little bit counts.
No Artificial Preservatives
When using quality brands like Jet-Puffed marshmallows and Kellogg’s cereal, you avoid unnecessary additives. The vibrant colors come from gels, which are more concentrated than liquid food coloring.
Nutrition Facts
Frequently Asked Questions
Can I make these ahead of time?
Yes! Prepare them up to 2 days in advance. Store in an airtight container at room temperature, with parchment between layers to prevent sticking.
How do I prevent the colors from bleeding?
Let each colored layer cool for 10 minutes before adding the next. Chill the finished treats for 1 hour to set completely. This keeps the layers distinct.
What can I use instead of food coloring gel?
Natural alternatives like beet juice for red or butterfly pea tea for blue work, but may produce muted colors. Use concentrated forms for best results.
How do I get clean slices?
Use a sharp knife dipped in hot water between cuts. Wipe the blade clean each time for crisp edges without smudging colors.

- Five Spice Rice Recipe: Aromatic Grains With Warm Spice Balance - October 10, 2026
- Flavoured Basmati Rice Recipe: Aromatic Grains with Spiced Depth - October 10, 2026
- Fish Porridge Rice Cooker Recipe: Hands-Free Congee With Silky Depth - October 10, 2026