
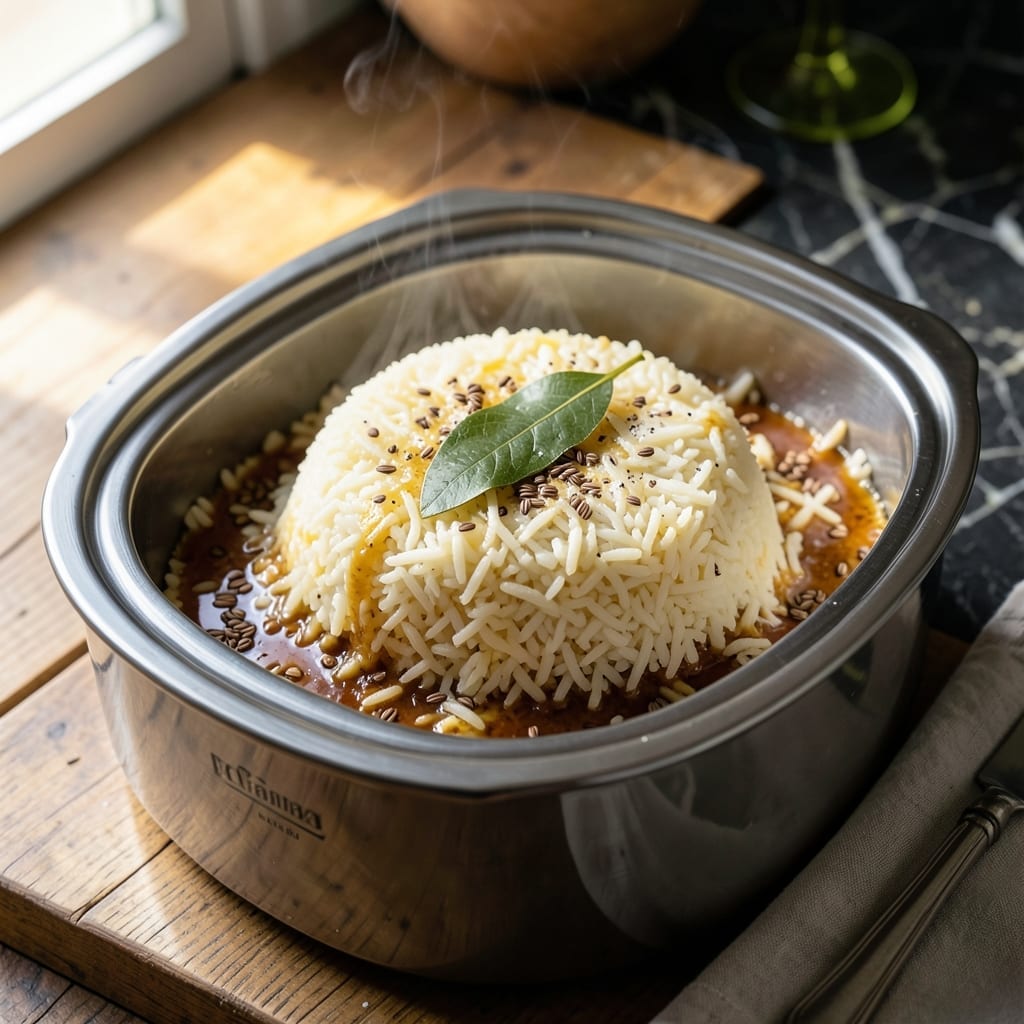
Achieving perfectly cooked ghee rice in a rice cooker is simpler than you might think. This method delivers fragrant, golden grains with minimal hands-on time, letting the appliance do most of the work.
The key is using the right ratio of basmati rice to water, then stirring in rich, nutty ghee at just the right moment. The result is a dish with distinct aroma and fluffy texture that pairs beautifully with any curry or dal.
Ingredients for Ghee Rice Recipe in Rice Cooker
Basmati rice, ghee, and a few warm spices create fragrant golden grains effortlessly.
| Ingredient | Amount | Notes |
|---|---|---|
| Basmati Rice 🌾 | 2 cups | Rinsed until water runs clear |
| Water 💧 | 3 cups | Filtered or tap water |
| Ghee 🧈 | 4 tbsp | Clarified butter, nutty aroma |
| Salt 🧂 | 1 tsp | Adjust to taste preference |
| Bay Leaf 🍃 | 1 whole | Optional for added fragrance |
| Cumin Seeds 🌿 | 1 tsp | Lightly toasted for depth |
| Cardamom Pods 🌿 | 2 whole | Lightly crushed to release aroma |
| Cloves 🌿 | 2 whole | Optional for warm spice note |
| Cinnamon Stick 🌿 | 1 whole | Small piece for subtle sweetness |
| Fresh Cilantro 🌿 | ¼ cup | Chopped for garnish |
The rice is the foundation here. Basmati is non-negotiable—its long grains stay separate and fluffy. Look for aged basmati at Indian grocery stores or the international aisle of major supermarkets. The ghee should be pure, with a deep golden color and nutty aroma—avoid any with additives. A good brand like Gowardhan or Patel Brothers house ghee works perfectly.
No ghee? Clarified butter is the closest substitute (melt butter, skim off milk solids). For a vegan option, use coconut oil with a pinch of turmeric for color. The whole spices can be skipped if unavailable, but they add incredible depth. Ground spices at one-third the amount work in a pinch, though they won’t infuse the same way.
Uncooked rice keeps indefinitely in a cool, dry place. Once cooked, this stays fresh for 2-3 days in the fridge. Reheat with a splash of water to restore fluffiness. The whole spices can be stored in an airtight container for 6-12 months.
Why You’ll Love This Recipe
- I’ll be real: the rice tastes even better the next day, and it reheats like a dream for lazy lunches.
- Set and Forget: I just dump everything in the rice cooker and press start—no stirring, no watching, just fluffy basmati with zero effort.
- Rich Ghee Magic: The nutty ghee and bay leaf infuse every grain with this deep, buttery aroma that plain rice just can’t compete with.
- Weeknight Hero: Honestly, it pairs with anything—curries, roasted veggies, or even a fried egg on top when I’m too tired to think.
Step-by-Step Instructions for Ghee Rice in Rice Cooker
Here’s the method. Simple, precise, with foolproof results every time.
Step 1: Rinse and Prepare the Basmati Rice
Place the 2 cups Basmati Rice in a fine-mesh strainer and rinse under cold running water until the water runs completely clear. This removes excess starch and prevents the rice from becoming gummy.
After rinsing, drain the rice thoroughly and let it sit for 5 minutes to remove any lingering moisture. I’ve found this step ensures the grains cook evenly and remain separate. Shake the strainer gently to remove the last drops of water before proceeding.
Step 2: Toast the Spices and Bloom in Ghee
Add the 4 tbsp Ghee to the rice cooker insert and set it to the “Sauté” or “Quick Cook” function if available. When the ghee melts and becomes frothy, add the 1 tsp Cumin Seeds, 2 whole Cardamom Pods, 2 whole Cloves, and 1 whole Cinnamon Stick.
Toast the spices for 30-45 seconds until the cumin seeds sizzle and release their aroma. Then add the 1 whole Bay Leaf and stir for another 10 seconds. The ghee will turn a light golden color and take on a rich, nutty fragrance—this is your signal the spices are ready.
Step 3: Add Rice, Water, and Salt
Stir the drained 2 cups Basmati Rice into the spiced ghee, coating every grain evenly. Add the 3 cups Water and 1 tsp Salt, then stir gently once to distribute the spices and salt. Avoid over-stirring, as this can break the rice grains.
At this point, the water should look slightly cloudy from the starch and spices. This is normal. Ensure the rice is spread evenly in the cooker insert, as this prevents uneven cooking and helps the rice absorb the liquid uniformly.
Step 4: Cook and Rest
Close the rice cooker lid and set it to the standard “White Rice” setting. Let it cook undisturbed for the full cycle, which typically takes 15-20 minutes. Do not open the lid during cooking, as this releases steam and can lead to unevenly cooked rice.
Once the cooker switches to “Keep Warm,” let the rice rest for an additional 10 minutes. This resting period allows the grains to steam and absorb any remaining moisture, resulting in fluffier, more cohesive rice.
Step 5: Fluff and Garnish
After resting, open the lid and use a fork to gently fluff the rice from the bottom up. This separates the grains and releases any trapped steam. Be gentle to avoid crushing the rice or breaking the grains.
Sprinkle the 0.25 cup Fresh Cilantro over the top and fold it in lightly with the fork. The cilantro adds a fresh, bright contrast to the rich, spiced rice. Serve immediately while hot and fragrant.
Pro Tips For Making Ghee Rice Recipe In Rice Cooker
- Rinse the Rice: Soak basmati rice for 15-20 minutes then rinse until water runs clear—this removes excess starch so your grains stay separate, not mushy.
- Toast the Ghee: Heat ghee in the rice cooker pot for 1-2 minutes before adding rice and water to deepen its nutty flavor.
- Skip the Overfill: Never exceed the rice cooker’s max line—basmati expands more than you’d expect, and overflow makes a mess.
- Rest Before Serving: Let the rice sit covered for 10 minutes after cooking so the steam redistributes and the grains firm up.
Storing and Reheating This Recipe
Refrigerator Storage
Let your ghee rice cool completely before transferring to an airtight container. It stays fresh in the fridge for 2-3 days at 40°F or below. The flavors actually deepen overnight as the spices meld with the rice. ❄️
Freezer Storage
For longer storage, portion cooled rice into freezer-safe bags or containers. It freezes well for up to 3 months without texture loss. Remove as much air as possible to prevent freezer burn and maintain that fragrant aroma.
Stovetop Reheating
My preferred method: heat in a skillet with 1-2 tbsp water over medium-low heat, stirring occasionally. This restores moisture and fluffiness beautifully. Cover for the last 2 minutes to trap steam. 🔥
Microwave Reheating
Sprinkle 1 tbsp water over each portion and cover with a damp paper towel. Heat on 50% power for 1-2 minutes, stir, then continue in 30-second bursts until hot.
Reviving Leftovers
If the rice seems dry after storage, add a splash of warm water and let it sit covered for 5 minutes. The grains will absorb the moisture and soften. Fluff with a fork before serving.
Nutrition Facts
Frequently Asked Questions
What’s the best rice-to-water ratio?
Use 1:1.5 ratio of basmati rice to water. For 2 cups rice, add 3 cups water for perfectly fluffy grains. This ensures ideal texture without mushiness.
Can I skip rinsing the rice?
No—rinsing removes excess starch that would make the rice gummy. Continue until the water runs clear, then drain well before cooking.
What if my cooker doesn’t have a sauté function?
Toast the spices in a separate pan with ghee, then transfer everything to the rice cooker. This step builds essential flavor.
Why is resting the rice important?
Letting it sit for 10 minutes after cooking allows steam to finish the process, making the grains fluffier and more separate.

- Gobi Fried Rice Recipe: Spiced Cauliflower Wok Delight - October 8, 2026
- Glutinous Rice Roll Recipe: Chewy Pillows With Savory Fillings - October 8, 2026
- Garlic Jasmine Rice Recipe: Fragrant Grains with Aromatic Depth - October 8, 2026