
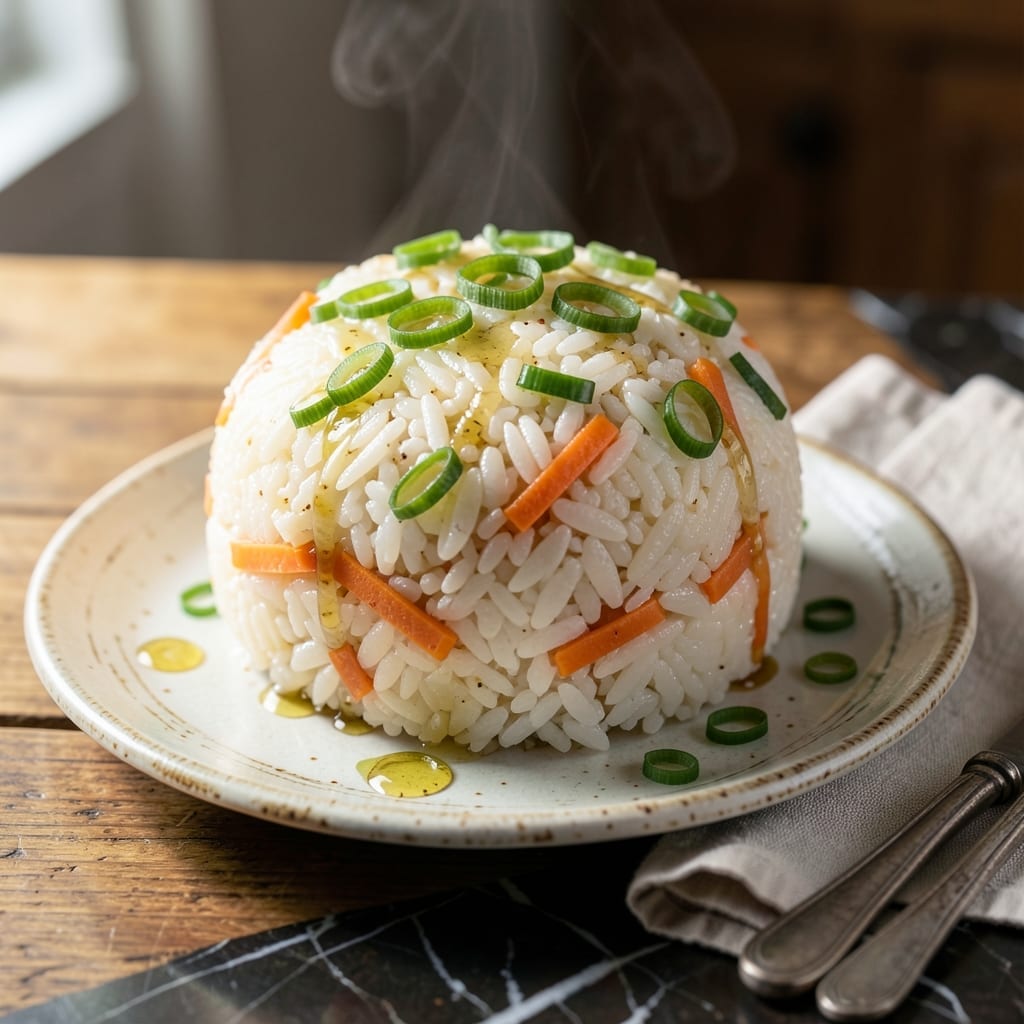
This handheld feast transforms simple ingredients into a satisfying meal with a perfectly crispy exterior. The technique ensures uniform cooking and maximum texture contrast.
By pressing the rice firmly and cooking at the right temperature, you’ll achieve a golden crust that gives way to a tender, flavorful center. The process is straightforward yet delivers impressive results every time.
Ingredients for Giant Rice Ball
Short-grain rice and crispy panko create a handheld feast with perfect texture contrast.
| Ingredient | Amount | Notes |
|---|---|---|
| Sushi Rice 🍚 | 3 cups | Short-grain, uncooked, rinsed well |
| Water 💧 | 3 ½ cups | For cooking rice |
| Rice Vinegar 🍶 | ¼ cup | Seasoned or unseasoned |
| Granulated Sugar 🍚 | 1 tbsp | Dissolved in vinegar |
| Salt 🧂 | 1 tsp | Fine sea salt preferred |
| Neutral Oil 🫒 | ¼ cup | For frying, high smoke point |
| Large Eggs 🥚 | 2 whole | Beaten, for binding |
| Panko Breadcrumbs 🍞 | 1 ½ cups | For crispy coating |
| Grated Parmesan Cheese 🧀 | ½ cup | Freshly grated for best texture |
| Green Onions 🌱 | 4 whole | Thinly sliced, for filling |
| Carrot 🥕 | 1 whole | Julienned, for crunch |
| Sesame Oil 🫒 | 1 tsp | Toasted, for aroma |
| Soy Sauce 🥣 | 2 tbsp | Low-sodium preferred |
| Sesame Seeds 🌰 | 1 tbsp | Toasted, for garnish |
The rice is non-negotiable—short-grain sushi rice is essential for that sticky, cohesive texture. Koshihikari or Nishiki brands are reliable choices at most Asian markets or well-stocked supermarkets. Avoid long-grain varieties; they won’t hold the shape. The panko should be coarse and dry; Progresso or Kikkoman are standard. For the Parmesan, Parmigiano-Reggiano grated fresh yields the best melt and flavor.
No rice vinegar? Apple cider vinegar at half the amount works in a pinch, though the flavor profile shifts slightly. Swap panko for crushed cornflakes at a 1:1 ratio for a similar crunch. Vegetarian? Ensure your Parmesan uses microbial rennet. The eggs can be replaced with flax eggs (1 tbsp ground flax + 3 tbsp water per egg), though binding power may vary slightly.
Cooked rice keeps 1 day in the fridge before shaping—longer and it dries out. Assemble just before frying for best texture. Leftovers reheat well in an air fryer at 375°F for 5-6 minutes to revive the crisp. Freeze uncooked balls on a tray, then transfer to bags for up to 1 month.
Why You’ll Love This Recipe
- One Bowl Wonder: Honestly, I just dump the sushi rice, water, and seasonings in one pot and let it do its thing.
- Sweet-Savory Bite: That tangy rice vinegar with a hint of sugar and salt hits all the right notes in every mouthful.
- Lunchbox Hero: I pack these for picnics, work lunches, or even a quick dinner on the go.
- Stretches for Days: One batch makes enough to feed my family for two meals, and they reheat beautifully.
Step-by-Step Instructions for Giant Riceball
Master the technique for a perfectly crisp exterior and tender, flavorful interior every time.
Step 1: Prepare and Season the Sushi Rice
Rinse the 3 cups sushi rice thoroughly under cold water until the water runs clear. This removes excess starch and prevents a gummy texture. Combine the drained rice with 3.5 cups water in a rice cooker or pot and cook until tender.
While the rice is still hot, gently fold in a mixture of 0.25 cup rice vinegar, 1 tbsp granulated sugar, and 1 tsp salt. Use a cutting motion with a rice paddle to avoid crushing the grains. The rice should be sticky enough to hold shape but not mushy. Let it cool slightly before handling.
Step 2: Prepare the Fillings and Coating
Thinly slice the 4 whole green onions and julienne the 1 whole carrot. In a bowl, combine the 1.5 cups panko breadcrumbs with 0.5 cup grated parmesan cheese and 1 tbsp sesame seeds. This mixture will create the crispy exterior.
In a separate shallow bowl, beat the 2 whole large eggs with 2 tbsp soy sauce and 1 tsp sesame oil. This egg wash will help the coating adhere to the rice and add depth of flavor to the final dish.
Step 3: Shape and Coat the Riceballs
With wet hands (to prevent sticking), take a handful of the seasoned rice and flatten it in your palm. Add a small amount of the green onions and carrot in the center, then fold the rice around the filling to form a ball. Press gently but firmly to ensure it holds together.
Dip each riceball into the egg wash, ensuring it’s fully coated. Then roll it in the panko mixture, pressing lightly so the crumbs adhere evenly. Place the coated riceballs on a tray and refrigerate for 15 minutes to help them set before frying.
Step 4: Fry to Crispy Perfection
Heat 0.25 cup neutral oil in a large skillet over medium-high heat until shimmering. Carefully place the riceballs in the oil, ensuring they are not overcrowded. Fry for 3-4 minutes per side or until the coating is golden brown and crispy.
Use a slotted spoon to transfer the riceballs to a paper towel-lined plate to drain excess oil. The exterior should be crisp and golden, while the interior remains tender and packed with flavor. Serve immediately while hot for the best texture.
Pro Tips For Making Giant Rice Ball
- Wet Your Hands: Keep a bowl of water nearby to dip your hands in before shaping—prevents the rice from sticking and makes smoothing the surface effortless.
- Use Short-Grain Rice: I learned this the hard way—long-grain rice falls apart. Short-grain sushi rice has the sticky texture you need to hold a giant rice ball together.
- Season While Warm: Mix the rice vinegar, sugar, and salt into the rice while it’s still hot. The warmth helps the flavors absorb evenly instead of sitting on the surface.
- Chill Before Shaping: Let the seasoned rice cool for 10-15 minutes before forming the balls—it’s firmer and way easier to handle without turning into a mushy mess.
Storing and Reheating This Recipe
Refrigerator Storage
Let your riceballs cool completely (about 30 minutes) before storing. Place them in an airtight container with parchment paper between layers to prevent sticking. They’ll keep in the fridge for up to 3 days. The crispiness softens, but the flavors stay vibrant. ❄️
Freezer Storage
For longer storage, freeze uncooked coated riceballs on a parchment-lined tray first. Once solid (1-2 hours), transfer to a freezer bag. They’ll last up to 1 month. Freezing after frying is possible but may compromise texture.
Oven Reheating
Preheat your oven to 375°F. Place riceballs on a baking sheet and heat for 10-12 minutes, flipping halfway. This method restores crispiness better than microwaving. I always use parchment paper to prevent sticking. 🔥
Air Fryer Revival
My favorite method: spray lightly with oil and air fry at 375°F for 5-6 minutes, shaking once. The circulating air recrisps the coating beautifully. Watch closely to avoid over-browning. Works best with refrigerated leftovers.
Microwave Option
For speed, microwave on 50% power for 1-2 minutes, then finish in a dry skillet over medium heat for 1 minute to restore some crunch. Cover with a damp paper towel to prevent drying out.
Nutrition Facts
Frequently Asked Questions
What’s the best rice for this recipe?
Use short-grain sushi rice like Koshihikari or Nishiki. Its sticky texture holds the shape perfectly. Avoid long-grain varieties—they won’t stick together properly.
Can I bake instead of frying?
Yes! Bake at 400°F for 20-25 minutes, flipping halfway. Spray with oil for extra crispiness. The texture differs slightly but still turns out delicious.
Why did my riceball fall apart?
Likely the rice wasn’t sticky enough or the filling was too wet. Ensure rice is warm when shaping, and chill coated balls for 15 minutes before frying to set the structure.

- Cream of Wild Rice Soup Recipe: Earthy Grains in Silky Broth - October 9, 2026
- Filipino Garlic Rice Recipe: Crispy Fried Aroma With Every Bite - October 9, 2026
- Gobi Manchurian Rice Recipe: Indo-Chinese Fusion in One Bowl - October 9, 2026