
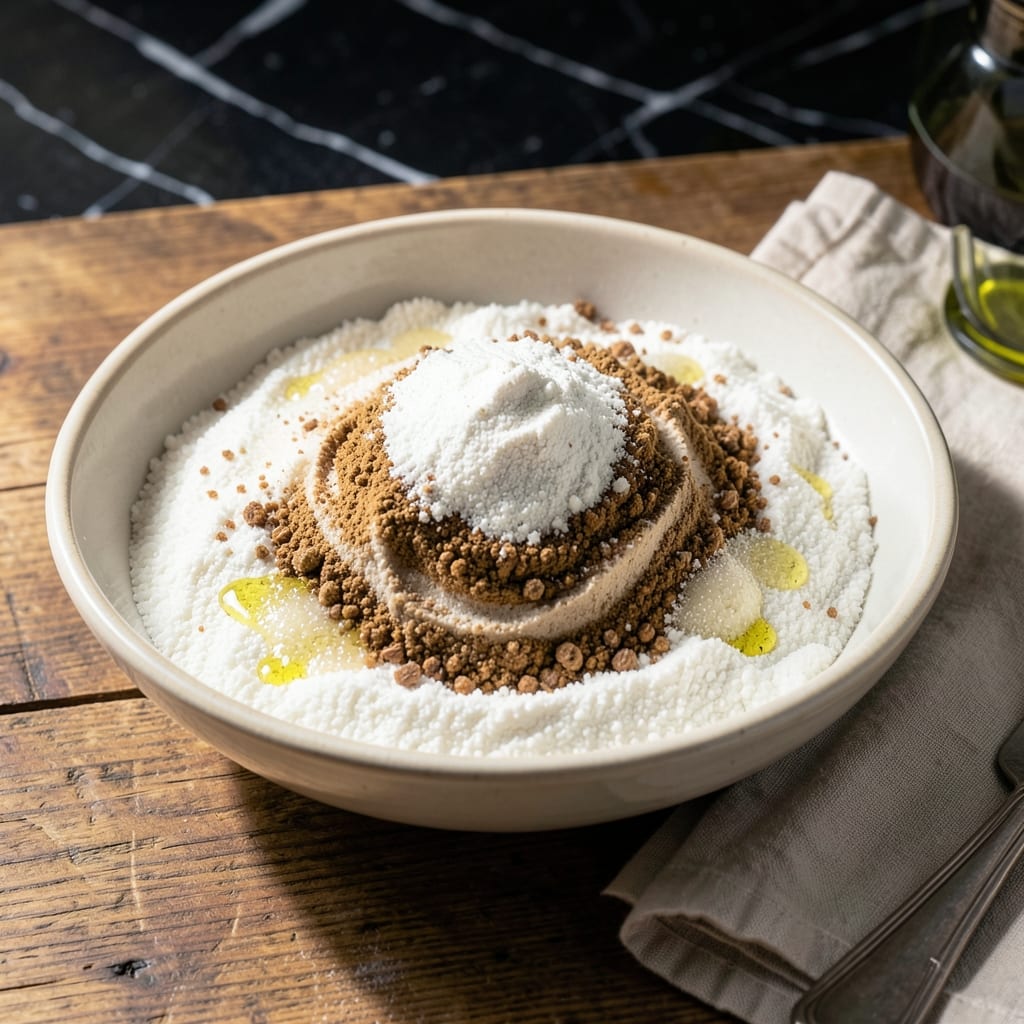
I spent years testing store-bought gluten-free blends before creating my own go-to version that actually works for baking. This blend solves the texture and density issues that plague so many gluten-free recipes.
What makes it special is the precise ratio of rice flours that mimics wheat flour’s behavior. It’s a foolproof base for cookies, cakes, and breads without that gritty aftertaste. I’ve baked with it in my tiny Boston kitchen for years.
No complicated ingredients here—just a simple mix you can whip up in 5 minutes and store for months. The beauty is in its versatility; it works as a 1:1 substitute in most recipes.
Between you and me, this blend saved my baking after that infamous pot pie disaster. Now it’s my secret weapon for gluten-free success.
Ingredients for Gluten Free Rice Flour Blend
Seven simple flours and starches create this versatile gluten-free base for all your baking.
| Ingredient | Amount | Notes |
|---|---|---|
| White Rice Flour 🌾 | 1 ½ cups | Superfine grind preferred |
| Brown Rice Flour 🌾 | 1 cup | Stone-ground for texture |
| Sweet Rice Flour 🌾 | ½ cup | Also called glutinous rice flour |
| Tapioca Starch 🌾 | ¾ cup | Adds elasticity to blend |
| Potato Starch 🥔 | ½ cup | Not potato flour, different product |
| Xanthan Gum 🧪 | 1 tsp | Omit if using in recipes that already contain it |
| Salt 🧂 | ½ tsp | Fine sea salt preferred |
The rice flours are the foundation here. Bob’s Red Mill is my go-to for consistency—superfine white rice flour is a must (the coarse stuff gives that gritty texture). Brown rice flour adds depth, but stone-grind it yourself if you’re particular. Sweet rice flour might be labeled as glutinous rice flour (don’t worry, it’s gluten-free). I grab mine in bulk at Whole Foods to save money.
No xanthan gum? 1 tablespoon psyllium husk powder works as a binder, though the texture differs slightly. Tapioca starch can be swapped for arrowroot starch at a 1:1 ratio. If you’re avoiding nightshades, replace potato starch with cornstarch (but expect a slightly denser crumb). The salt is optional—omit if using in sweet recipes where you’ll add it separately.
Store this blend in an airtight container in a cool, dark place. It keeps for 3-6 months at room temperature. For longer storage, freeze for up to 1 year. Always give it a good whisk before using, as the starches can settle.
Why You’ll Love This Recipe
- Five Minute Mix: I dump all five ingredients in a bowl, whisk, and boom—homemade blend ready faster than my coffee brews.
- Neutral But Rich: The white and brown rice flours give a mild, nutty backbone while sweet rice flour adds just enough stickiness to mimic real gluten.
- Bakes Like a Dream: Cooks perfect muffins, crispy fried chicken, and flaky pie crust—my one blend for every gluten-free craving.
- Pantry Staple: One batch lasts me a month in the cupboard, and it’s way cheaper than buying those tiny store-bought bags.
Step-by-Step Instructions for Gluten Free Rice Flour Blend
Here’s the method. Straightforward, tested, works every time.
Step 1: Gather and Measure All Components
I always start by gathering all my flours and starches together. Measure out the 1.5 cups White Rice Flour, 1 cup Brown Rice Flour, and 0.5 cup Sweet Rice Flour first. Use the spoon-and-level method for accuracy—scooping directly from the bag can pack the flour and lead to dense baked goods.
The superfine grind of White Rice Flour is ideal here, as it blends seamlessly with the others. Stone-ground Brown Rice Flour adds a subtle nuttiness and texture that’s essential to the blend’s character. Sweet Rice Flour, despite its name, isn’t sweet at all—it’s the glue that holds everything together.
Step 2: Add the Starches and Leavening
Next, measure the 0.75 cup Tapioca Starch and 0.5 cup Potato Starch. These starches are the secret to light, airy textures in your baking. Tapioca adds elasticity, while Potato Starch contributes to tenderness. Remember, potato starch isn’t the same as potato flour—it’s a fine, white powder that behaves very differently in recipes.
Now add the 1 tsp Xanthan Gum and 0.5 tsp Salt. The xanthan gum mimics the binding properties of gluten, preventing your baked goods from crumbling. Fine sea salt is my preference here, as it dissolves evenly and enhances all the other flavors in the blend.
Step 3: Sift and Whisk Thoroughly
Place a fine-mesh sieve over a large bowl and sift all the measured ingredients through it. This step breaks up any lumps and ensures an even distribution of all components. I find that sifting also aerates the blend, making it lighter and easier to work with in recipes.
After sifting, use a whisk to give everything one final, thorough mixing. You want to see a uniform, homogeneous mixture with no visible streaks of individual flours or starches. This homogeneity is crucial—every scoop from your blend should perform identically in recipes.
Step 4: Store Properly for Longevity
Transfer the completed blend to an airtight container. I prefer glass jars with tight-sealing lids, as they keep out moisture and pests. Label the container with the date and contents—trust me, you’ll forget what it is in a month otherwise.
Store the blend in a cool, dark place like your pantry. It will keep for 1-2 months at room temperature. For longer storage, you can freeze it for up to 6 months. Just be sure to bring it to room temperature before using in recipes, as cold ingredients can affect the outcome of your baking.
Pro Tips For Making Gluten Free Rice Flour Blend
- Whisk Thoroughly: I learned this the hard way—lumps in your blend mean uneven texture in baked goods. Use a fine-mesh sieve if needed, then whisk for a full 30 seconds to guarantee a smooth, consistent mix.
- Weigh Your Flours: After ruining two batches with volume measurements, I finally switched to a kitchen scale. 1 cup of white rice flour isn’t the same as 1 cup of tapioca starch—120g vs. 140g makes a real difference.
- Skip the Humidity: Store your blend in an airtight container with a silica packet—brown rice flour absorbs moisture like a sponge, and clumpy flour means dense, gummy results.
- Add Xanthan Last: If you’re including xanthan gum (and you should), mix it in after combining the dry ingredients. Sounds weird, but it prevents those weird, stretchy pockets in your final product.
Perfect Pairings for This Recipe
Baking Applications
This blend shines in muffins and quick breads—I love it in my Nonna’s old banana bread recipe. The tapioca starch gives a tender crumb that even my Irish-Italian family can’t resist. Use it as a direct 1:1 substitute for all-purpose flour in most baking recipes.
Cookie Perfection
For chewy chocolate chip cookies, this blend delivers the perfect texture. The sweet rice flour adds just enough stickiness to mimic gluten’s binding power. I always chill my dough for 30 minutes before baking to prevent spreading. 🍪
Savory Pairings
Use this as a light coating for fried foods—it creates an incredibly crisp crust on chicken tenders or onion rings. The potato starch adds that extra crunch we all love. I’ve tested this in my tiny Boston kitchen with great results every time.
Pasta Alternatives
Mix with eggs to make fresh gluten-free pasta that holds its shape beautifully. The xanthan gum prevents the dough from cracking during rolling. I roll mine through my Imperia pasta machine for that authentic texture.
Bread Machine Success
This blend works perfectly in bread machines for sandwich loaves. Add 1 tsp extra xanthan gum for better rise. The result is a soft, sliceable loaf that toasts up beautifully for breakfast. 💛
Pancake Morning
Whip up fluffy gluten-free pancakes that don’t fall apart on the griddle. The blend’s balance of starches creates that ideal golden-brown exterior. I always add 1 tbsp sugar to the batter for that classic diner taste.
Nutrition Facts
Frequently Asked Questions
Can I use this blend for bread recipes?
Use it as a 1:1 substitute for all-purpose flour. For yeast breads, add an extra 1/2 tsp xanthan gum per cup to improve structure and rise.
Why include both tapioca and potato starch?
Tapioca adds elasticity and chew, while potato starch creates tenderness. Together they mimic wheat flour’s texture better than either alone.
How do I prevent a gritty texture?
Use superfine white rice flour and sift thoroughly. Coarse grinds create that unwanted grit. Also, let batters rest 10-15 minutes before baking.
Can I make this nut-free?
Yes! This recipe is naturally nut-free. Just verify all ingredients are processed in nut-free facilities if allergies are severe.

- Ground Beef Rice and Beans Recipe: Slow-Simmered Savory Harmony - October 17, 2026
- Guyanese Fried Rice Recipe: Caribbean Spice With Wok-Charred Aromatics - October 17, 2026
- Hakka Thunder Tea Rice Recipe: Wok-Charred Herbal Infusion - October 17, 2026