
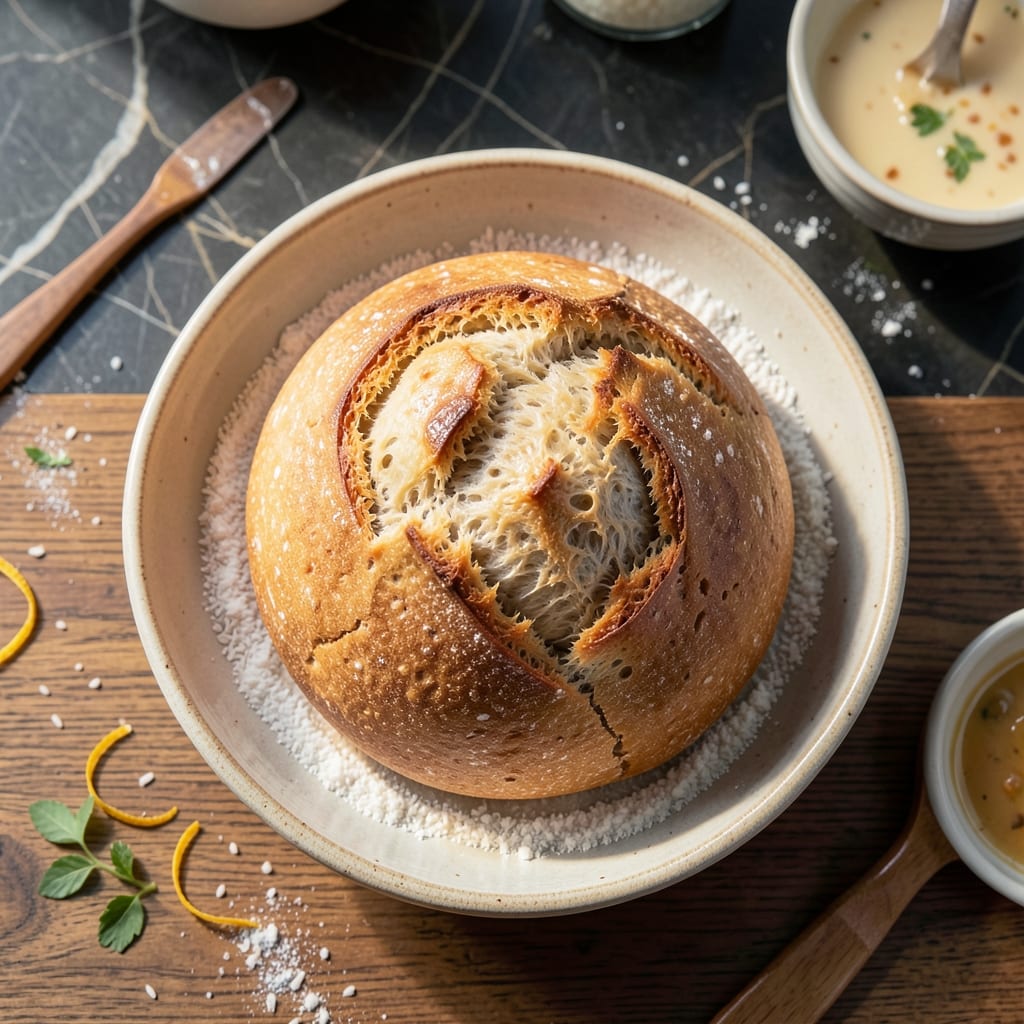
After years of testing gluten-free recipes in my tiny Boston kitchen, I’ve finally perfected a yeast bread that rises beautifully and tastes like the real deal. This rice flour-based loaf delivers the light, airy texture that most gluten-free breads lack.
The secret lies in a precise blend of rice flour, starches, and xanthan gum, which mimics gluten’s structure for proper rise and crumb. A longer proofing time ensures maximum volume and that classic bread texture.
You’ll get a golden, light loaf with a soft interior and a crust that holds up to slicing. It toasts perfectly and works for sandwiches or serving warm with butter.
No dense, crumbly results here—just a foolproof method for bread that rivals traditional recipes.
Ingredients for Gluten Free Yeast Bread Recipe Rice Flour
Nothing exotic here—just a carefully curated blend for perfect rise and texture. Pantry raid time.
| Ingredient | Amount | Notes |
|---|---|---|
| White Rice Flour 🌾 | 2 ½ cups | Fine grind, not brown rice flour |
| Tapioca Starch 🌾 | ¾ cup | Also called tapioca flour |
| Potato Starch 🥔 | ½ cup | Not the same as potato flour |
| Xanthan Gum 🧪 | 2 tsp | Essential for structure and rise |
| Active Dry Yeast 🍞 | 2 ¼ tsp | One packet, check freshness date |
| Granulated Sugar 🍚 | 2 tbsp | Feeds the yeast for rising |
| Salt 🧂 | 1 ½ tsp | Fine sea salt preferred |
| Vegan Butter 🧈 | ¼ cup | Melted, for softness |
| Unsweetened Almond Milk 🥛 | 1 ¼ cups | Warm to 110°F for yeast activation |
| Apple Cider Vinegar 🍏 | 1 tbsp | Adds tang and improves texture |
| Psyllium Husk Powder 🌿 | 1 tbsp | Binds moisture for better crumb |
| Olive Oil 🫒 | 1 tbsp | For greasing the loaf pan |
The rice flour is the base, but Bob’s Red Mill is the only brand I trust for consistent results. Their white rice flour is finely milled, which is key for that light crumb. For the starches, tapioca and potato starch work together to mimic gluten’s elasticity—don’t substitute one for the other. Xanthan gum is non-negotiable here (Anthony’s Goods is my go-to). The yeast needs to be fresh; check the expiration date on the packet (old yeast won’t rise, and that’s a sad loaf).
No xanthan gum? Psyllium husk powder at double the amount can work in a pinch, but the texture won’t be quite the same. Swap almond milk for soy or oat milk if needed—just ensure it’s unsweetened. Vegan butter can be coconut oil, but it’ll add a slight coconut flavor. The sugar is just for the yeast, so maple syrup or agave works too. Skip the vinegar if you must, but it really helps with the crumb.
Store the flours in the freezer to prevent rancidity—they’ll last 6-12 months this way. The loaf itself stays fresh for 3-4 days in an airtight container, or slice and freeze for up to 3 months. Revive day-old slices in the toaster for that fresh-baked taste.
Why You’ll Love This Recipe
- One Bowl Wonder: I mix the dry ingredients in one bowl, add wet, and let the yeast work its magic—no fancy equipment needed.
- Warm & Toasty: The rice flour gives it that soft, slightly sweet crumb that’s just right with butter or jam.
- Meal Prep Hero: I bake a loaf Sunday and it’s still fresh enough for sandwiches by Wednesday.
- Pantry Friendly: Between us, these flours and starches last forever in my cupboard, ready for spontaneous baking.
Step-by-Step Instructions for Gluten Free Yeast Bread
Here’s the method I’ve perfected for a light, airy loaf that rises beautifully every time.
Step 1: Activate the Yeast and Prepare Wet Ingredients
In a small bowl, combine the 2.25 tsp Active Dry Yeast, 2 tbsp Granulated Sugar, and 110°F warm 1.25 cups Unsweetened Almond Milk. Let this sit for 5-7 minutes until the mixture becomes foamy and bubbly—this confirms your yeast is active and ready to work.
In a separate bowl, whisk together the 0.25 cup Vegan Butter (melted), 1 tbsp Apple Cider Vinegar, and 1 tbsp Psyllium Husk Powder. The vinegar adds a subtle tang and helps with the bread’s structure, while the psyllium husk binds moisture for a better crumb.
Step 2: Combine Dry Ingredients for Structure
In a large mixing bowl, whisk together the 2.5 cups White Rice Flour, 0.75 cup Tapioca Starch, 0.5 cup Potato Starch, 2 tsp Xanthan Gum, and 1.5 tsp Salt. I like to sift these together to ensure even distribution and prevent clumping, especially with the xanthan gum.
The combination of these starches and gum creates the perfect framework for a gluten-free bread that mimics the elasticity of traditional wheat bread. Make sure your White Rice Flour is a fine grind for the best texture.
Step 3: Mix and Knead the Dough
Pour the activated yeast mixture and the wet ingredients into the dry ingredients. Using a stand mixer fitted with a paddle attachment, mix on medium speed for 2-3 minutes until the dough comes together and becomes smooth and slightly sticky.
If the dough feels too dry, add a splash more warm Unsweetened Almond Milk, but be cautious—too much liquid can make the bread dense. The dough should pull away from the sides of the bowl but still stick slightly to your finger when touched.
Step 4: First Rise and Shape the Loaf
Grease a large bowl with 1 tbsp Olive Oil and transfer the dough into it. Cover with a damp towel and let it rise in a warm, draft-free place for 1 to 1.5 hours, or until doubled in size. I like to turn my oven on to 100°F for 5 minutes, turn it off, and then place the dough inside to rise.
Once doubled, punch down the dough to release the air. Shape it into a loaf and place it into a greased 9×5-inch loaf pan. Smooth the top with wet hands to prevent sticking.
Step 5: Second Rise and Bake to Golden Perfection
Cover the loaf pan with a damp towel and let it rise again for 45 minutes to 1 hour, or until the dough has risen about 1 inch above the rim of the pan. Preheat your oven to 375°F during the last 15 minutes of rising.
Bake the bread for 45-55 minutes, or until the top is golden brown and the internal temperature reaches 205-210°F. If the top begins to brown too quickly, tent the pan with aluminum foil. Remove from the oven and let it cool in the pan for 10 minutes, then transfer to a wire rack to cool completely before slicing.
Pro Tips For Making Gluten Free Yeast Bread Recipe Rice Flour
- Proof the Yeast: Always activate your dry yeast in warm water (110°F) with a pinch of sugar first—I learned this the hard way after killing three batches by mixing it straight into dry flour.
- Weigh Your Flours: Rice flour and starches compact easily, so use a scale for accuracy; 1 cup of rice flour can weigh 120-140g depending on how it’s scooped.
- Skip Cold Eggs: If your recipe calls for eggs, use room temperature ones to prevent seizing the starches and creating a gummy texture.
- Add Extra Xanthan: For a better rise, use 1/2 teaspoon more xanthan gum than called for—this actually changes the outcome when working with rice flour’s low elasticity.
Pro Cooking Tips for gluten free yeast bread recipe rice flour
Yeast Activation
Always check your yeast’s freshness date—old yeast won’t rise. I use Fleischmann’s Active Dry Yeast and test it in 110°F almond milk with sugar. If it doesn’t bubble within 7 minutes, start over with fresh yeast. This step is non-negotiable for a good rise. 💡
Flour Blend Precision
Weigh your flours for consistency—I use Bob’s Red Mill white rice flour and sift it with the starches. The blend of rice flour, tapioca starch, and potato starch creates the right structure. Skip sifting and risk a dense loaf.
Dough Texture
The dough should be sticky but pull away from the bowl. If it’s too dry, add almond milk 1 tbsp at a time. Overmixing can break down the structure, so stop once it’s smooth. My stand mixer with a paddle attachment works perfectly.
Proofing Environment
Gluten-free dough needs warmth to rise properly. I preheat my oven to 100°F for 5 minutes, turn it off, and let the dough rise inside. This mimics a proofer and ensures a consistent 1.5-hour first rise. 🌡️
Baking Temperature
Bake at 375°F until the internal temperature hits 205-210°F. Tent with foil if the top browns too fast. A 9×5-inch loaf pan gives the best shape. Cool completely before slicing—this prevents a gummy texture.
Equipment Matters
Use a stand mixer for even mixing and a digital thermometer to check yeast activation and doneness. I swear by my OXO Good Grips thermometer. A glass loaf pan helps monitor browning.
Nutrition Facts
Frequently Asked Questions
Can I use a different flour instead of rice flour?
Rice flour is key for texture, but you can try sorghum flour in a 1:1 swap. Avoid almond or coconut flour—they’re too dense for this recipe.
Why did my bread collapse after baking?
Collapsing usually means underproofing or old yeast. Ensure your dough doubles in size during both rises and use fresh yeast checked at 110°F.
How do I store leftovers?
Slice and keep in an airtight container for 3-4 days, or freeze for up to 3 months. Toast slices to revive freshness.

- Ground Beef Rice and Beans Recipe: Slow-Simmered Savory Harmony - October 17, 2026
- Guyanese Fried Rice Recipe: Caribbean Spice With Wok-Charred Aromatics - October 17, 2026
- Hakka Thunder Tea Rice Recipe: Wok-Charred Herbal Infusion - October 17, 2026