
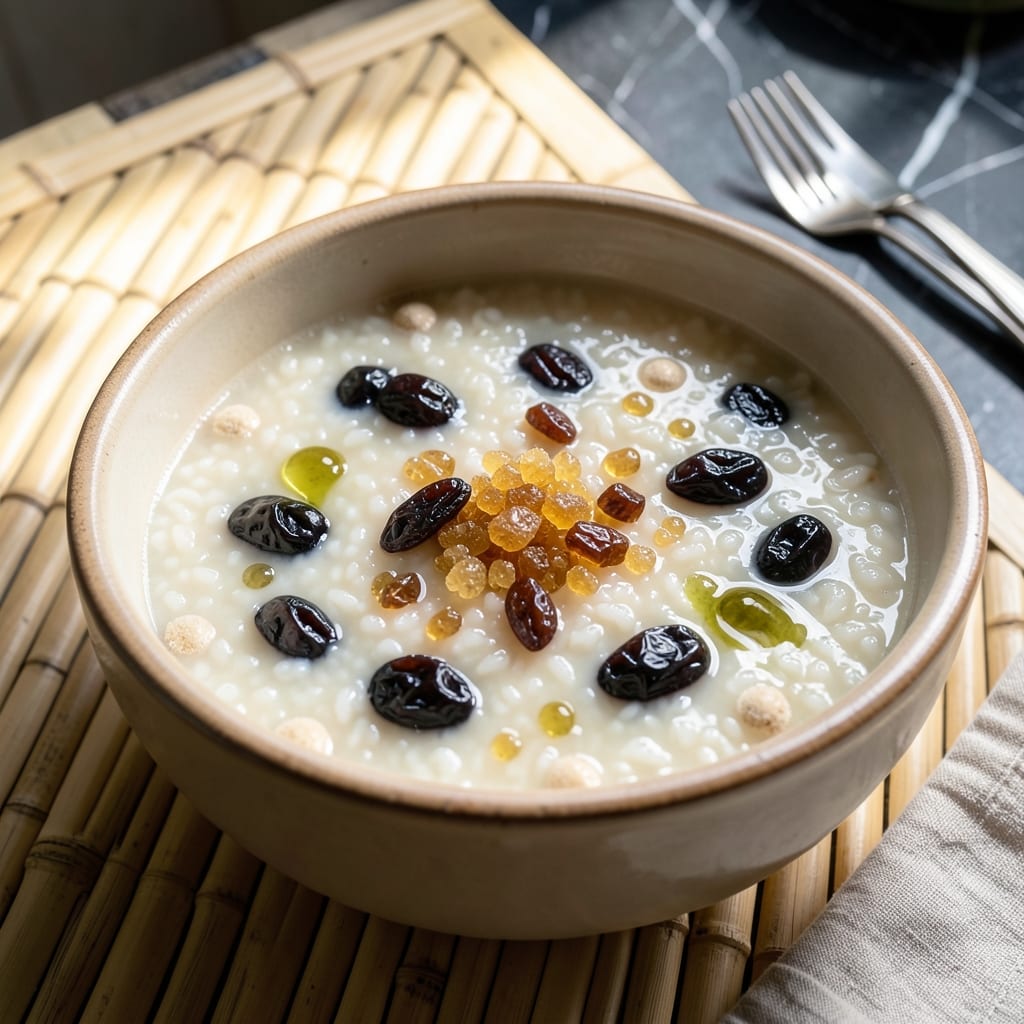
This traditional fermented rice wine brings a delicate sweetness to both cooking and sipping. The process transforms simple glutinous rice into a fragrant, slightly tangy liquid that enhances marinades and sauces.
With minimal ingredients and a 2-week fermentation, you’ll create a versatile condiment that keeps for months. The natural sugars develop complex flavors that store-bought versions can’t match.
Ingredients for Glutinous Rice Wine
Six simple components transform into a fragrant fermented wine with complex depth.
| Ingredient | Amount | Notes |
|---|---|---|
| Glutinous Rice 🍚 | 2 cups | Short-grain, sweet rice variety |
| Water 💧 | 4 cups | Filtered or distilled preferred |
| Yeast Balls ⚪ | 3 pieces | Traditional rice wine fermentation starter |
| Rock Sugar 🍬 | ½ cup | Crushed for even dissolution |
| Raisins 🍇 | ¼ cup | Optional for added complexity |
| Distilled White Vinegar 🍶 | 2 tbsp | For acidity balance |
The glutinous rice is non-negotiable—short-grain sweet rice from an Asian market yields the authentic texture and fermentation. Avoid jasmine or long-grain varieties entirely. Yeast balls (also called wine balls or jiu qu) are critical; look for them in the refrigerated section of well-stocked Asian grocers. If unavailable, wheat berries soaked in water can serve as a starter, but expect a different flavor profile.
No yeast balls? Commercial wine yeast works in a pinch but produces a cleaner, less complex result. Rock sugar can be replaced with granulated sugar at a 1:1 ratio, though the final product may lack depth. Raisins add fruity notes but are optional—dried apricots or dates offer similar complexity. The vinegar balances sweetness; apple cider vinegar can substitute if distilled isn’t on hand.
Store the finished wine in a sterilized glass jar in a cool, dark place. It continues developing flavor for up to 12 months, though it’s best consumed within 6 months. The fermentation vessel should be ceramic or glass—never metal, as it can react with the acidity.
Why You’ll Love This Recipe
- Set and Forget: I just mix glutinous rice, water, and yeast balls in a jar, then let it ferment—no babysitting required.
- Sweet Depth: The rock sugar and raisins add layers of caramel-like sweetness that lingers on your tongue.
- Pantry Staple: One batch gives me weeks of cooking wine for marinades and stir-fries, saving grocery trips.
Step-by-Step Instructions for Glutinous Rice Wine
Master the fermentation process with precision and patience for optimal results.
Step 1: Prepare and Soak the Glutinous Rice
Rinse the 2 cups Glutinous Rice thoroughly under cold water until the water runs clear. This removes excess starch that could interfere with fermentation. I recommend using a fine-mesh strainer for this step to prevent any grains from escaping down the drain.
Transfer the rinsed rice to a large bowl and cover with the 4 cups Water. Let it soak for 4-6 hours at room temperature. The rice should nearly double in size and become slightly translucent at the edges. This soaking softens the grains and prepares them for fermentation.
Step 2: Cook the Rice to the Ideal Consistency
Drain the soaked rice completely and transfer it to a steamer basket lined with cheesecloth. Steam over boiling water for 25-30 minutes until the grains are fully cooked but still retain their shape. The rice should be tender with no chalky center when tasted.
Spread the cooked rice on a clean tray and let it cool to room temperature (about 30 minutes). This cooling step is crucial—adding yeast balls to hot rice would kill the natural cultures. The rice should be just warm to the touch, never hot.
Step 3: Incorporate Yeast Balls and Sugar
Crumble the 3 pieces Yeast Balls into small pieces (about pea-sized) and sprinkle them evenly over the cooled rice. These fermentation starters contain the natural yeast and bacteria needed for proper alcohol development and flavor complexity.
Add the 0.5 cup Rock Sugar and 0.25 cup Raisins to the rice mixture. The rock sugar, with its large crystals, will dissolve slowly during fermentation, providing a steady food source for the yeast. Gently mix everything with clean hands, ensuring the yeast balls are evenly distributed throughout.
Step 4: Ferment in a Controlled Environment
Transfer the rice mixture to a clean, non-reactive container (glass or food-grade plastic works well). The container should be large enough to accommodate the mixture with 2-3 inches of headspace, as the rice will expand slightly during fermentation.
Cover the container with a clean kitchen towel or loose lid to allow airflow while keeping out debris. Store at 70-75°F for 24-48 hours. You’ll know fermentation is progressing when you see bubbles forming and smell a sweet, wine-like aroma developing.
Step 5: Add Vinegar and Complete Fermentation
After 24 hours, stir in the 2 tbsp Distilled White Vinegar. This small amount of acidity helps balance the sweetness and prevents unwanted bacterial growth. The vinegar should be fully incorporated into the mixture.
Continue fermenting for another 12-24 hours until the mixture has a clear, slightly effervescent liquid at the bottom and a distinct wine aroma. Strain the mixture through cheesecloth, pressing gently to extract all liquid. Your glutinous rice wine is now ready to use for cooking or sipping.
Pro Tips For Making Glutinous Rice Wine
- Soak the rice: Cover the glutinous rice in water for at least 4 hours—I learned this the hard way after my first batch turned out dry and under-fermented.
- Use warm water: Mix your yeast balls with warm water (around 104°F) to wake them up properly; too hot kills them, too cold leaves them sluggish.
- Skip the metal: Ferment in a glass or ceramic container, never metal, as it can react with the yeast and give your wine an off flavor.
- Add raisins last: Toss the raisins in after the first 24 hours of fermentation to prevent them from absorbing too much liquid and turning mushy.
Dietary Considerations for These Flavors
Vegan-Friendly Nature
This fermented creation is naturally 100% plant-based, containing no animal products whatsoever. The base of Glutinous Rice and fermentation starters like Yeast Balls means vegans and vegetarians can enjoy it freely in cooking or as a beverage. 🌱
Gluten-Free Status
Despite its name, Glutinous Rice contains no gluten—it’s simply sticky when cooked. This makes your homemade wine completely gluten-free and safe for those with celiac disease or gluten sensitivity.
Allergen Considerations
The only potential allergen comes from Yeast Balls, which may contain trace wheat in some commercial preparations. For wheat-sensitive individuals, verify the yeast ball ingredients or use commercial wine yeast as a substitute.
Sugar Content Awareness
With 0.5 cup Rock Sugar per batch, this has notable natural sweetness. Those monitoring sugar intake can reduce to ⅓ cup without affecting fermentation. The raisins also contribute natural sugars.
Low-Calorie Option
At approximately 150-200 calories per 2 oz serving, this is a lighter alternative to many commercial cooking wines. The calories come primarily from the rice and sugar, with minimal fat content.
Storage Safety
Properly fermented and stored in a sterilized glass jar, this wine develops beneficial probiotics over time. Always use clean utensils when serving to prevent contamination. 💪
Nutrition Facts
Frequently Asked Questions
Can I use regular rice instead of glutinous rice?
No, regular rice won’t work. Glutinous rice is essential for the sticky texture and proper fermentation that creates the authentic flavor and consistency.
How long does the fermentation process take?
The initial fermentation takes 24-48 hours at 70-75°F. After adding vinegar, it needs another 12-24 hours to complete. The total time is about 2-3 days.
What if I can’t find yeast balls?
You can substitute with commercial wine yeast, though the flavor may be less complex. Wheat berries soaked in water can also work in a pinch.
How should I store the finished rice wine?
Store it in a sterilized glass jar in a cool, dark place. It will keep for up to 12 months, though it’s best consumed within 6 months.

- Cream of Wild Rice Soup Recipe: Earthy Grains in Silky Broth - October 9, 2026
- Filipino Garlic Rice Recipe: Crispy Fried Aroma With Every Bite - October 9, 2026
- Gobi Manchurian Rice Recipe: Indo-Chinese Fusion in One Bowl - October 9, 2026