
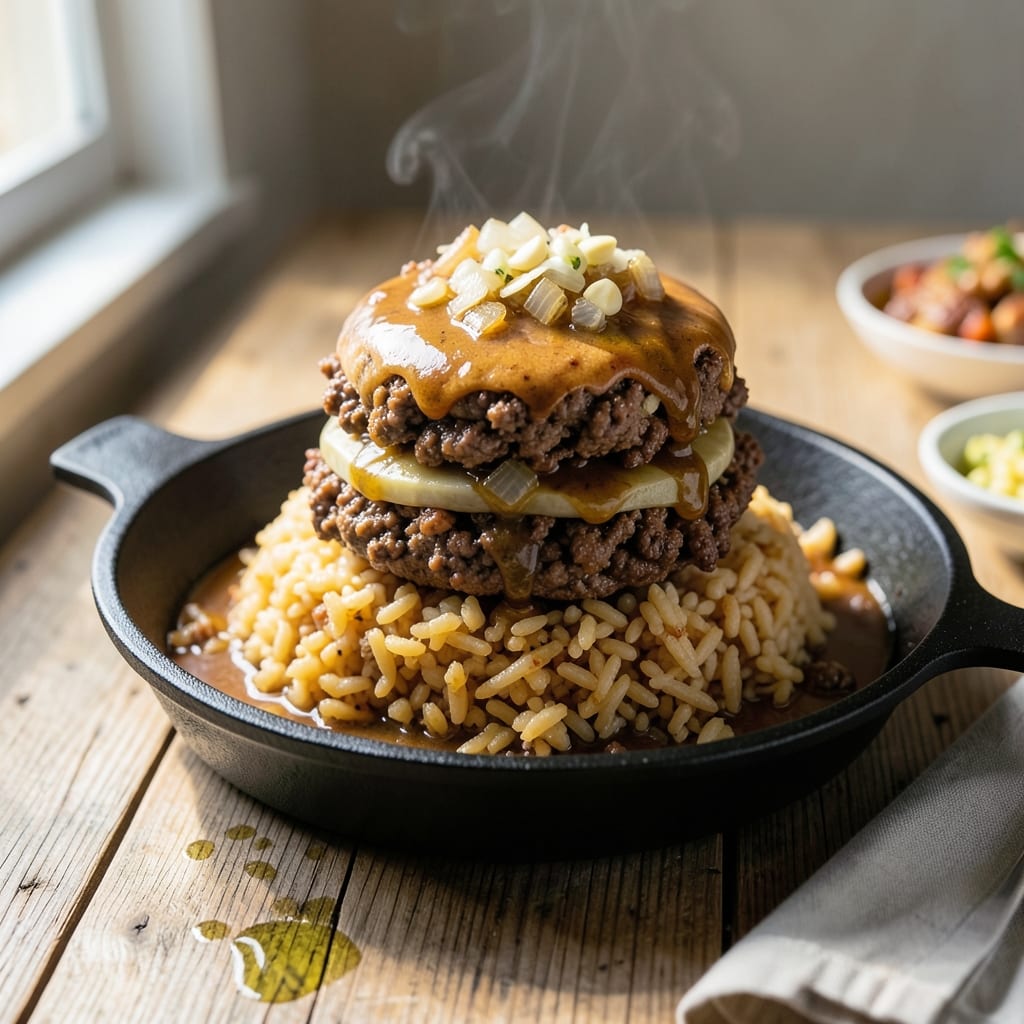
This one-pan meal brings classic comfort to your dinner table with minimal effort. Ground beef and Rice-A-Roni cook together in a single skillet, creating a hearty dish that’s ready in under 30 minutes.
The beef browns first, adding rich flavor before the rice and seasonings join in. The result is a savory, filling meal that satisfies without complicated steps. Perfect for busy weeknights.
Ingredients for Hamburger Rice a Roni
Ground beef, Rice-A-Roni, and a few pantry staples make this skillet magic.
| Ingredient | Amount | Notes |
|---|---|---|
| Ground Beef 🥩 | 1 lb | 80/20 lean-to-fat ratio |
| Rice-A-Roni Beef Flavor 🍚 | 1 box | 6.9 oz size preferred |
| Onion 🧅 | 1 whole | Medium, finely diced |
| Garlic Cloves 🧄 | 2 cloves | Minced or pressed |
| Beef Broth 💧 | 2 cups | Low-sodium if preferred |
| Water 💧 | 1 ½ cups | For cooking rice mixture |
| Worcestershire Sauce 🫒 | 1 tbsp | Adds depth to beef flavor |
| Tomato Paste 🍅 | 2 tbsp | For richness and color |
| Dried Thyme 🌿 | ½ tsp | Crushed between fingers |
| Salt 🧂 | ½ tsp | Adjust to taste later |
| Black Pepper 🌶️ | ½ tsp | Freshly ground preferred |
| Butter 🧈 | 1 tbsp | For browning beef |
| Shredded Cheddar Cheese 🧀 | 1 cup | Optional, for topping |
The beef is the foundation here. 80/20 ground chuck gives you the best flavor and juiciness—leaner blends can dry out. Most supermarkets carry it pre-packaged, but the butcher counter at Kroger or Walmart will grind it fresh if you ask. The Rice-A-Roni is non-negotiable for that nostalgic taste (the beef flavor box, not chicken). Don’t sweat the brand—any grocery store version works fine.
No Worcestershire? Soy sauce plus a pinch of sugar gets you 80% there. Fresh out of tomato paste? Ketchup at half the amount works in a pinch (adds sweetness though). The onion can be yellow or white—whatever’s in your bin. Frozen diced onions save time if you’re in a rush. Want extra veg? Toss in diced bell peppers with the onions.
Leftovers keep 4-5 days in the fridge and reheat like a dream. Freezes well too—up to 3 months. I like to portion into single servings for quick lunches. The cheese topping is best added fresh though (don’t freeze with it on).
Why You’ll Love This Recipe
- One Pan Wonder: I brown the beef, toss in the Rice-A-Roni, onion, and garlic, then let the broth work its magic—no extra pots to wash.
- Beefy Depth: The combo of ground beef, garlic, and the savory Rice-A-Roni seasoning gives it that rich, hearty taste I crave.
- Feeds the Crew: It stretches one pound of beef into a filling meal for four, and honestly, leftovers taste even better the next day.
- Budget Hero: Between the affordable Rice-A-Roni and ground beef, I can make this for under $10, and it still feels like a full, satisfying dinner.
Step-by-Step Instructions for Hamburger Rice-A-Roni
Here’s the method. Simple, straightforward, and packed with flavor.
Step 1: Brown the Ground Beef with Aromatics
Heat a large skillet over medium-high heat and melt the 1 tbsp Butter. Add the 1 lb Ground Beef and break it up with a wooden spoon. Cook for 5-6 minutes until the beef is no longer pink and starts to develop a light crust.
Add the finely diced 1 whole Onion and minced 2 cloves Garlic Cloves to the skillet. Cook for another 3-4 minutes until the onion softens and becomes translucent. This builds a deep flavor base that makes the dish taste like it simmered all day.
Step 2: Build the Flavor with Sauces and Spices
Stir in the 1 tbsp Worcestershire Sauce, 2 tbsp Tomato Paste, 0.5 tsp Dried Thyme, 0.5 tsp Salt, and 0.5 tsp Black Pepper. Cook for 1-2 minutes, stirring constantly, until the tomato paste darkens slightly—this enhances its natural sweetness.
This step is where the magic happens. The tomato paste caramelizes a bit, the Worcestershire deepens the beefy flavor, and the thyme adds that earthy note that ties everything together. Don’t rush it; you’ll see the mixture thicken and become deep red-brown.
Step 3: Add Liquids and Rice-A-Roni
Pour in the 2 cups Beef Broth and 1.5 cups Water, stirring to scrape up any browned bits from the bottom of the skillet. Add the entire 1 box Rice-A-Roni Beef Flavor (including the seasoning packet) and stir well to combine.
Bring the mixture to a boil, then reduce heat to medium-low. Cover and let it simmer for 15-18 minutes, or until the rice is tender and most of the liquid has been absorbed. You’ll know it’s ready when the rice is fluffy and the pasta is al dente.
Step 4: Finish with Cheese and Rest
Remove the skillet from heat and sprinkle the 1 cup Shredded Cheddar Cheese evenly over the top. Cover and let it rest for 5 minutes—this gives the cheese time to melt completely and the flavors to meld together.
After resting, give everything a gentle stir to distribute the melted cheese. The result should be a creamy, hearty mixture where every bite has tender rice, savory beef, and that rich cheesy finish. Serve it hot and watch it disappear.
Pro Tips For Making Hamburger Rice A Roni
- Brown the Beef Well: Cook the ground beef until deeply browned, not just gray—this builds flavor that the Rice-A-Roni seasoning can’t replicate on its own. I learned this the hard way after serving bland batches.
- Toast the Rice First: Before adding liquids, let the rice and pasta from the mix toast in the pot for 2-3 minutes with the beef and onions. It adds a nutty depth that’s missing if you skip this step.
- Use Extra Broth: Replace the water with beef broth entirely, and add an extra ½ cup—Rice-A-Roni absorbs more liquid than you’d expect, and this prevents dry, crunchy bites.
- Skip Pre-Chopped Onions: Freshly diced onion makes a real difference here; the pre-chopped stuff from a bag can taste harsh and doesn’t soften as nicely with the ground beef.
Pro Cooking Tips for This Recipe
Perfect Beef Browning
Don’t overcrowd the skillet—use a 12-inch pan for 1 lb Ground Beef so it sears, not steams. I press the beef into the pan and let it sit undisturbed for 2 minutes before breaking it up for maximum Maillard reaction. 🔥
Fond is Flavor
Those browned bits stuck to the pan after cooking beef? That’s fond—pure flavor. When you add the 2 cups Beef Broth, use a wooden spoon to scrape every last bit. This step adds depth most home cooks miss.
Rice-A-Roni Timing
Add the Rice-A-Roni Beef Flavor box as soon as the liquid boils. Stir well to break up any clumps in the seasoning packet. Simmer at medium-low heat—any higher and the rice may burn before absorbing liquid.
Liquid Ratios
Stick to 2 cups Beef Broth and 1.5 cups Water for perfect texture. Too much liquid = mushy rice; too little = crunchy. If using low-sodium broth, taste before adding extra salt at the end.
Cheese Melting Hack
Sprinkle the 1 cup Shredded Cheddar Cheese while the skillet is still hot but off the burner. Cover immediately and let residual heat do the work—no direct heat means no rubbery cheese. 💡
Resting Matters
That 5-minute rest isn’t optional. It lets the rice finish absorbing liquid and the flavors meld. I set a timer—rushing this step gives you a watery, separated mess instead of creamy perfection.
Nutrition Facts
Frequently Asked Questions
Can I use ground turkey instead of beef?
Yes! Substitute 1 lb ground turkey for the beef. Use 93% lean for best texture. You may want to add an extra 1 tsp of oil since turkey is leaner.
What if my rice turns out mushy?
Likely too much liquid. Use exactly 2 cups broth and 1.5 cups water. If it happens, spread the mixture on a baking sheet to evaporate excess moisture.
Can I make this ahead of time?
Prepare as directed, cool completely, and refrigerate for up to 4 days. Reheat in a skillet with a splash of broth to restore creaminess.
Do I need to use the seasoning packet?
Yes, it’s essential for the classic flavor. However, you can reduce its salt by half if you’re watching sodium and add extra herbs to compensate.

- Ground Beef Rice and Beans Recipe: Slow-Simmered Savory Harmony - October 17, 2026
- Guyanese Fried Rice Recipe: Caribbean Spice With Wok-Charred Aromatics - October 17, 2026
- Hakka Thunder Tea Rice Recipe: Wok-Charred Herbal Infusion - October 17, 2026