
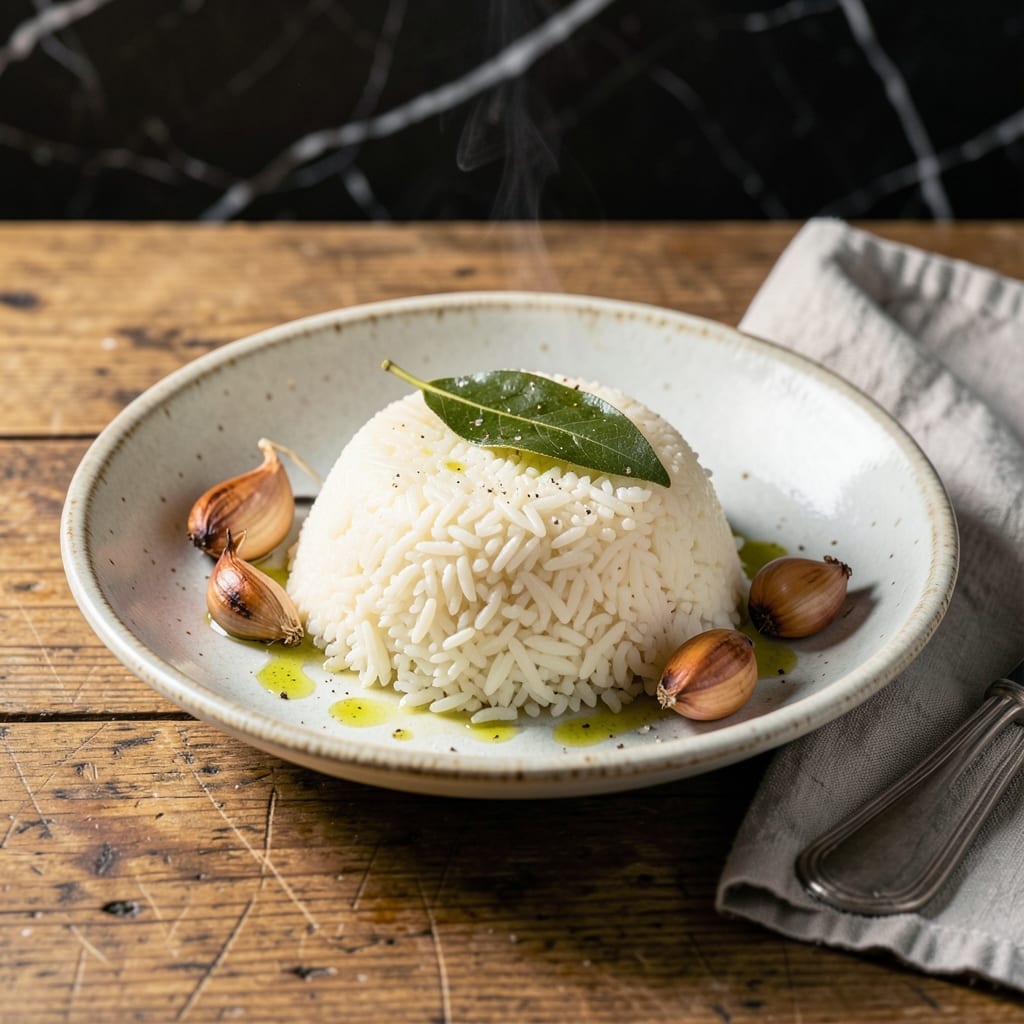
This method delivers perfectly firm rice every time, ideal for fried rice or grain bowls. The key is using slightly less water and stopping the cooking just before full absorption.
You’ll achieve separate, slightly undercooked grains that hold their shape and texture. This creates the ideal base for stir-frying, as it won’t turn mushy when reheated.
Ingredients for Hard Rice
Simple ingredients create a firm, separate grain base for your next stir-fry.
| Ingredient | Amount | Notes |
|---|---|---|
| Long-Grain White Rice 🍚 | 2 cups | Rinsed until water runs clear |
| Water 💧 | 3 ½ cups | Reduced from standard ratio |
| Salt 🧂 | 1 tsp | Optional for seasoning water |
| Neutral Oil 🫒 | 1 tsp | For rice grain separation |
| Bay Leaf 🍃 | 1 whole | Optional for aroma |
| Garlic Cloves 🧄 | 2 cloves | Lightly crushed, optional |
| Green Onions 🧅 | ½ cup | Chopped, for garnish |
| Sesame Oil 🫒 | 1 tsp | For finishing, optional |
| Soy Sauce 🥄 | 1 tbsp | For serving suggestion |
| Eggs 🥚 | 2 whole | For fried rice variation |
| Frozen Peas 🌱 | ½ cup | For fried rice variation |
| Carrots 🥕 | ½ cup | Diced, for fried rice variation |
The rice variety is critical. Jasmine or long-grain white rice work best for achieving that firm, separate texture. Avoid short-grain varieties like Arborio—they’ll turn sticky. Lundberg or Carolina brands offer consistent quality. Rinse the rice thoroughly to remove excess starch, which can make grains gummy rather than distinct.
No long-grain rice? Basmati is an acceptable substitute (it has a similar firm bite). The water ratio can be adjusted slightly—1:1.75 rice to water is the sweet spot for undercooked grains. For extra flavor, swap the water for low-sodium chicken broth. The oil is optional but helps prevent clumping during cooking.
Cooked rice keeps well in the fridge for 4-5 days, perfect for meal prep. Store in an airtight container once cooled. For longer storage, freeze in portions for up to 3 months. The slight undercooking ensures it reheats without turning mushy, ideal for fried rice or grain bowls.
Why You’ll Love This Recipe
- One Pot Wonder: I love throwing this together in a single pot—just rice, water, a bay leaf, and a pinch of salt, then walking away.
- Subtle Depth: That bay leaf infuses the rice with a quiet warmth that makes every bite feel intentional.
- Meal Prep Magic: Cook a big batch on Sunday and it reheats beautifully for lunches all week.
- Pantry Staple: Five ingredients I always have on hand means dinner’s ready even when the fridge is bare.
Step-by-Step Instructions for Hard Rice
Here’s the method for achieving perfectly firm rice grains that won’t turn mushy when stir-fried.
Step 1: Rinse and Prepare the Rice
Place the 2 cups long-grain white rice in a fine-mesh strainer and rinse under cold water until the water runs completely clear. This removes excess starch that would otherwise make your rice gummy. I always do this step three times to ensure maximum starch removal.
Drain the rice thoroughly and let it sit in the strainer for 5 minutes to remove any remaining moisture. The grains should look dry and separate easily when you run your fingers through them. This step is crucial for achieving that desired firm texture.
Step 2: Cook the Rice with Precise Liquid Ratio
In a medium saucepan with a tight-fitting lid, combine the rinsed rice, 3.5 cups water, 1 tsp neutral oil, 1 tsp salt, 1 whole bay leaf, and 2 cloves garlic cloves (lightly crushed). The reduced water ratio is key to preventing soft, mushy rice.
Bring to a boil over high heat. Once boiling, immediately reduce the heat to low, cover with the lid, and let it simmer undisturbed for 15 minutes. Don’t peek during this time—releasing steam will affect the cooking process.
Step 3: Rest and Cool the Cooked Rice
After 15 minutes, turn off the heat and let the rice sit covered for an additional 10 minutes. This resting period allows the grains to absorb any remaining moisture and firm up slightly. You’ll notice the rice pulls away from the sides of the pot when it’s ready.
Spread the cooked rice on a large baking sheet in an even layer. Let it cool at room temperature for 30 minutes, then transfer to the refrigerator uncovered. The surface should look dry and the grains should be separate and firm to the touch when properly cooled.
Step 4: Chill Completely for Optimal Texture
Refrigerate the rice for at least 4 hours, or preferably overnight. This chilling process is what transforms the rice from freshly cooked to the perfect hard texture for stir-frying. The grains will become noticeably firmer and drier as they cool.
Before using, break up any clumps with your fingers or a fork. The rice should hold its shape well when pressed between your fingers, with no sticky residue. This texture ensures your stir-fried rice will have those distinct, separate grains that make it exceptional.
At this point, your rice is ready to be transformed into fried rice with the 0.5 cup green onions, 0.5 cup frozen peas, 0.5 cup carrots, 2 whole eggs, 1 tsp sesame oil, and 1 tbsp soy sauce when you’re ready to cook.
Pro Tips For Making Hard Rice
- Use Less Water: I learned this the hard way—cut the water to 1:1 rice ratio for that firm, separate bite. Standard measurements give you mushy grains.
- Toast the Rice: Heat the rice in oil for 2 minutes before adding water, it locks in a nutty flavor and keeps grains from clumping.
- Skip the Stir: Resist the urge to stir while cooking, it breaks the grains and releases starch that makes rice gummy.
- Rest Under Lid: After cooking, let it sit covered for 10 minutes off heat, this steams the rice evenly without overcooking.
Storing and Reheating This Dish
Refrigerator Storage
Let the rice cool completely before transferring to airtight containers. I use glass containers with snap-tight lids for best results. It’ll keep in the fridge at 40°F or below for up to 5 days, maintaining that perfect firm texture for stir-frying. ❄️
Freezer Storage
For longer storage, spread cooled rice on a baking sheet to freeze individually, then transfer to freezer bags. It’ll stay fresh for 3 months. Portion into 1-2 cup amounts for easy meal prep. Squeeze out all air to prevent freezer burn.
Stovetop Reheating
This is my go-to method. Heat a skillet over medium heat, add 1 tbsp oil, then the rice. Stir-fry for 3-4 minutes until hot. The direct heat restores that perfect firmness. Add a splash of water if it seems dry.
Microwave Reheating
Place rice in a microwave-safe dish, sprinkle with 1 tbsp water, and cover with a damp paper towel. Heat on 50% power for 2-3 minutes, stirring halfway. This prevents the grains from turning mushy. 🔥
Reviving Texture
If your rice seems too soft after storage, spread it on a baking sheet and broil for 2-3 minutes to dry out the surface. Watch closely to avoid burning. This trick works wonders for restoring that ideal firm texture.
Nutrition Facts
Frequently Asked Questions
Can I use instant rice for this method?
No, instant rice becomes too soft even with less water. Stick to long-grain white rice for the best firm texture. Jasmine or basmati work perfectly for this technique.
Why does the rice need to chill overnight?
Chilling dries the grains and firms them up, preventing mushiness when stir-fried. 4 hours minimum is required, but overnight gives the best results for texture.
What if my rice turns out too soft?
Spread it on a baking sheet and broil for 2-3 minutes to evaporate excess moisture. This revives the firm texture needed for stir-frying. Watch closely to avoid over-drying.
Can I add flavorings during cooking?
Yes! Use low-sodium broth instead of water, or add 1 bay leaf and 2 crushed garlic cloves for extra aroma without affecting texture.

- Ground Beef Rice and Beans Recipe: Slow-Simmered Savory Harmony - October 17, 2026
- Guyanese Fried Rice Recipe: Caribbean Spice With Wok-Charred Aromatics - October 17, 2026
- Hakka Thunder Tea Rice Recipe: Wok-Charred Herbal Infusion - October 17, 2026