
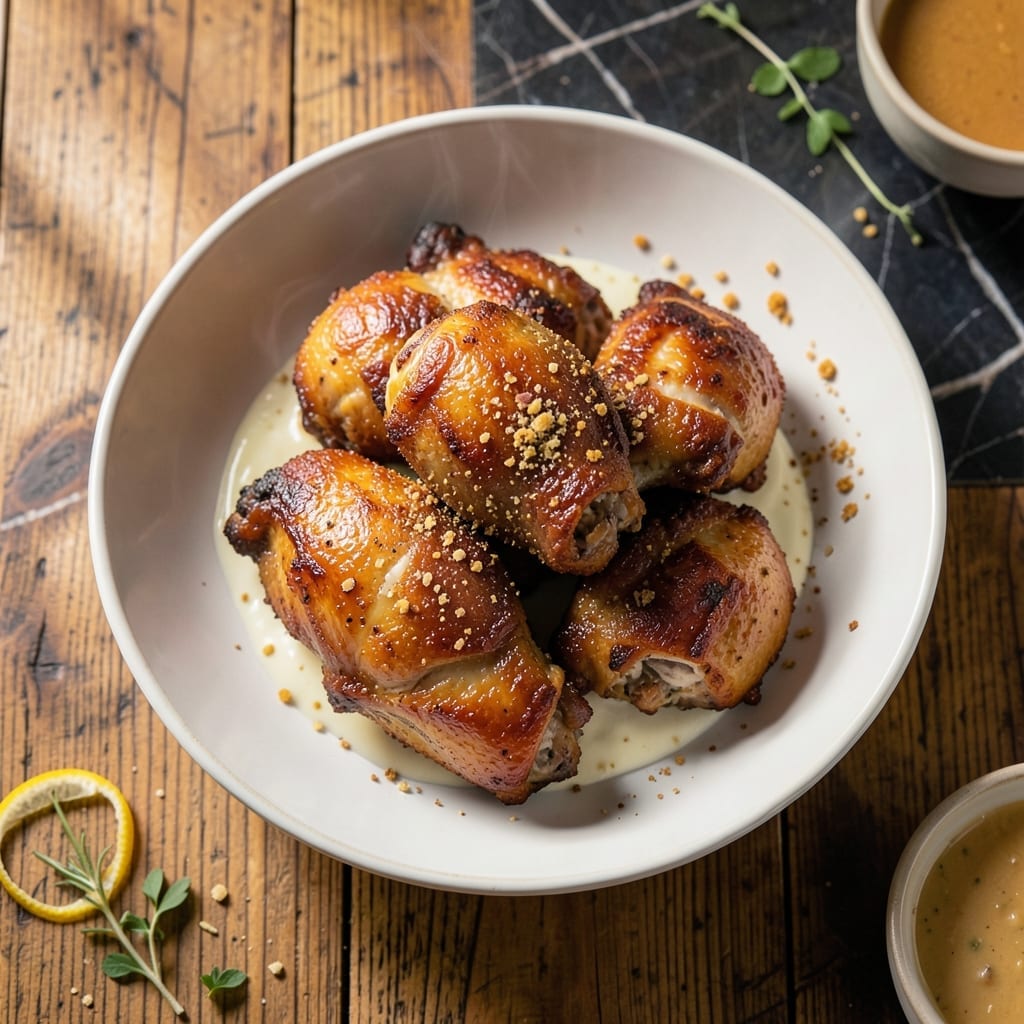
There’s a reason Harold’s Chicken became a Chicago legend—this recipe delivers that signature crispy, golden crust with juicy meat inside every time. The secret lies in a well-seasoned flour coating and precise frying technique.
I’ve tested this method extensively to achieve the perfect balance between a shatteringly crispy exterior and tender, flavorful chicken within. The marinade adds depth while the double-frying ensures consistent results.
What emerges from the oil is chicken so crispy it crackles when you bite into it, yet remains succulent and packed with flavor. The seasoning blends perfectly with each piece, creating that authentic Chicago taste.
Serve hot for maximum crunch. This technique guarantees restaurant-quality results at home.
Ingredients for Harold’s Chicken
This authentic Chicago-style fried chicken requires bone-in thighs, a well-seasoned flour coating, and precise frying.
| Ingredient | Amount | Notes |
|---|---|---|
| Chicken Thighs 🍗 | 3 lb | Bone-in, skin-on preferred |
| Buttermilk 🥛 | 2 cups | Full-fat for best marinade |
| All-Purpose Flour 🌾 | 3 cups | For crispy coating |
| Cornstarch 🌾 | ½ cup | Boosts crunch factor |
| Harold's Seasoning Salt 🧂 | 2 tbsp | Or substitute Chicago-style seasoning |
| Garlic Powder 🧄 | 1 tbsp | Freshly ground if possible |
| Onion Powder 🧅 | 1 tbsp | Fine grind preferred |
| Paprika 🌶️ | 1 tbsp | Sweet or smoked variety |
| Cayenne Pepper 🔥 | ½ tsp | Adjust for heat preference |
| Black Pepper 🌶️ | 1 tsp | Freshly ground preferred |
| Vegetable Oil 🫒 | 4 cups | For deep frying, high smoke point |
| Salt 🧂 | 1 tbsp | Diamond Crystal kosher salt |
The chicken is everything here. Bone-in, skin-on thighs deliver the juiciest results—breasts dry out too fast. Costco or Sam’s Club often carry pre-cut thighs, or ask your butcher to debone them if you prefer. The buttermilk marinade tenderizes while adding tang. For authentic Harold’s flavor, track down the brand’s seasoning salt at specialty grocers or online—it’s the signature touch.
No buttermilk? Whole milk with 1 tbsp vinegar or lemon juice works in a pinch. Swap cornstarch for arrowroot powder at a 1:1 ratio if that’s what you’ve got. The seasoning blend can be replicated with salt, paprika, garlic powder, and a pinch of cayenne. For a lighter version, air-fry at 400°F after coating, though the texture won’t be quite the same.
Marinate the chicken for at least 4 hours, ideally overnight. Fried chicken is best served immediately but holds in a 200°F oven for up to 30 minutes. Leftovers? Reheat in the oven or air fryer to revive the crust. Never microwave—it’ll turn soggy.
Why You’ll Love This Recipe
- Dump and Fry: That buttermilk soak and cornstarch dredge mean I just toss, coat, and fry—no fancy steps.
- Addictive Crunch: Harold’s seasoning salt in the flour gives that crispy, salty-sweet bite I can’t stop sneaking from the pan.
- Crowd Pleaser: I’ve served this at game nights and weeknight dinners—everyone from picky kids to my foodie brother asks for the recipe.
- Budget Stretcher: Chicken thighs stay cheap, and the flour-cornstarch mix makes the coating go further than store-bought.
Step-by-Step Instructions for Chicago-Style Crispy Fried Chicken
Master the process that delivers shatteringly crisp coating and juicy meat every time.
Step 1: Marinate Chicken in Buttermilk
Place the 3 lb Chicken Thighs in a large bowl and pour over the 2 cups Buttermilk. I always use full-fat buttermilk for its superior tenderizing properties and rich flavor. Ensure each piece is fully submerged.
Cover and refrigerate for at least 4 hours, or ideally overnight. This extended marination is non-negotiable for achieving that signature tenderness. The buttermilk’s acidity breaks down proteins while its fat keeps the meat moist during frying.
Step 2: Prepare the Seasoned Dredge
In a large bowl, whisk together the 3 cups All-Purpose Flour, 0.5 cup Cornstarch, 2 tbsp Harold’s Seasoning Salt, 1 tbsp Garlic Powder, 1 tbsp Onion Powder, 1 tbsp Paprika, 0.5 tsp Cayenne Pepper, and 1 tsp Black Pepper.
The cornstarch is the secret to that extra-crispy texture that sets this recipe apart. Harold’s Seasoning Salt provides that authentic Chicago flavor profile. Make sure the mixture is completely homogeneous before dredging.
Step 3: Double-Dredge for Maximum Crunch
Remove the chicken from the buttermilk, letting excess drip off. Dredge each piece thoroughly in the flour mixture, pressing firmly to adhere. Return to the buttermilk for 30 seconds, then dredge again in the flour mixture.
This double-dredging technique creates that thick, craggy coating that stays crispy long after frying. Place the dredged pieces on a wire rack for 10 minutes to allow the coating to set—this prevents it from falling off during frying.
Step 4: Deep-Fry to Golden Perfection
Heat the 4 cups Vegetable Oil in a deep, heavy pot to 350°F. Use a deep-fry thermometer for accuracy. The oil must be deep enough to fully submerge the chicken pieces without crowding.
Fry the chicken in batches for 12-15 minutes until the coating is deep golden brown and the internal temperature reaches 165°F. Maintain the oil temperature between 325-350°F throughout—too low and the coating will be greasy, too high and it’ll burn before cooking through.
Step 5: Drain and Season While Hot
Transfer the fried chicken to a wire rack set over a baking sheet. Immediately sprinkle with the 1 tbsp Salt while still hot. This final seasoning step ensures every bite is perfectly seasoned.
Let the chicken rest for 5 minutes before serving. This brief rest allows the coating to crisp up fully while the meat stays juicy. Serve hot for the ultimate texture contrast between the crunchy exterior and tender interior.
Pro Tips For Making Harold’S Chicken
- Brine Overnight: Soak your chicken thighs in buttermilk with a heavy sprinkle of Harold’s Seasoning Salt for at least 8 hours—I learned this the hard way after my first batch came out bland.
- Double Dredge: Dip the thighs back in buttermilk, then coat again in flour and cornstarch mix for that extra-crispy crust everyone raves about.
- Skip the Crowding: Fry in batches with at least an inch between pieces, or you’ll end up with soggy, steamed chicken instead of crispy.
- Rest Before Serving: Let the chicken sit 5-10 minutes after frying on a wire rack—my grandmother swore by this, and she was right.
Perfect Pairings for These Flavors
Classic Chicago Sides
You can’t go wrong with crinkle-cut fries from a local spot like Portillo’s—they’re the perfect salty counterpart to the crispy chicken. For a homemade touch, try sweet potato fries with a sprinkle of Chicago-style seasoning. 🥔
Veggie Pairings
A simple coleslaw with a tangy vinegar-based dressing cuts through the richness beautifully. I love adding shredded carrots and cabbage with a touch of celery seed for that classic Chicago deli flavor. Serve it chilled for a refreshing contrast.
Beverage Choices
An ice-cold Chicago-style pop (that’s soda for non-locals) like Jarritos Mandarin or Vernors ginger ale keeps things authentic. For an adult pairing, a crisp lager such as Old Style complements the meal perfectly. 🍺
Sauce Options
Harold’s mild sauce is a must—its sweet and tangy profile is legendary. If you can’t find it, a mix of ketchup, hot sauce, and honey in equal parts makes a great substitute. Always serve sauce on the side to maintain that crispy texture.
Dessert Finish
End the meal with a slice of deep-dish apple pie or Italian beef-style cannoli for a true Chicago experience. The sweetness balances the savory, spiced notes of the chicken beautifully. I always save room for this final touch.
Nutrition Facts
Frequently Asked Questions
What oil works best for frying?
Use vegetable oil or peanut oil with a high smoke point. Avoid olive oil as it can burn at frying temperatures. Maintain oil at 350°F for perfect results.
Can I bake instead of fry?
Yes, but texture differs. Bake at 400°F for 25-30 minutes on a wire rack for air circulation. The crust won’t be as crispy but still flavorful.
How do I keep it crispy longer?
Place fried chicken on a wire rack, never a plate. Store in a 200°F oven for up to 30 minutes before serving. This prevents sogginess.
What’s the best substitute for buttermilk?
Mix 1 cup milk with 1 tbsp vinegar or lemon juice. Let sit 5 minutes before using. This mimics buttermilk’s tang and tenderizing effect.

- Jollof Rice Sauce Recipe: West African Tomato and Spice Infusion - September 25, 2026
- Japanese Rice Soup Recipe: Umami-Rich Comfort in a Bowl - September 25, 2026
- Homemade Cream Of Rice Recipe: Silk-Smooth Breakfast in Minutes - September 25, 2026