
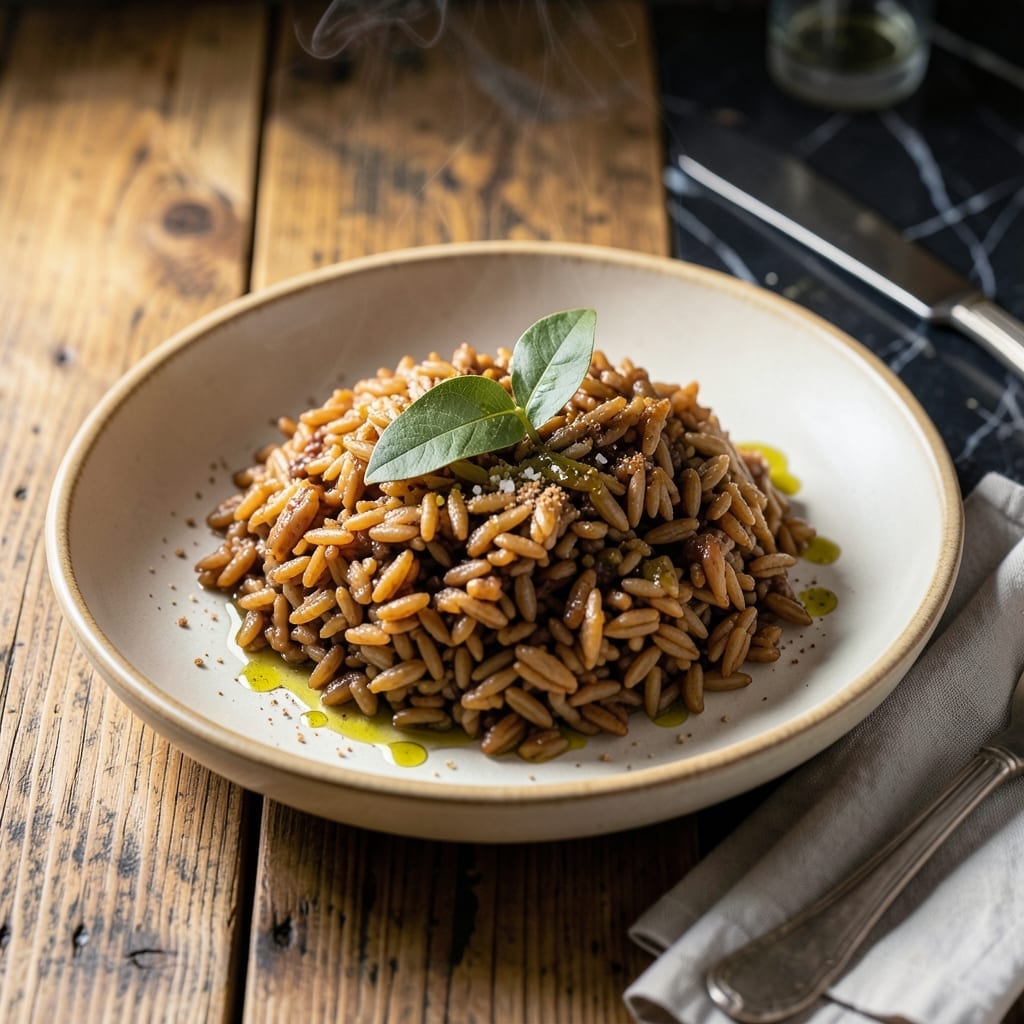
I’ve tested this brown rice method in my tiny Boston kitchen until I got it just right—no mushy results, just perfectly chewy grains every time. The key lies in the right ratio of water to rice and a precise cooking time.
What sets this recipe apart is the toasting step, which unlocks the rice’s natural nuttiness without adding extra fat. A pinch of salt and a bay leaf in the cooking water elevate the flavor effortlessly.
You’ll end up with nutty, tender brown rice that’s far from bland. It’s a simple, healthy base that pairs well with any protein or vegetable.
No fancy equipment needed—just a pot, a lid, and 20 minutes of hands-off simmering. This is how brown rice should taste.
Ingredients for Healthy Flavorful Brown Rice
Simple pantry staples transform into perfectly chewy, nutty brown rice every time.
| Ingredient | Amount | Notes |
|---|---|---|
| Long-Grain Brown Rice 🌾 | 2 cups | Rinsed until water runs clear |
| Water 💧 | 4 ½ cups | Filtered for best flavor |
| Olive Oil 🫒 | 1 tbsp | Extra-virgin for toasting |
| Bay Leaf 🍃 | 1 whole | Dried, for cooking water |
| Sea Salt 🧂 | ½ tsp | Fine grain preferred |
| Garlic Powder 🧄 | ½ tsp | Optional for extra flavor |
| Vegetable Broth 🥕 | 1 cup | Low-sodium preferred |
| Lemon Juice 🍋 | 1 tsp | Freshly squeezed, optional |
| Fresh Parsley 🌿 | 2 tbsp | Chopped, for garnish |
| Black Pepper 🌶️ | ¼ tsp | Freshly ground |
The rice quality matters here—look for long-grain brown rice at Whole Foods or your regular grocery store. I prefer organic if it’s in budget, but any brand works as long as it’s fresh (old rice turns brittle). The bay leaf is small but mighty—dried is fine, just make sure it’s not dusty. For the liquid, filtered water or low-sodium vegetable broth from Trader Joe’s gives the best results.
No bay leaf on hand? Half a teaspoon of dried thyme works in a pinch. Skip the garlic powder if you’re serving this with a boldly seasoned main. The olive oil can be swapped for avocado oil or coconut oil, but both have stronger flavors. Want more depth? Add a pinch of turmeric or smoked paprika to the cooking water. The lemon juice at the end brightens everything up (don’t skip it).
Cooked rice keeps in the fridge for 4-5 days in an airtight container. Freeze for up to 3 months—portion it first for easy reheating. The parsley garnish is best added fresh, but dried works (just use one-third the amount).
Why You’ll Love This Recipe
- Set and Forget: I just dump everything in the pot, add water, and walk away. Honestly, it’s the easiest hands-off rice I’ve ever made.
- Bay Leaf Magic: That single bay leaf infuses the rice with this subtle, earthy depth—simple but so satisfying.
- Meal Prep MVP: I make a big batch on Sunday and it fuels my lunches all week, no problem.
Step-by-Step Instructions for Flavorful Brown Rice
Here’s the method I use to get perfectly cooked brown rice with nutty depth every time.
Step 1: Toast the Rice for Nutty Flavor
Heat the 1 tbsp olive oil in a large pot over medium heat until it shimmers. Add the 2 cups long-grain brown rice and stir constantly for 2-3 minutes until the grains turn light golden brown and release a toasty aroma.
Toasting the rice before cooking brings out its natural nuttiness and prevents it from becoming mushy. You’ll notice the color change gradually—don’t let it get too dark or it might taste bitter. This step also helps the rice absorb the cooking liquid more evenly.
Step 2: Combine Liquids and Aromatics
Pour in the 4.5 cups water, 1 cup vegetable broth, 1 whole bay leaf, 0.5 tsp sea salt, and 0.5 tsp garlic powder. Stir well to combine and bring the mixture to a boil over high heat.
Once boiling, give it one final stir to distribute the rice evenly in the pot. The vegetable broth adds depth of flavor while keeping it light and healthy. The bay leaf infuses subtle herbal notes as it cooks, and the garlic powder gives just the right amount of savory warmth.
Step 3: Simmer Until Tender
Reduce the heat to low, cover the pot with a tight-fitting lid, and let it simmer for 40-45 minutes. Resist the urge to lift the lid and check—steam is your friend here, and every peek adds cooking time.
After 40 minutes, check if the rice is tender and the liquid has been absorbed. If the rice is still firm or watery, cook for another 5 minutes. When done, the grains should be chewy but not hard in the center.
Step 4: Rest and Fluff
Remove the pot from heat and let it sit covered for 10 minutes. This resting period allows the rice to steam in its own heat, ensuring even doneness throughout.
After resting, remove the bay leaf and fluff the rice gently with a fork. Stir in the 1 tsp lemon juice, 2 tbsp fresh parsley, and 0.25 tsp black pepper. The lemon brightens the flavors, while the parsley adds freshness and color.
Pro Tips For Making Healthy Flavorful Brown Rice
- Soak the Rice: I learned this the hard way—soaking long-grain brown rice for 20-30 minutes before cooking cuts the cook time and guarantees even texture.
- Toast in Oil: Heat the rice in olive oil for 2-3 minutes before adding water; it brings out a nutty depth that plain boiling can’t touch.
- Skip the Peel: Resist the urge to remove the bay leaf too soon—leaving it in until the very end infuses the rice with subtle aroma without overpowering.
- Use Hot Water: Starting with hot water instead of cold shaves 10-15 minutes off the cook time and prevents that dreaded crunchy center.
Common Mistakes When Making This Dish
Skipping the Toast
I learned the hard way that skipping the toasting step leaves you with bland, mushy rice. Those 2-3 minutes of stirring in 1 tbsp olive oil unlock the nutty depth that makes this dish special. Don’t rush this—it’s worth the effort. 💪
Wrong Water Ratio
Using the standard 1:2 rice-to-water ratio works for white rice but fails for brown. Stick to 2 cups rice to 4.5 cups water plus 1 cup broth for perfect texture. Less liquid yields undercooked grains, while too much makes it soggy.
Peeking While Cooking
Every time you lift the lid, you release steam and add 5-10 minutes to your cook time. Trust the process—40-45 minutes of covered simmering is key. I set a timer and walk away to avoid temptation.
Not Rinsing First
Unrinsed rice often has excess starch that can make your dish gummy. Rinse until the water runs clear—this takes 30-60 seconds but ensures separate, fluffy grains. I use a fine-mesh strainer for this.
Starchy residue also dulls the nutty flavor we worked so hard to develop.
Skipping the Rest
That 10-minute rest after cooking lets the rice steam evenly and absorb any remaining liquid. Skipping it leaves you with uneven texture. I fluff with a fork right before serving.
Nutrition Facts
Frequently Asked Questions
Why toast the rice first?
Toasting brown rice in olive oil for 2-3 minutes enhances its natural nutty flavor and prevents mushiness. This step creates a foundation of depth that simple boiling can’t achieve.
Can I use a rice cooker?
Yes! Use the same 2:5 rice-to-liquid ratio and toast the rice in the pot first if possible. Most rice cookers have a brown rice setting that handles the 40-45 minute cook time automatically.
What if my rice is still crunchy after 45 minutes?
Add 1/4 cup water, cover, and cook for another 5-10 minutes on low. Old rice or high altitude may need extra time and liquid. Always check the package for variety-specific tips.
How do I reheat leftovers?
Sprinkle 1-2 tsp water per cup of rice, cover, and microwave for 1-2 minutes. For stovetop, heat in a pan with a splash of broth for 3-4 minutes.

- Ground Beef Rice and Beans Recipe: Slow-Simmered Savory Harmony - October 17, 2026
- Guyanese Fried Rice Recipe: Caribbean Spice With Wok-Charred Aromatics - October 17, 2026
- Hakka Thunder Tea Rice Recipe: Wok-Charred Herbal Infusion - October 17, 2026