
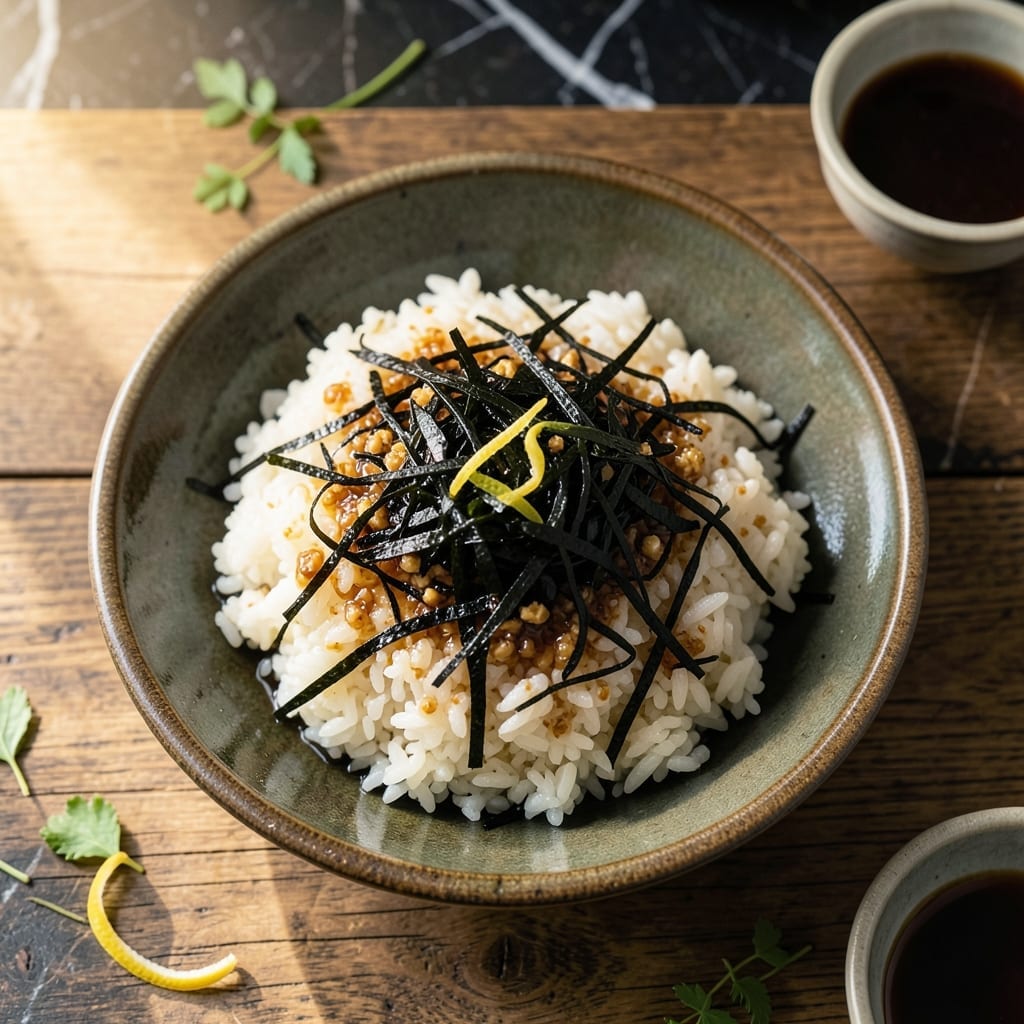
This dish brings the deep, briny flavor of the Japanese coast to your table with every bite. The combination of chewy hijiki seaweed and steamed rice creates a satisfying texture that’s both comforting and unique.
I’ve refined this traditional preparation to highlight the natural umami of the seaweed while keeping the process simple. Soaking the hijiki properly is key—it softens the strands and removes excess saltiness, ensuring a balanced flavor.
The result is a side dish that pairs perfectly with grilled fish, tofu, or miso soup. Its oceanic depth and subtle sweetness make it a staple in Japanese home cooking.
Nutrient-rich and full of minerals, this creation transforms humble ingredients into something extraordinary. Here’s how to make it at home.
Ingredients for Hijiki Rice
Dried seaweed, rice, and a few pantry staples create this oceanic side dish with chewy texture.
| Ingredient | Amount | Notes |
|---|---|---|
| Dried Hijiki Seaweed 🌊 | ½ oz | Rinsed before soaking |
| Japanese Short-Grain Rice 🍚 | 2 cups | Rinsed until water runs clear |
| Dashi Stock 💧 | 1 ½ cups | Vegan dashi if available |
| Soy Sauce 🫒 | 2 tbsp | Low-sodium preferred |
| Mirin 🍶 | 1 tbsp | Sweet cooking rice wine |
| Sugar 🍚 | 1 tsp | Organic or raw preferred |
| Sesame Oil 🫒 | 1 tsp | Toasted for aroma |
| Toasted Sesame Seeds 🌰 | 1 tbsp | For garnish and crunch |
| Green Onions 🧅 | 2 whole | Thinly sliced for garnish |
| Neutral-Flavored Oil 🫒 | 1 tbsp | For sautéing seaweed |
| Water 💧 | 1 cup | For soaking hijiki |
The hijiki is the soul of this dish. Look for dried hijiki at Asian markets or well-stocked grocery stores—Mitsua or Kikkoman brands are reliable. Ensure it’s labeled as hijiki (not arame or wakame). The rice should be short-grain Japanese variety like Koshihikari or Nishiki for authentic texture. Avoid rinsing the hijiki after soaking, as it leaches nutrients.
No dashi? Use combined kelp and shiitake stock for vegan depth. Tamari can replace soy sauce at one-to-one ratio. Mirin is essential for balance, but dry sherry plus a pinch of sugar works in a pinch. The sesame oil should be toasted for aroma—Kadoya is a trusted brand. Skip the sugar if your mirin is already sweet.
Store dried hijiki in a cool, dark place for up to 1 year. Cooked hijiki rice keeps 4-5 days refrigerated. Reheat gently with a splash of water to restore moisture. The dish freezes well for 3 months.
Why You’ll Love This Recipe
- One Pot Wonder: I just toss the hijiki and rice in with dashi, soy, and mirin—no extra pans, no fuss.
- Umami Bomb: That first bite with the briny hijiki and sweet-savory mirin? Ridiculously good.
- Meal Prep Star: Honestly, it tastes even better the next day, and it reheats like a dream.
- Budget Friendly: A little hijiki goes a long way, and it stretches a pound of rice into something special.
Step-by-Step Instructions for Hijiki Rice
Master the technique behind this traditional dish with precision and care.
Step 1: Soak and Prepare the Hijiki Seaweed
Rinse the 0.5 oz Dried Hijiki Seaweed thoroughly under cold water to remove any sand or debris. Place it in a bowl and cover with the 1 cup Water. Let it soak for 15-20 minutes until the seaweed softens and expands significantly.
Drain the seaweed well, pressing gently to remove excess water. The hijiki should now be tender with a deep, oceanic aroma. This rehydration step is crucial for achieving the right texture and releasing its umami-rich qualities into the dish.
Step 2: Rinse and Cook the Japanese Short-Grain Rice
Rinse the 2 cups Japanese Short-Grain Rice under cold water until the water runs completely clear. This removes excess starch and prevents a gummy texture. Drain well in a fine-mesh sieve.
Combine the rinsed rice and 1.5 cups Dashi Stock in a medium saucepan. Bring to a boil over medium-high heat, then reduce to low heat, cover, and simmer for 15-18 minutes until the liquid is absorbed and the rice is tender. Remove from heat and let it sit covered for 10 minutes.
Step 3: Sauté the Hijiki Seaweed
Heat the 1 tbsp Neutral-Flavored Oil in a small skillet over medium heat. Add the drained hijiki and sauté for 3-4 minutes, stirring frequently, until it becomes fragrant and slightly glossy. This step enhances its natural sweetness and deepens the flavor profile.
Add the 2 tbsp Soy Sauce, 1 tbsp Mirin, and 1 tsp Sugar to the skillet. Stir well to coat the seaweed evenly and cook for an additional 1-2 minutes until the liquid has mostly evaporated. Remove from heat and set aside.
Step 4: Combine and Finish the Hijiki Rice
Transfer the cooked rice to a large bowl. Add the sautéed hijiki mixture and the 1 tsp Sesame Oil. Using a rice paddle or wooden spoon, gently fold everything together until the hijiki is evenly distributed throughout the rice. Be careful not to mash the grains—preserve their individual integrity.
The rice should now have a speckled appearance with the dark hijiki contrasting against the white grains. The aroma will be rich and savory, with the seaweed’s briny depth complementing the rice’s subtle sweetness.
Step 5: Garnish and Serve
Thinly slice the 2 whole Green Onions and sprinkle them over the hijiki rice along with the 1 tbsp Toasted Sesame Seeds. The green onions add a fresh, sharp contrast, while the sesame seeds provide a nutty crunch.
Serve warm in individual bowls. Each bite should deliver a harmonious balance of chewy hijiki, tender rice, and the layered flavors of soy, mirin, and sesame. The texture should be slightly sticky with a satisfying resistance from the seaweed.
Pro Tips For Making Hijiki Rice
- Soak the Hijiki: Cover dried hijiki in water for 10-15 minutes before cooking—I learned this the hard way after biting into tough, chewy bits in my first few attempts.
- Rinse the Rice: Wash the short-grain rice until the water runs clear, or your final dish will have that unappetizing gray tint.
- Simmer Low and Slow: After adding dashi, soy, and mirin, keep the heat at a gentle simmer—cranking it up high turns the hijiki bitter and the rice mushy.
- Use Fresh Dashi: Skip the instant dashi powder if you can; a quick 10-minute kombu and bonito flake stock actually changes the outcome, giving the rice a cleaner, deeper flavor.
Serving Suggestions for This hijiki rice
Traditional Pairings
This dish shines alongside grilled salmon or teriyaki tofu for a complete Japanese meal. The briny hijiki contrasts beautifully with the rich, savory proteins. I often serve it with miso soup for a comforting, balanced dinner. 💛
Fresh Accompaniments
A simple cucumber sunomono (thinly sliced cucumbers in rice vinegar) adds a refreshing crunch. The acidity cuts through the dish’s richness. For color, I add pickled red ginger on the side—its vibrant pink hue brightens the plate.
Protein Variations
Try it with pan-seared scallops for a restaurant-worthy presentation. The scallops’ buttery texture pairs perfectly with the chewy hijiki. For vegetarians, tempura-fried vegetables like sweet potato or eggplant add satisfying crunch.
Condiments to Elevate
Drizzle with ponzu sauce for a citrusy finish, or add a dollop of wasabi for heat. I love sprinkling furikake on top for extra umami depth. Each bite becomes more complex with these simple additions.
Serving Style
Use a wooden rice paddle to fluff the mixture before plating. Serve in small lacquered bowls for authenticity. The dark hijiki specks against white rice look stunning in traditional tableware. 🍚
Temperature Tip
This creation tastes best at room temperature, making it perfect for bento boxes. The flavors meld beautifully over 1-2 hours. I often pack it for picnics—it travels well and stays delicious for hours.
Nutrition Facts
Frequently Asked Questions
Do I need to rinse hijiki before soaking?
Yes, always rinse dried hijiki thoroughly under cold water first. This removes sand, debris, and excess salt. Soak for 15-20 minutes after rinsing to rehydrate properly.
Can I use other seaweed instead?
Arame works as a substitute but has a milder flavor. Avoid wakame—it’s too delicate. Stick to hijiki for authentic taste and chewy texture.
How do I store leftover hijiki rice?
Keep in an airtight container refrigerated for 4-5 days. Reheat with a splash of water to restore moisture. Freezes well for 3 months.
Why does my hijiki taste too salty?
You likely skipped the initial rinse or didn’t drain it well after soaking. Always press out excess water before cooking to control saltiness.

- Jamaican Jollof Rice Recipe: Island Spice in Every Bite - October 18, 2026
- Hamburger Rice Hot Dish Recipe: Midwest Comfort in One Pan - October 18, 2026
- Iranian Cabbage Rice Recipe: Aromatic Herbs and Spiced Layers - October 18, 2026