
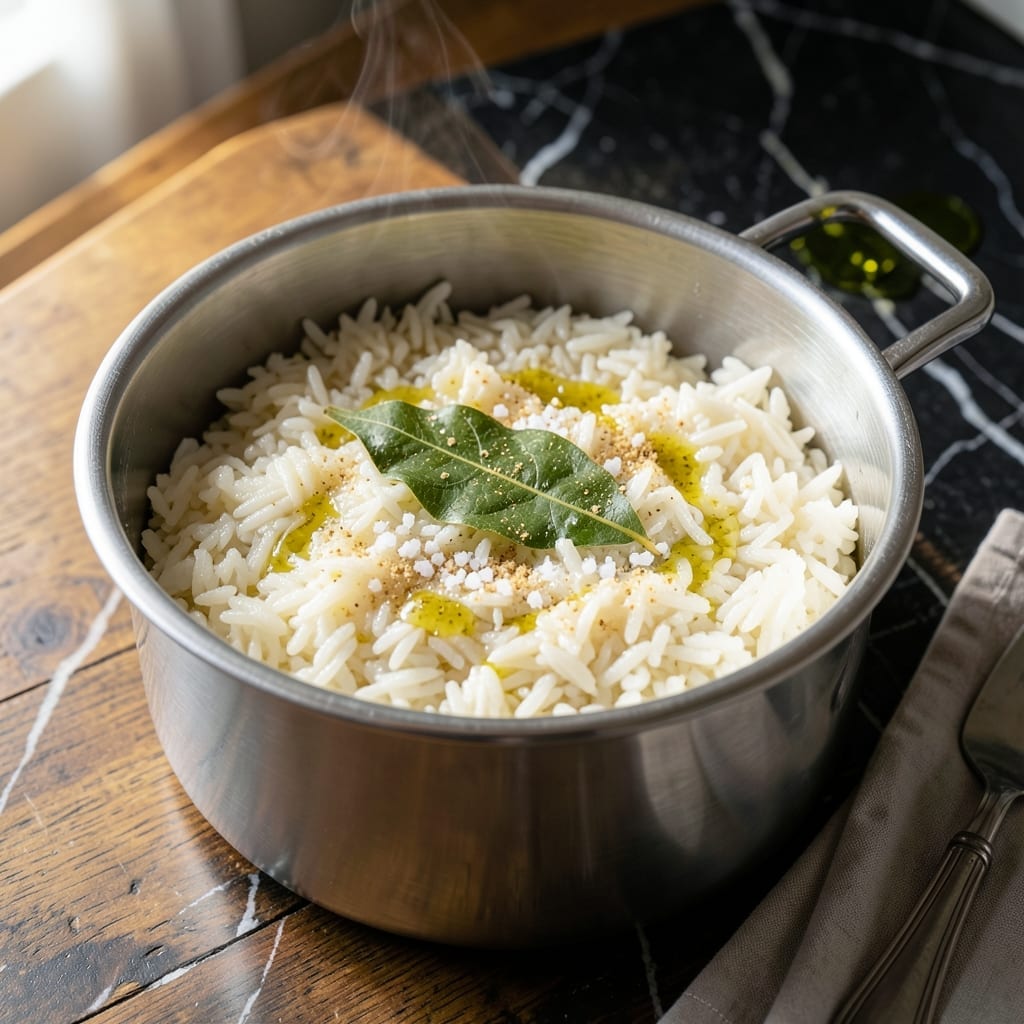
Achieving perfectly cooked rice in the Instant Pot Pro is simpler than you think. This method delivers consistent results with minimal effort and maximum flavor.
The key lies in precise liquid ratios and proper pressure settings. Whether you prefer white or brown rice, the process remains straightforward and reliable.
You’ll end up with grains that are tender yet distinct, never mushy or undercooked. The Instant Pot Pro’s advanced technology ensures even cooking every time.
Serve as a base for stir-fries, or enjoy it plain with your favorite protein. This recipe is a game-changer for busy weeknights.
Ingredients for Instant Pot Pro Rice
Pantry staples plus a few flavor boosters. Nothing exotic, just precise ratios.
| Ingredient | Amount | Notes |
|---|---|---|
| Long-Grain White Rice 🌾 | 2 cups | Rinsed until water runs clear |
| Water 💧 | 2 ½ cups | Filtered or distilled preferred |
| Unsalted Butter 🧈 | 1 tbsp | Optional for richness |
| Kosher Salt 🧂 | 1 tsp | Diamond Crystal preferred |
| Garlic Powder 🧄 | ½ tsp | For subtle depth |
| Bay Leaf 🍃 | 1 whole | Optional for aroma |
| Olive Oil 🫒 | 1 tsp | For sautéing rice |
| Fresh Parsley 🌿 | ¼ cup | Chopped, for garnish |
| Lemon Zest 🍋 | ½ tsp | Optional for brightness |
| Black Pepper 🌶️ | ¼ tsp | Freshly ground |
The rice really matters here. Long-grain white rice gives you those distinct, fluffy grains—jasmine or basmati work too (they’re a bit stickier). Rinsing is non-negotiable—it removes excess starch so the rice doesn’t turn gluey. I grab mine from Costco in bulk, but any grocery store brand works as long as it’s fresh. Check the expiration date—old rice cooks unevenly.
No butter? Olive oil or coconut oil works just as well. Want more flavor? Swap water for chicken or vegetable broth. Skip the bay leaf if you don’t have it, but the garlic powder is worth keeping—it adds a subtle depth. For brown rice, increase the water to 2.75 cups and extend the cook time. And yes, the 1:1.25 rice-to-water ratio is the magic number here.
Leftovers keep 4-5 days in the fridge, reheat with a splash of water to fluff. Freeze for up to 3 months in sealed bags. I make a double batch—it’s just as good for fried rice or grain bowls later in the week.
Why You’ll Love This Recipe
- Set and Forget: I toss everything in the Instant Pot Pro, press a button, and walk away—no stirring, no watching.
- Buttery Garlic Magic: The butter and garlic powder turn plain white rice into something rich and aromatic.
- Meal Prep Hero: I make a big batch Sunday and pair it with proteins or veggies all week.
- Budget Stretch: A pound of long-grain rice, a few pantry staples, and I’ve fed four for pennies.
Step-by-Step Instructions for Instant Pot Pro Rice
Here’s my tested method for achieving fluffy, perfectly cooked grains with your pressure cooker.
Step 1: Rinse and Prep the Rice
Place the 2 cups Long-Grain White Rice in a fine-mesh strainer and rinse under cold water until the water runs completely clear. This removes excess starch that would otherwise make your rice gummy.
I always give the rice a quick shake in the strainer to remove any lingering water droplets. Properly rinsed rice ensures each grain stays separate and light. While the rice drains, gather the remaining ingredients so everything is ready to go.
Step 2: Sauté Aromatics in the Instant Pot
Set your Instant Pot Pro to the sauté function on normal heat. Add the 1 tsp Olive Oil and 1 tbsp Unsalted Butter, swirling to coat the bottom of the pot. Once the butter melts and starts to foam, add the 0.5 tsp Garlic Powder and 1 whole Bay Leaf.
Sauté for 30 seconds until the garlic powder becomes fragrant—you’ll notice its aroma filling your kitchen. This quick step infuses the oil with flavor that will permeate every bite of rice. Watch carefully to prevent burning, as garlic powder can scorch quickly.
Step 3: Pressure Cook to Perfection
Add the drained 2 cups Long-Grain White Rice, 2.5 cups Water, 1 tsp Kosher Salt, and 0.25 tsp Black Pepper to the Instant Pot. Stir gently to distribute the rice evenly and ensure no grains are sticking to the bottom of the pot.
Secure the lid, set the valve to sealing, and cook on high pressure for 3 minutes. Yes, just 3 minutes—the Instant Pot Pro’s precise pressure control does the rest. Once the cooking time completes, let the pressure release naturally for 10 minutes, then quick-release any remaining pressure.
Step 4: Rest and Fluff for Optimal Texture
Remove the lid and discard the bay leaf. Let the rice rest uncovered for 5 minutes—this allows any remaining moisture to distribute evenly and prevents a wet, sticky texture. You’ll see the grains plump up beautifully during this short rest.
Gently fluff the rice with a fork, separating any clumps. The grains should be tender but still hold their shape, with no hard centers or mushy spots. If you notice any moisture at the bottom of the pot, simply fold the rice gently to absorb it.
Step 5: Garnish and Serve Warm
Transfer the rice to a serving bowl and sprinkle with the 0.25 cup Fresh Parsley and 0.5 tsp Lemon Zest. The parsley adds a fresh pop of color and herbal note, while the lemon zest brightens the dish with a subtle citrus aroma.
Serve immediately while hot. Each serving should have distinct, fluffy grains that are uniformly cooked and infused with the subtle garlic and bay leaf notes. This method consistently produces rice that’s neither undercooked nor overdone, with just the right amount of seasoning throughout.
Pro Tips For Making Instant Pot Pro Rice
- Rinse the Rice: Always rinse your long-grain white rice until the water runs clear—this removes excess starch and prevents gummy, sticky results.
- Use Equal Water: For perfect texture, use a 1:1 ratio of rice to water; I learned this the hard way after ending up with mushy rice more than once.
- Natural Release Only: Let the pressure release naturally for 10 minutes—skipping this can leave the rice undercooked or uneven, even if it looks done.
- Toast the Rice: Sauté the rice with butter for 2-3 minutes before adding water; it adds a subtle nutty depth that plain steamed rice just can’t match.
Essential Equipment for Perfect Results
Instant Pot Pro
The Instant Pot Pro is the star here, with its 10-quart capacity and precise pressure control. I love the sturdy stainless steel inner pot—I grab mine from Amazon or Best Buy. This model’s improved heat distribution ensures even cooking every time.
Fine-Mesh Strainer
Rinsing rice properly demands a fine-mesh strainer. I use the OXO Good Grips model—its tight mesh catches even the smallest grains while allowing thorough rinsing. Look for one with a 1.5-quart capacity to handle 2 cups of rice comfortably.
Wooden Spoon
A wooden spoon prevents scratching your Instant Pot’s inner surface while stirring. I keep a 12-inch bamboo spoon in my kitchen drawer. It’s gentle on cookware and won’t conduct heat like metal utensils.
Glass Measuring Cups
Accurate liquid measurements are critical for perfect rice. I recommend Pyrex glass measuring cups—they’re durable and microwave-safe. The 2-cup measure is ideal for this recipe’s 2.5 cups water requirement.
Kitchen Scale
For absolute precision, a digital kitchen scale ensures consistent rice-to-water ratios. I use the Escali Primo—it’s accurate to 1 gram and has a handy tare function. Weighing rice removes all guesswork.
Serving Essentials
A rice paddle or wide spatula helps fluff without crushing grains. I also keep a fine-mesh sieve handy for draining any excess liquid. These small tools make a surprising difference in your final texture. 💪
Nutrition Facts
Frequently Asked Questions
What water ratio works best for white rice?
Use a 1:1.25 ratio of rice to water. For 2 cups rice, that’s 2.5 cups water. This ensures fluffy, separate grains every time.
Can I cook brown rice the same way?
Yes, but increase water to 2.75 cups for 2 cups rice and extend cook time to 22 minutes on high pressure. Brown rice needs more liquid and time.
Why does my rice turn out mushy?
Mushy rice usually means too much water or insufficient rinsing. Always rinse until water runs clear and stick to the 1:1.25 ratio.
How long can I store cooked rice?
Keep in an airtight container in the fridge for 4-5 days. For longer storage, freeze up to 3 months.

- Jamaican Jollof Rice Recipe: Island Spice in Every Bite - October 18, 2026
- Hamburger Rice Hot Dish Recipe: Midwest Comfort in One Pan - October 18, 2026
- Iranian Cabbage Rice Recipe: Aromatic Herbs and Spiced Layers - October 18, 2026