
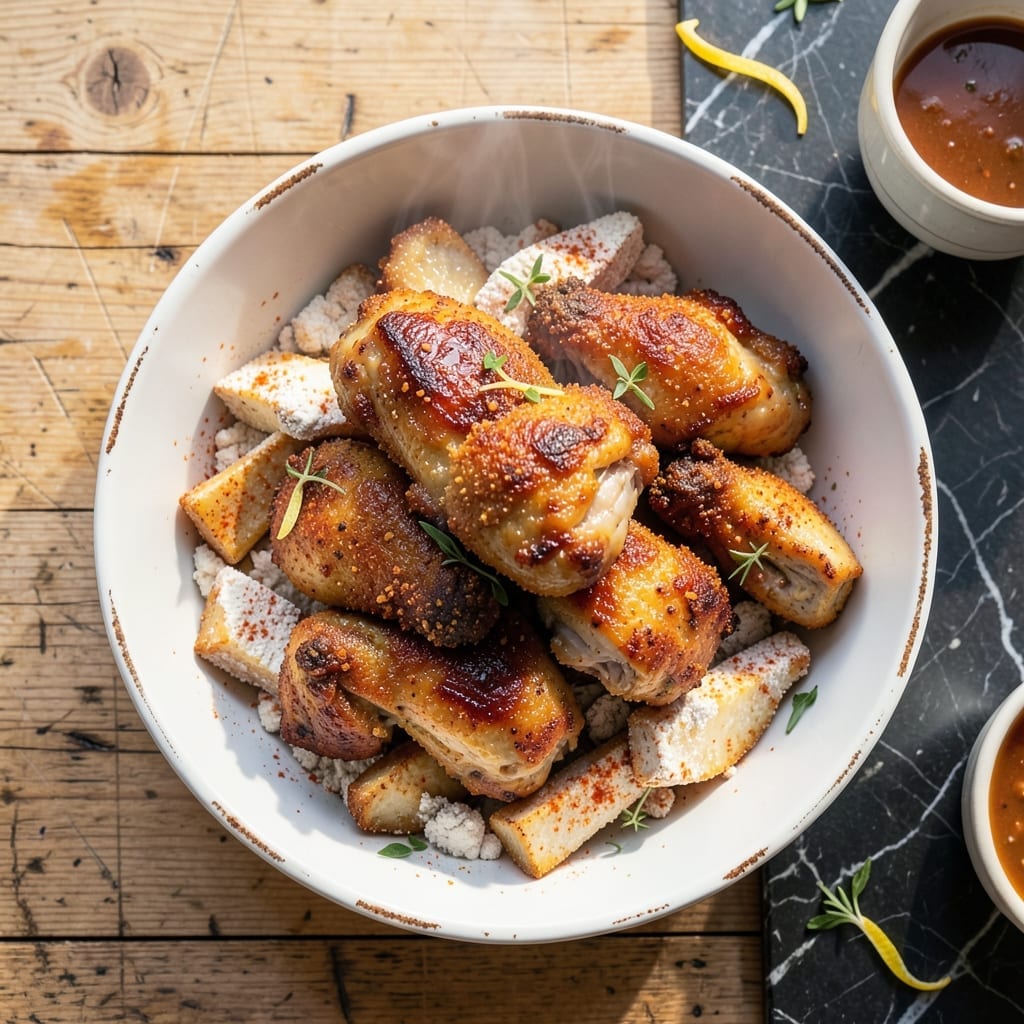
There’s nothing quite like the golden, crispy perfection of homemade fried chicken fresh from the pan. This method delivers that satisfying crunch with every bite, using a simple yet effective spice blend that enhances the natural flavor of the chicken.
The key is maintaining the right oil temperature and giving the chicken enough space in the pan to cook evenly. The result is meat that stays juicy inside while the coating achieves that signature crispy texture we all crave.
I’ve refined this technique over years of Sunday dinners, learning exactly how to balance the seasoning and cooking process. The spice blend creates a savory crust that’s flavorful without overpowering the chicken.
Serve this with your favorite sides for a meal that feels special enough for company but simple enough for weeknights. Here’s how to make it right every time.
Ingredients for Home Fried Chicken
Simple ingredients for that golden, crispy perfection we all love.
| Ingredient | Amount | Notes |
|---|---|---|
| Chicken Thighs 🍗 | 2 lb | Boneless, skin-on preferred |
| Buttermilk 🥛 | 2 cups | Full-fat for best results |
| All-Purpose Flour 🌾 | 2 cups | For dredging chicken |
| Cornstarch 🌽 | ½ cup | For extra crispiness |
| Paprika 🌶️ | 1 tbsp | Sweet or smoked variety |
| Garlic Powder 🧄 | 1 tbsp | Not garlic salt |
| Onion Powder 🧅 | 1 tbsp | Fresh ground preferred |
| Salt 🧂 | 1 tbsp | Kosher or sea salt |
| Black Pepper 🌶️ | 1 tsp | Freshly ground preferred |
| Cayenne Pepper 🔥 | ¼ tsp | Adjust for heat preference |
| Vegetable Oil 🫒 | 4 cups | For frying, high smoke point |
| Large Eggs 🥚 | 2 whole | Beaten for egg wash |
The chicken is everything here. Thighs stay juicier than breasts after frying, and skin-on gives you that extra-crispy coating. Most grocery stores carry them pre-cut, but Costco has the best price for bulk. Look for pieces that are similar in size so they cook evenly. The buttermilk? Full-fat from the dairy case—it makes a noticeable difference in the crust.
No buttermilk? Whole milk plus 1 tbsp lemon juice or vinegar works in a pinch. Swap cornstarch for more flour if needed, but the starch really helps with the crunch. Short on spices? Pre-made poultry seasoning can replace the paprika, garlic, and onion powders. The cayenne is optional (I usually skip it for the kids), but it adds a nice kick.
Leftovers keep in the fridge for 3-4 days, but they’re best eaten fresh. Reheat in a 350°F oven for 10-15 minutes to revive the crispiness. Freezes well for up to 3 months if you need to make ahead.
Why You’ll Love This Recipe
- One Pan Wonder: I can fry this up in a single skillet while the buttermilk-soaked thighs wait their turn—minimal mess, maximum payoff.
- Crispy Perfection: That cornstarch in the flour mix gives it a shatteringly crisp crust with a paprika kick that’s honestly hard to resist.
- Feeds the Whole Crew: I’ll make a double batch on Sunday and we’re set for lunch, dinner, and even a midnight snack or two.
- Budget Friendly: Chicken thighs stay cheap, and a little flour and cornstarch stretch to coat a whole family’s worth.
Step-by-Step Instructions for Home Fried Chicken
Here’s the method that delivers shatteringly crispy results every single time.
Step 1: Marinate Chicken in Buttermilk
Place the 2 lb Chicken Thighs in a large bowl and pour over all 2 cups Buttermilk. I like to separate skin from meat slightly to let the buttermilk penetrate deeply. Cover and refrigerate for at least 4 hours, but overnight gives the most tender, flavorful results.
The buttermilk’s acidity tenderizes the meat while the proteins help the coating adhere beautifully. You’ll notice the chicken plumps slightly as it absorbs the liquid—this is the magic working. Don’t rush this step; patience here ensures juicy meat under that crispy crust.
Step 2: Prepare the Seasoned Flour Mixture
In a large bowl, whisk together all 2 cups All-Purpose Flour, the 0.5 cup Cornstarch, 1 tbsp Paprika, 1 tbsp Garlic Powder, 1 tbsp Onion Powder, 1 tbsp Salt, 1 tsp Black Pepper, and 0.25 tsp Cayenne Pepper. The cornstarch is your secret weapon for that extra-crispy texture.
Whisk vigorously for 30 seconds to break up any lumps and distribute the spices evenly. The mixture should look like fine sand with no visible streaks of spice. I always make sure to taste a pinch—it should taste well-seasoned but not overwhelmingly salty.
Step 3: Create the Egg Wash and Dredge
Beat the 2 whole Large Eggs in a shallow dish until fully combined. Remove the chicken from the buttermilk, letting excess drip off. Dip each piece in the egg wash, then press firmly into the flour mixture, turning to coat completely.
For maximum crunch, I repeat the process: back into the egg wash, then back into the flour mixture. Press hard this second time—you want the coating to really cling. Place the dredged pieces on a wire rack set over a baking sheet and let them rest for 10 minutes while you heat the oil.
Step 4: Fry to Golden Perfection
Heat all 4 cups Vegetable Oil in a large, deep skillet or Dutch oven over medium-high heat to 350°F. Use a deep-fry thermometer for accuracy—this temperature ensures the outside crisps before the inside overcooks.
Carefully lower 2-3 pieces of chicken into the hot oil at a time, being careful not to overcrowd the pan. Fry for 6-8 minutes per side until deep golden brown and the internal temperature reaches 165°F. You’ll see tiny bubbles dancing around the chicken—that’s the moisture escaping, creating that signature crunch.
Transfer the cooked chicken to a wire rack set over paper towels to drain. The rack keeps the bottom from getting soggy. Let it rest for 5 minutes before serving—this allows the juices to settle and the crust to reach its maximum crispiness.
Pro Tips For Making Home Fried Chicken
- Double Dredge: I learned this the hard way—dip the buttermilk-soaked thighs in flour once, let them rest 5 minutes, then dredge again for that extra-crispy crust that actually stays put.
- Hot Oil Test: Drop a pinch of flour into the oil before frying—if it sizzles immediately, it’s ready; if it sinks, crank up the heat and wait.
- Dry the Thighs: Pat the chicken thighs bone-dry with paper towels before the buttermilk soak, or the coating slides right off like a bad Tinder date.
- Cornstarch Boost: Swap 2 tablespoons of the all-purpose flour for cornstarch in your dredge—it’s the thing that makes the crust shatter when you bite into it.
Common Mistakes When Making This Dish
Oil Temperature Issues
If your oil isn’t hot enough, the chicken will absorb too much oil and turn greasy instead of crispy. I always use a deep-fry thermometer to maintain that perfect 350°F. Too hot? The outside burns before the inside cooks through.
Overcrowding the Pan
Adding too many pieces at once drops the oil temperature dramatically. Fry in batches with at least 1 inch of space between each piece. This ensures even cooking and that coveted golden crust. I learned this the hard way with unevenly cooked batches. 🔥
Remember, patience is key—rushing leads to soggy results.
Skipping the Rest
Dredged chicken needs 10 minutes to rest before frying. This helps the coating adhere properly. Skipping this step often causes the breading to fall off during cooking, leaving you with bare spots.
Inconsistent Sizes
Mixed piece sizes mean uneven cooking. I trim larger thighs to match smaller ones, ensuring everything finishes at the same time. Aim for pieces that are 1-1.5 inches thick for consistent results.
Ignoring Internal Temp
Color isn’t always a reliable indicator. Use a meat thermometer to confirm the chicken reaches 165°F internally. This guarantees it’s safe to eat while staying juicy. Undercooked chicken is a health risk.
Nutrition Facts
Frequently Asked Questions
Can I use chicken breasts instead of thighs?
Yes, but thighs stay juicier due to higher fat content. If using breasts, reduce cooking time to 5-6 minutes per side to prevent dryness. Brining them first can help maintain moisture.
Why does my coating fall off during frying?
This usually happens if the chicken wasn’t rested after dredging. Let it sit for 10 minutes so the coating sets. Also, ensure oil is at 350°F before adding the chicken to avoid shocking the breading.
How do I keep it crispy after cooking?
Place cooked pieces on a wire rack, not paper towels. This prevents steam from making the crust soggy. Reheat in a 350°F oven for 10 minutes if serving later.

- Jollof Rice Sauce Recipe: West African Tomato and Spice Infusion - September 25, 2026
- Japanese Rice Soup Recipe: Umami-Rich Comfort in a Bowl - September 25, 2026
- Homemade Cream Of Rice Recipe: Silk-Smooth Breakfast in Minutes - September 25, 2026