
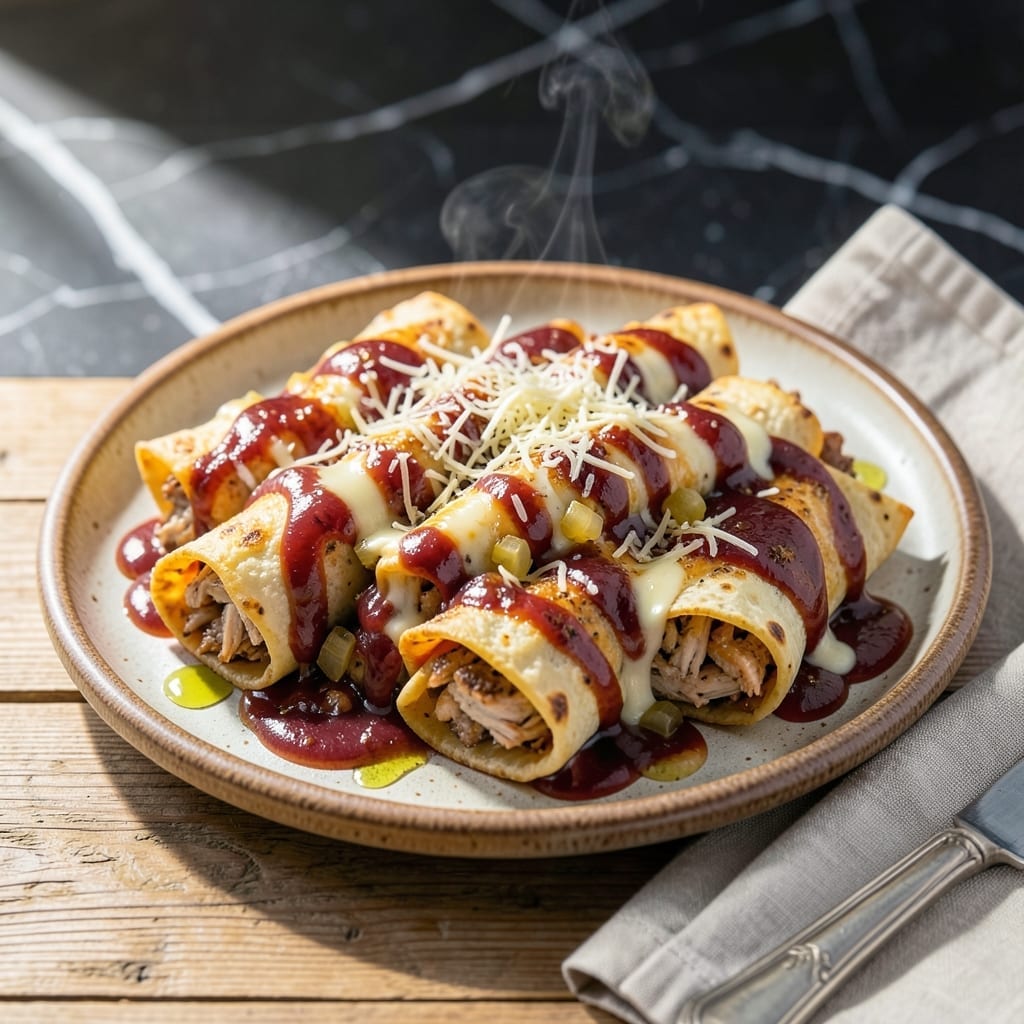
This homemade chicken enchilada recipe transforms simple ingredients into layers of tender flavor. The process involves creating a rich, spiced sauce that perfectly complements the filling.
I developed this method after testing various techniques, focusing on balancing authentic flavors with approachable preparation. The key is in the sauce—simmered with spices until deeply aromatic.
What results is a dish with melty cheese and chicken wrapped in soft tortillas, all bathed in that savory enchilada sauce. Each bite delivers the comfort of a meal made from scratch.
Serve with rice or beans for a complete meal. The recipe scales easily for gatherings.
Ingredients for Homemade Chicken Enchilada
Transform simple pantry staples into these cheesy, sauce-bathed layers of comfort.
| Ingredient | Amount | Notes |
|---|---|---|
| Boneless Skinless Chicken Breasts 🍗 | 1 ½ lb | Cooked and shredded |
| Corn Tortillas 🌮 | 12 pieces | 6-inch size preferred |
| Enchilada Sauce 🍅 | 2 cups | Canned or homemade |
| Shredded Monterey Jack Cheese 🧀 | 2 cups | Or substitute cheddar blend |
| Shredded Cheddar Cheese 🧀 | 1 cup | Sharp or mild preferred |
| Yellow Onion 🧅 | 1 whole | Medium, finely diced |
| Garlic Cloves 🧄 | 3 cloves | Minced for sauce |
| Ground Cumin 🌿 | 1 tbsp | Toasted for depth |
| Chili Powder 🌶️ | 1 tbsp | Mild or hot variety |
| Dried Oregano 🍃 | 1 tsp | Mexican oregano preferred |
| Olive Oil 🫒 | 2 tbsp | Extra-virgin for richness |
| All-Purpose Flour 🌾 | 2 tbsp | For thickening sauce |
| Chicken Broth 🥣 | 1 cup | Low-sodium preferred |
| Salt 🧂 | 1 tsp | Diamond Crystal kosher |
| Black Pepper 🌶️ | ½ tsp | Freshly ground |
The corn tortillas are non-negotiable for authentic texture—Mission brand holds up best to the sauce. For the chicken, air-chilled breasts from Whole Foods or Costco have superior moisture retention. The cheeses should be block cheese you shred yourself (pre-shredded has anti-caking agents that affect melt). Cabot or Tillamook are reliable brands for consistent quality.
No Monterey Jack? Pepper Jack adds a nice kick. Short on time? Rotisserie chicken works perfectly—shred about 4 cups. Out of cumin? Coriander at half the amount provides a different but complementary warmth. The flour thickener can be swapped for cornstarch at a 1:1 ratio, though the sauce will be slightly more translucent.
Assemble and refrigerate unbaked for up to 24 hours—ideal for prep ahead. Baked enchiladas keep 4-5 days covered in the fridge. Freeze individual portions wrapped tightly in foil for up to 3 months.
Why You’ll Love This Recipe
- One Pan Magic: That’s it—just shred the chicken, roll, sauce, and cheese. My kitchen stays clean while the oven does the work.
- Melted Cheese Heaven: The combo of Monterey Jack and cheddar gets all gooey and golden, with just the right tang from the enchilada sauce.
- Weeknight Hero: I prep it on Sunday and bake fresh on busy nights. Honestly, it tastes even better the next day.
- Feeds a Crowd: Six enchiladas for the cost of a takeout meal. Between us, my teens ask for this more than pizza.
Step-by-Step Instructions for Chicken Enchiladas
Master the technique for perfectly layered enchiladas with rich, flavorful results every time.
Step 1: Prepare and Season the Chicken Filling
Heat 2 tbsp olive oil in a large skillet over medium-high heat. Add 1 whole yellow onion, finely diced, and cook for 4-5 minutes until translucent and just beginning to brown. Stir in 3 cloves garlic cloves, minced, and cook for 30 seconds until fragrant.
Add 1.5 lb boneless skinless chicken breasts to the skillet. Season with 1 tbsp ground cumin, 1 tbsp chili powder, 1 tsp dried oregano, 1 tsp salt, and 0.5 tsp black pepper. Cook for 8-10 minutes, stirring occasionally, until the chicken is no longer pink and the internal temperature reaches 165°F.
Remove from heat, shred the chicken using two forks, and set aside. This spice blend creates the authentic foundation of flavor for your filling.
Step 2: Create the Enchilada Sauce Base
In the same skillet, heat 2 tbsp olive oil over medium heat. Whisk in 2 tbsp all-purpose flour and cook for 1 minute, stirring constantly, to create a roux. This thickens the sauce and prevents a raw flour taste.
Slowly pour in 1 cup chicken broth while whisking continuously. Add 2 cups enchilada sauce and stir to combine. Bring to a gentle simmer and cook for 3-4 minutes until the sauce thickens slightly and coats the back of a spoon. The sauce should be rich and glossy, ready to envelope the enchiladas.
Step 3: Assemble the Enchiladas
Preheat your oven to 375°F. Lightly coat a 9×13-inch baking dish with cooking spray. Spread ½ cup of the prepared enchilada sauce on the bottom of the dish to prevent sticking.
Dip each of the 12 pieces corn tortillas into the warm sauce to soften slightly, then fill with a portion of the shredded chicken. Roll tightly and place seam-side down in the baking dish. This softening step ensures the tortillas won’t crack during baking.
Pour the remaining sauce evenly over the top of the rolled enchiladas. Sprinkle with 2 cups shredded Monterey Jack cheese and 1 cup shredded cheddar cheese, ensuring full coverage for that melting, golden topping.
Step 4: Bake to Perfection
Bake uncovered for 20-25 minutes or until the cheese is fully melted and beginning to bubble at the edges. The enchiladas are done when the cheese is golden brown and the sauce is bubbling around the edges of the dish.
Remove from the oven and let rest for 5 minutes before serving. This brief rest allows the sauce to set slightly, making the enchiladas easier to plate without falling apart. Serve warm with additional enchilada sauce or garnishes as desired.
Pro Tips For Making Homemade Chicken Enchilada
- Warm the Tortillas: Heat corn tortillas for 10-15 seconds per side in a dry skillet before rolling—I learned this the hard way after too many cracked enchiladas.
- Shred the Chicken Fine: Use two forks to pull the cooked chicken into small, even pieces so every bite has sauce and cheese, not just big chunks.
- Skip Cold Cheese: Let shredded Monterey Jack and cheddar sit at room temperature for 20 minutes before baking to prevent a greasy, uneven melt.
- Sauce the Bottom: Spread a thin layer of enchilada sauce on the baking dish first—my grandmother swore by this, and it keeps them from sticking.
Storing and Reheating homemade chicken enchilada
Refrigerator Storage
Let your enchiladas cool completely before storing—this prevents condensation. Transfer to airtight containers and refrigerate at 40°F or below for up to 4-5 days. The flavors actually deepen as they sit. ❄️
Freezer Method
For longer storage, wrap individual portions tightly in aluminum foil, then place in freezer bags. They’ll keep for up to 3 months without freezer burn. Label with the date so you can track freshness.
Oven Reheating
Preheat oven to 350°F and place enchiladas in a baking dish. Cover with foil and bake for 15-20 minutes, then uncover to crisp the cheese. Add a splash of broth if the sauce looks dry.
Microwave Option
Microwave single servings covered with a damp paper towel on 70% power for 2-3 minutes. Stir halfway through and check that the internal temp reaches 165°F. 🔥
Make-Ahead Tip
Assemble unbaked enchiladas, cover tightly, and refrigerate for up to 24 hours before baking. This is perfect for meal prep—just add 5-10 minutes to the baking time if cooking straight from the fridge.
Nutrition Facts
Frequently Asked Questions
Can I use flour tortillas instead of corn?
Yes, but corn is traditional for authentic texture. Flour tortillas work in a pinch but can become soggy. To prevent this, lightly toast them before dipping in sauce.
How do I prevent my enchiladas from falling apart?
Let them rest for 5 minutes after baking. This allows the sauce and cheese to set, making them easier to serve intact.
Can I make these ahead of time?
Assemble unbaked enchiladas, cover tightly, and refrigerate for up to 24 hours. Add 5-10 minutes to baking time if cooking from cold.
How do I know when they’re fully cooked?
The cheese should be golden brown and bubbling, with an internal temperature of 165°F. The sauce will also bubble around the edges.

- Jollof Rice Sauce Recipe: West African Tomato and Spice Infusion - September 25, 2026
- Japanese Rice Soup Recipe: Umami-Rich Comfort in a Bowl - September 25, 2026
- Homemade Cream Of Rice Recipe: Silk-Smooth Breakfast in Minutes - September 25, 2026