
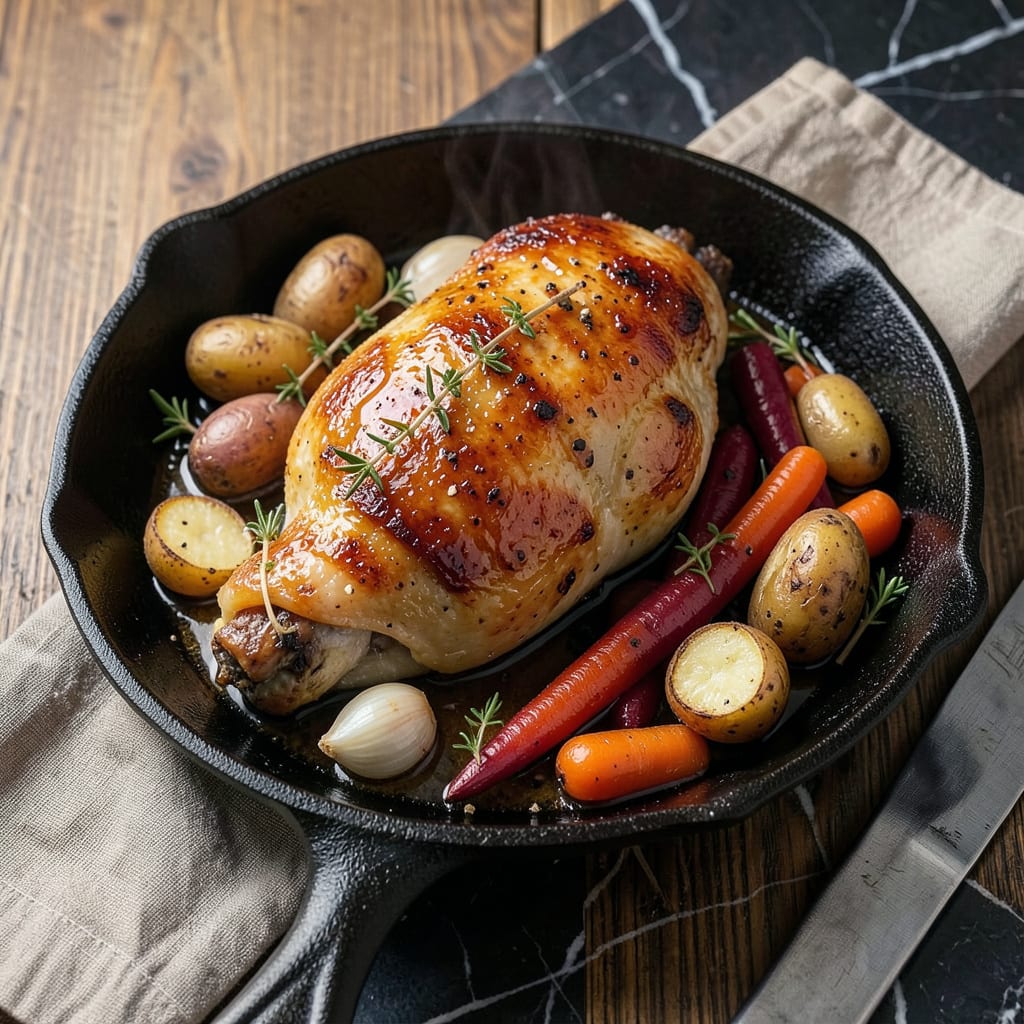
Cook frozen chicken leg quarters at 375°F for 60-75 minutes, or until internal temperature reaches 165°F. For crispier skin, increase heat to 425°F for the last 10 minutes. Always use a meat thermometer for accuracy.
Cooking from frozen requires patience—this method ensures the meat cooks through evenly without drying out. 🔥 The 375°F starting temperature allows the heat to penetrate the thickest parts gradually, while the final high-heat blast creates that coveted golden-brown finish. I always recommend placing the quarters on a wire rack over a baking sheet to promote air circulation, which helps prevent soggy skin and speeds up cooking time.
What many home cooks overlook is how the bone affects cooking. The leg quarters’ bone structure acts as a heat conductor, so the meat nearest to it often cooks faster. This is why checking multiple spots with your thermometer is crucial—especially near the joint where the thigh meets the drumstick.
💡 In This Article
- Why Oven Temperature and Time Matter for Frozen Chicken Legs
- Pro Tips for Perfectly Cooked Frozen Chicken Leg Quarters
Why Oven Temperature and Time Matter for Frozen Chicken Legs
The frozen state of chicken leg quarters creates a unique cooking challenge. When meat is frozen, the water inside forms ice crystals that act as insulators, slowing down heat transfer by about 25-30% compared to thawed meat.
At 375°F, the oven provides enough thermal energy to gradually melt these crystals while cooking the outer layers—preventing the dry, rubbery texture that happens when using higher initial temperatures. This moderate heat allows the collagen in connective tissues to break down slowly into gelatin, which keeps the meat moist and tender.
What happens inside the oven is a carefully balanced process. The 375°F environment ensures the chicken’s exterior reaches the Maillard reaction zone (around 300°F) without burning, while the interior climbs toward the 165°F safety threshold.
🔥 Frozen leg quarters typically contain about 10-12% more moisture than thawed ones, which means they require longer cooking times—about 1.5 times what you’d use for fresh chicken—to evaporate excess liquid while fully cooking the meat.
The final 425°F blast isn’t just for crispiness—it creates what food scientists call the “crust effect.” This high heat causes rapid moisture evaporation on the skin’s surface, creating microscopic bubbles that expand and burst, forming that satisfying crunch.
Without this step, you’d end up with steamed-looking skin instead of the golden, crackling texture that makes roasted chicken so appealing. The timing here is critical: too soon and the inside stays raw; too late and the skin burns before the crust forms.
Overcooking becomes a real risk because of carryover cooking. Even after removing chicken from the oven, the internal temperature continues rising by 5-10°F as heat redistributes. This is why pulling it at exactly 165°F (measured at the thickest part near the bone) prevents the dry, stringy texture that happens when proteins over-coagulate.
The bone itself acts as a heat sink, conducting heat unevenly—so the meat nearest to it often reaches temperature 10-15 minutes before the outer portions.
Compare this to cooking thawed leg quarters, which might take only 45-50 minutes at the same temperature. The frozen version requires that extra time because the ice crystals must first convert to water (absorbing heat energy in the process) before the meat temperature can rise.
This phase change explains why the first 30 minutes of cooking often shows little temperature progress on your thermometer—it’s not stalled; it’s physics in action. ✨
What most home cooks miss is how oven placement affects cooking. The lower third of your oven (where heat rises from) can cook these quarters 10-15% faster than the middle rack.
I always recommend rotating the pan halfway through cooking to account for hot spots—especially in conventional ovens where heat distribution isn’t as even as in convection models. This simple step can mean the difference between perfectly cooked meat and dry, overdone edges.
The resting period after cooking isn’t just tradition—it’s science. During those 10-15 minutes off heat, the muscle fibers (which have contracted during cooking) begin to relax. This allows the juices that were pushed to the center to redistribute throughout the meat.
💫 Cutting too soon means those juices spill onto your cutting board instead of staying in the meat where they belong, leaving you with dry, disappointing results despite perfect cooking times.

- Jollof Rice Sauce Recipe: West African Tomato and Spice Infusion - September 25, 2026
- Japanese Rice Soup Recipe: Umami-Rich Comfort in a Bowl - September 25, 2026
- Homemade Cream Of Rice Recipe: Silk-Smooth Breakfast in Minutes - September 25, 2026