
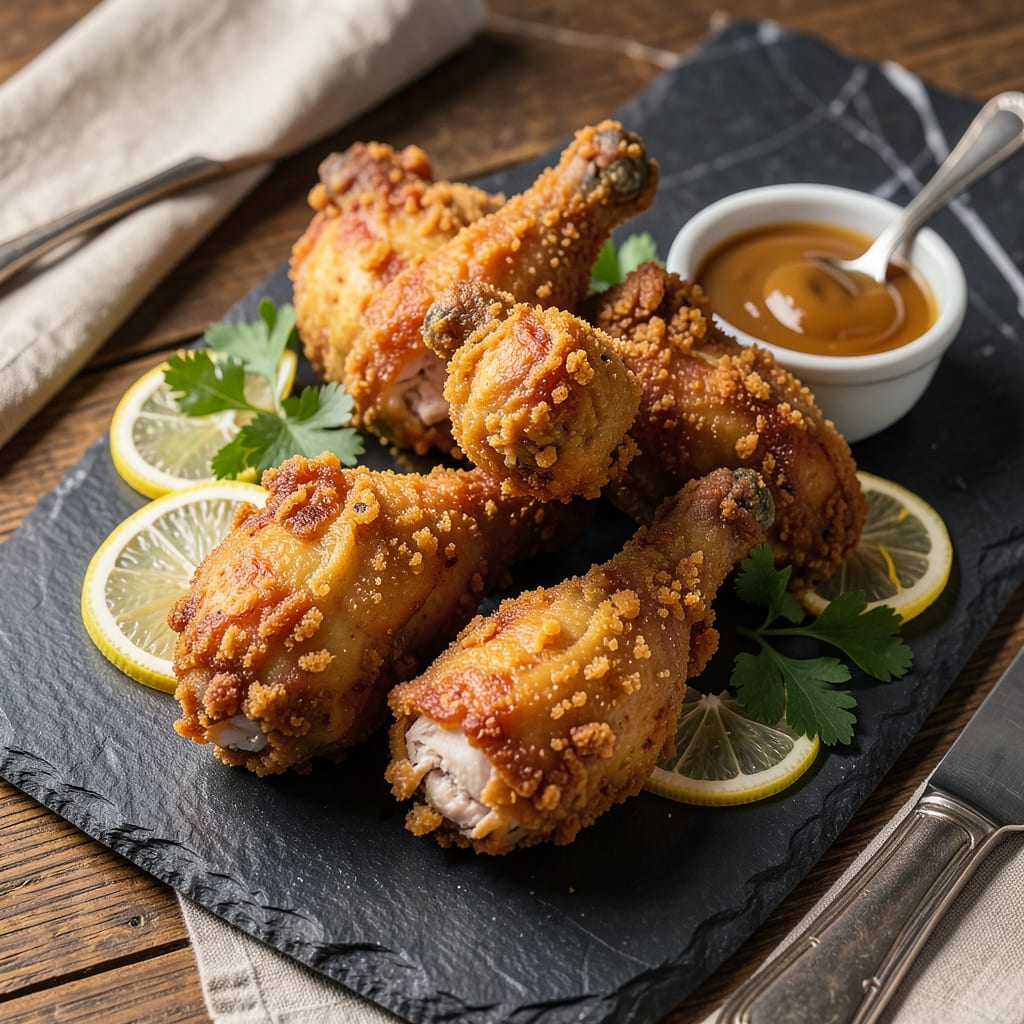
The secret to crispy, perfectly battered chicken lies in mastering the dipping technique—something I perfected after years of trial and error. This method ensures the coating adheres flawlessly, eliminating the frustration of batter sliding off during frying. The key starts with proper chicken preparation and batter consistency, both of which create an unbreakable bond between meat and crust.
First, the chicken must be completely dry before dipping—any moisture creates a barrier that prevents adhesion. I recommend patting pieces thoroughly with paper towels, then letting them air-dry for 10 minutes. The batter itself requires precise texture: thick enough to cling but thin enough to create an even layer. A simple ratio of flour to liquid (1:1) with a touch of cornstarch delivers that ideal consistency.
Temperature control plays a crucial role in maintaining batter integrity. Oil that’s too cool causes absorption and sogginess, while overheated oil burns the coating before the chicken cooks through. The sweet spot hovers around 350°F, where the batter crisps immediately upon contact, forming a protective shell that locks in moisture. This creates that coveted auditory crunch with every bite.
Resting the battered chicken for 5-10 minutes before frying allows the coating to set, further preventing separation during cooking. This technique works equally well for wings, tenders, or cutlets, producing consistently crispy results. The method transforms basic fried chicken into restaurant-quality perfection, with a coating that stays put from first bite to last.
📚 In This Guide
- What You’ll Need
- Instructions
- Tips and Common Mistakes
What Youll Need
- ● Chicken: 1–2 lbs (450–900g) boneless, skinless pieces (thighs, breasts, or tenders), patted completely dry with paper towels 🍗
- ● Flour: 1–2 cups all-purpose flour (for dredging; use more if coating multiple batches)
- ● Batter: 1 cup (adjust based on recipe—egg-based, buttermilk, or tempura-style)
- ○ Breading (optional): 1–2 cups panko, crushed cornflakes, or breadcrumbs for extra crunch
- ● Oil for frying: 2–3 cups neutral oil (vegetable, canola, or peanut) for deep-frying or 2 tbsp for pan-frying
- ● Mixing bowls: 3 shallow bowls (for flour, batter, and breading stations)
- ● Tongs or fork: For dipping without messy fingers
- ● Wire rack + baking sheet: Lets excess batter drip off pre-frying
- ○ Thermometer (optional but handy): Ensures oil stays at 350–375°F (175–190°C) for crispiness 🌡️
- ● Paper towels: For blotting dried chicken and draining fried pieces
- ○ Spices (optional): Salt, pepper, paprika, or garlic powder to flavor flour/breading
Instructions for Perfect Batter Adhesion
The following technique ensures your batter adheres completely, creating that ideal crispy coating every time.
Prepare the Chicken Surface Properly
Begin by patting the chicken pieces completely dry with paper towels. This critical step removes surface moisture that would otherwise create a barrier between the meat and batter. I use a firm pressing motion rather than dabbing to ensure maximum dryness.
For even better adhesion, lightly score the surface of the chicken with a sharp knife in a crosshatch pattern. These micro-cuts give the batter something to grip onto. Be careful not to cut too deeply—just enough to create texture on the meat’s surface.
Create the Optimal Dredging Station
Set up your dredging station with three shallow dishes in this specific order: flour mixture, egg wash, then batter. I use dishes with high sides to prevent spills and maintain organization. The flour mixture should contain equal parts all-purpose flour and cornstarch for maximum crispiness.
For the egg wash, whisk together whole eggs with a splash of water until completely homogeneous. The water thins the mixture slightly, allowing it to coat the chicken more evenly without creating clumps. Keep the batter in its final dish at room temperature to prevent premature thickening.
Execute the Triple-Dip Method
Dredge each piece of chicken first in the flour mixture, shaking off excess. The initial flour layer creates a dry foundation for subsequent layers to adhere to. Dip the floured piece completely into the egg wash, allowing excess to drip off for exactly 5 seconds.
Immediately transfer the wet piece to the batter, using your fingers to press the batter gently into all crevices. For maximum coverage, I use a “scoop and press” technique—scooping additional batter onto any thin spots and pressing firmly. Let the battered piece rest on a wire rack for 2 minutes before frying to set the coating.
Maintain Proper Oil Temperature
Heat your oil to a precise 350°F before adding any chicken. Use a deep-fry thermometer for accuracy, as visual cues alone are unreliable. The oil should shimmer but not smoke. When you add the battered chicken, the oil temperature will drop—this is normal.
Fry in small batches to prevent overcrowding, which would lower the oil temperature too dramatically. The batter should sizzle immediately upon contact and begin forming bubbles within 10 seconds. Maintain the oil between 325-350°F throughout frying for optimal crispiness without burning.
Implement the Critical Resting Period
Transfer fried chicken to a wire rack set over a baking sheet, not paper towels. The rack allows air circulation on all sides, preventing the crust from steaming and becoming soggy. Let the chicken rest for exactly 5 minutes before serving.
During this time, the internal temperature equalizes and the coating sets completely. You’ll notice the batter becomes even crispier as it cools slightly. This resting period also allows any excess oil to drain away from the chicken rather than being absorbed into the crust.
Tips and Common Mistakes for Perfect Batter Adhesion
Mastering the art of crispy, well-adhered batter requires attention to technique and timing. These professional insights will elevate your results.
Surface Preparation Technique: In Step 1, the crosshatch scoring creates microscopic channels that physically anchor the batter to the chicken. Use a sharp chef’s knife and make cuts about 1/8-inch deep at 45-degree angles. This technique mimics professional kitchen practices for maximum adhesion without compromising texture.
Temperature Control: The 350°F oil temperature specified in Step 4 isn’t arbitrary—it represents the optimal balance between rapid moisture evaporation (for crispiness) and starch gelatinization (for structure). Use a clip-on candy thermometer for precision, as even 10°F variations can dramatically affect results. The 325-350°F range accounts for the inevitable temperature drop when adding cold battered chicken.
Resting Period Science: The 5-minute resting period in Step 5 serves two critical functions: it allows the batter’s starches to retrograde (becoming firmer as they cool) and permits excess oil to drain through capillary action. Placing chicken on paper towels would trap steam against the crust, compromising crispness. The wire rack’s open design maintains structural integrity while preventing sogginess.
Dredging Station Optimization: The specific order of flour mixture → egg wash → batter in Step 2 creates a molecular bond between proteins (from egg) and carbohydrates (from flour). Keep your egg wash at room temperature to prevent premature coagulation when it contacts the batter. The 5-second drip time ensures an even, thin layer that won’t create clumps in the final batter application.
Pro Tips for Get Batter To Stick To Chicken
- Mastering the art of crispy, well-adhered batter requires attention to technique and timing. These professional insig…
- Surface Preparation Technique: In Step 1, the crosshatch scoring creates microscopic channels that physically anchor …
- Temperature Control: The 350°F oil temperature specified in Step 4 isn’t arbitrary—it represents the optimal balance …
Frequently Asked Questions
Got questions about making that batter cling like a champ? You’re not alone! Here are the most common head-scratchers—and quick fixes—to ensure your chicken gets that perfect crispy coat every time.
Why does my batter slide right off the chicken?
Wet or greasy chicken is the usual culprit! Pat the chicken thoroughly dry with paper towels before dipping. Also, chill the chicken for 15–20 minutes beforehand—cold surfaces help batter adhere better. Skip the oil in the batter if you’re frying; it can create a slippery barrier.
Should I dip chicken in flour, egg, or batter first?
The golden order is: flour → egg wash → batter (or breadcrumbs). The flour creates a rough base for the egg to grip, while the egg acts like glue for the batter. For extra stickiness, let the floured chicken rest 5–10 minutes before dipping in egg.
Can I use cornstarch instead of flour to help batter stick?
Absolutely! Cornstarch creates a lighter, crispier coating and absorbs moisture better than flour. Mix it 50/50 with flour for the first dip, or use it alone for a gluten-free option. Just don’t skip the egg wash—it’s non-negotiable for adhesion!
How long should I let the battered chicken rest before frying?
10–15 minutes is ideal! This lets the coating set and dry slightly, reducing drips in the oil. For double-crispy results, refrigerate the battered chicken uncovered for 30 minutes (great for meal prep!). Cold batter fries up crunchier too.
My batter sticks to the pan, not the chicken—what’s going wrong?
Two likely issues: oil temp is too low (aim for 350–375°F) or your batter is too thick. Thin it with a splash of water or beer for a lighter consistency. Also, avoid overcrowding the pan—steam from crowded chicken makes batter soggy and prone to sticking.
With the right prep, dipping technique, and a little patience, you’ve got everything you need to make batter stick to chicken like a pro! 🎯 Whether you’re frying, baking, or air-frying, a crispy, golden coating is just a few steps away. Now that you’re armed with these tips, grab that chicken, try the flour-egg-batter method, and get cooking—your crispy masterpiece awaits! For extra inspiration, experiment with different seasonings or sauces to make it your own. Happy frying! 🍗✨

- Jollof Rice Sauce Recipe: West African Tomato and Spice Infusion - September 25, 2026
- Japanese Rice Soup Recipe: Umami-Rich Comfort in a Bowl - September 25, 2026
- Homemade Cream Of Rice Recipe: Silk-Smooth Breakfast in Minutes - September 25, 2026