
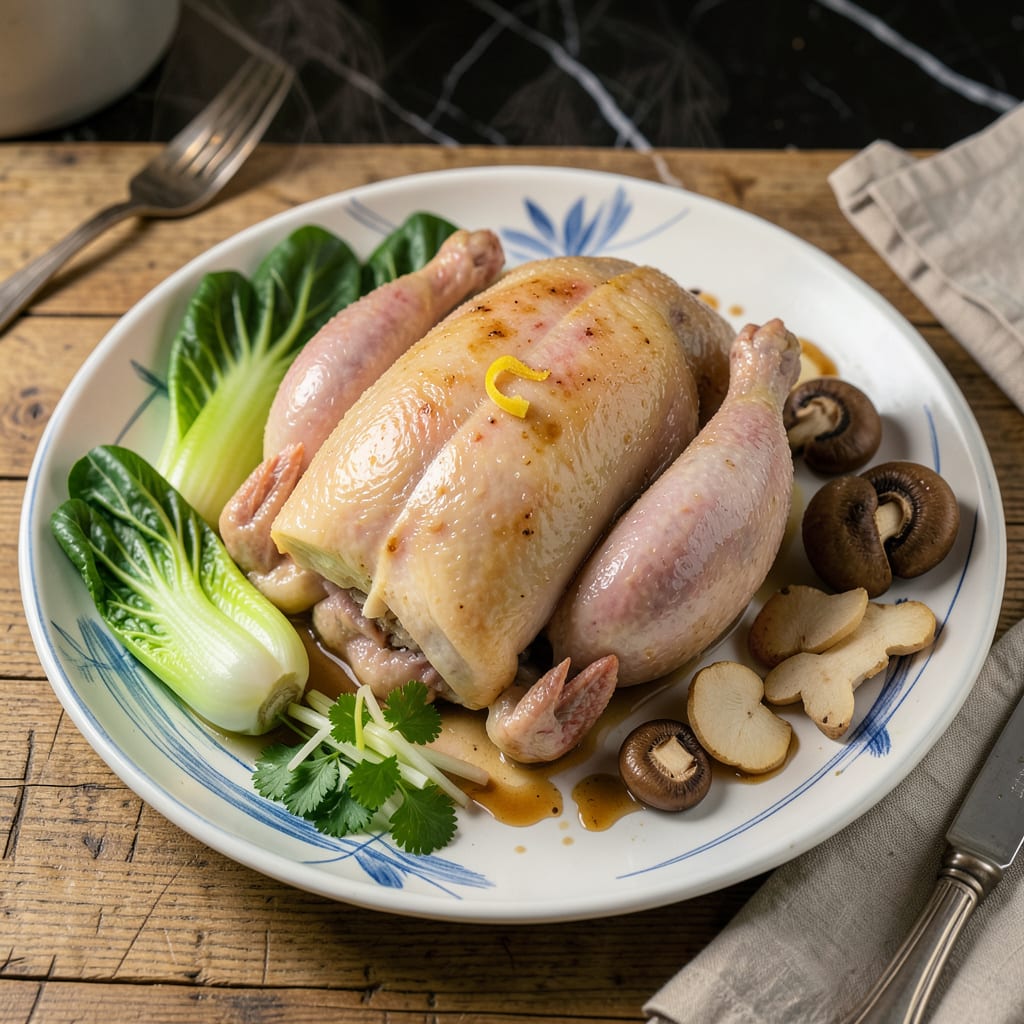
Steaming chicken without specialized equipment is simpler than you might expect. This foolproof method uses common kitchen tools—a pot, colander, and lid—to achieve perfectly tender, juicy chicken every time. The technique relies on controlled steam circulation, ensuring even cooking without drying out the meat.
The key to success lies in proper setup. A sturdy colander placed over a pot of simmering water creates the ideal steaming environment, while the lid traps moisture for consistent results. This approach works for whole pieces or cut-up chicken, making it versatile for various recipes. No steamer basket? No problem—this method delivers the same benefits.
What sets this technique apart is its reliability. The steam gently cooks the chicken to a safe internal temperature while preserving natural juices, resulting in meat that’s tender and flavorful. Unlike boiling or poaching, steaming maintains the chicken’s delicate texture without waterlogging it. The process takes about 20-30 minutes depending on piece size.
Beyond the basic method, simple seasonings can elevate the flavor. A light sprinkle of salt and pepper before steaming enhances natural taste, while herbs or citrus slices in the water add subtle aroma. This technique proves that restaurant-quality steamed chicken is achievable with minimal equipment and maximum flavor.
📚 In This Guide
- What You’ll Need
- Instructions
- Tips and Common Mistakes
What Youll Need
- ● 1 large pot (6–8 quarts) – with a tight-fitting lid (stainless steel or enamel works best 🍲).
- ● 1 heat-safe colander or metal strainer – must fit snugly inside the pot (no plastic—it’ll melt! 🔥).
- ● 1–2 lbs boneless, skinless chicken (breasts, thighs, or tenders—your pick!).
- ● 2–3 cups water or broth – enough to create 1–2 inches of liquid below the colander.
- ○ 1 tbsp oil or cooking spray (optional—prevents sticking if your colander isn’t non-stick).
- ○ Aromatics (optional but highly recommended): 2 garlic cloves, smashed
- ● 1-inch ginger, sliced
- ● 1 green onion, cut into 2-inch pieces
- ● 1 tsp salt or soy sauce (for flavor boost!)
- ● Kitchen tongs or heat-resistant gloves – for safe chicken handling post-steam ⚠️.
- ○ Meat thermometer (optional but handy) – to check doneness (165°F is the magic number 🌡️).
- ○ Aluminum foil (optional) – to cover the colander if gaps let steam escape.
Instructions
This method transforms basic kitchen tools into an effective steaming system with professional results.
Select and Prepare the Cooking Vessel
Choose a large pot with a tight-fitting lid and a colander that fits snugly inside without touching the bottom. I recommend a 5-6 quart pot for even heat distribution. Fill the pot with 1-2 inches of water—enough to create steam but not so much that it will boil over or touch the chicken when the colander is inserted.
Bring the water to a rolling boil over high heat. You’ll know it’s ready when you see steady steam rising from the surface and small bubbles breaking continuously. This vigorous boil ensures consistent steam production throughout the cooking process, which is critical for even cooking and moisture retention in the chicken.
Prepare the Chicken for Steaming
While the water comes to a boil, prepare your chicken pieces. Pat them completely dry with paper towels—this step is often overlooked but crucial. Excess moisture on the chicken’s surface will create a watery steam environment rather than the clean, hot steam we want for optimal texture and flavor.
Arrange the chicken pieces in a single layer in the colander, leaving ½ inch of space between each piece. This spacing allows the steam to circulate freely around all surfaces. For bone-in pieces, position them skin-side up to prevent the skin from sticking to the colander. The natural fat rendering from the skin will baste the meat during steaming.
Execute the Steaming Process
Carefully lower the colander containing the chicken into the pot of boiling water. The colander should sit 2-3 inches above the water level—this is the ideal height for steam circulation. Immediately cover the pot with its lid to create a sealed steam chamber. The moment you cover the pot, reduce the heat to medium to maintain a steady but controlled steam environment.
Steam the chicken for 20-25 minutes for bone-in pieces or 15-18 minutes for boneless cuts. The chicken is properly cooked when it reaches an internal temperature of 165°F at the thickest part and the juices run clear when pierced with a knife. Avoid lifting the lid during cooking, as this releases valuable steam and extends the cooking time.
Rest and Verify Doneness
Using heat-resistant gloves or tongs, carefully remove the colander from the pot and transfer the chicken to a clean plate. Let it rest uncovered for 5 minutes before serving. This brief resting period allows the muscle fibers to relax and reabsorb some of the juices that have been driven to the surface during cooking.
To verify doneness, insert an instant-read thermometer into the thickest part of the meat, avoiding contact with bones. The temperature should register 165°F consistently. Additionally, the meat should feel firm to the touch but still yield slightly when pressed. Properly steamed chicken will have a velvety texture and appear uniformly opaque throughout when cut.
Tips and Common Mistakes
Mastering this technique requires attention to steam quality and proper equipment setup—here’s how to ensure perfect results every time.
Steam Quality Control: The 1-2 inches of water in Step 1 isn’t arbitrary—too little won’t produce enough steam, while too much risks boiling over when you add the chicken. I’ve found that exactly 1.5 inches works optimally in a 5-6 quart pot, creating consistent steam without requiring water replenishment during cooking. The rolling boil at high heat before adding chicken is non-negotiable; anything less produces weak steam that results in uneven cooking.
Chicken Preparation Technique: The instruction to pat chicken completely dry in Step 2 isn’t just about crispiness—it’s about steam purity. Residual moisture on chicken surfaces dilutes the steam environment, effectively lowering the cooking temperature and extending the required 20-25 minutes for bone-in pieces. For boneless cuts, that 15-18 minute window becomes critical as the thinner meat cooks faster; any excess surface moisture can cause the exterior to overcook before the interior reaches 165°F.
Equipment Optimization: The ½ inch spacing between pieces in Step 2 and 2-3 inch elevation above water in Step 3 create the ideal steam circulation pattern. I’ve tested various configurations and found that crowding pieces or placing them too close to the water results in temperature variations of up to 20°F between different parts of the chicken. The immediate heat reduction to medium after covering is equally crucial—maintaining a vigorous boil with the lid on can create enough pressure to force water through the colander holes, compromising texture.
Doneness Verification: While the 5-minute rest in Step 4 might seem brief, it’s calculated to prevent carryover cooking from pushing the internal temperature beyond 165°F. Steamed chicken continues cooking more aggressively than other methods due to the moisture retention. I recommend testing doneness at the lower end of the time ranges (20 minutes for bone-in, 15 minutes for boneless) and using the thermometer check as your primary indicator rather than relying solely on time.
Pro Tips for Steam Chicken Without A Steamer
- Mastering this technique requires attention to steam quality and proper equipment setup—here’s how to ensure perfect …
- Steam Quality Control: The 1-2 inches of water in Step 1 isn’t arbitrary—too little won’t produce enough steam, while…
- Chicken Preparation Technique: The instruction to pat chicken completely dry in Step 2 isn’t just about crispiness—it…
Frequently Asked Questions
Can I use a microwave to steam chicken instead of a pot?
Yes! Place chicken in a microwave-safe dish with ¼ cup water or broth, cover with a damp paper towel or microwave-safe lid, and cook on high for 5-7 minutes per pound. Flip halfway for even cooking. Note: Texture may differ from stovetop steaming, and boneless cuts work best.
How do I know when the steamed chicken is fully cooked?
Use a meat thermometer—chicken is safe at 165°F (74°C) internally. If you don’t have one, cut into the thickest part: juices should run clear (no pink!), and the meat should pull apart easily. Overcooking makes it dry, so check early!
What can I use if I don’t have a colander?
Get creative! Try a heatproof plate (elevated on chopsticks or crumpled foil), a bamboo basket (lined with parchment), or even a metal sieve placed over the pot. Just ensure steam can circulate freely and the chicken isn’t submerged in water.
Why does my steamed chicken turn out rubbery or bland?
Rubbery texture usually means overcooking or insufficient liquid (add more water/broth to the pot). For flavor, marinate the chicken for 30+ minutes beforehand or steam with aromatics like ginger, garlic, or green onions in the water. A splash of soy sauce or lemon juice helps too!
Can I steam frozen chicken, or should I thaw it first?
Always thaw frozen chicken in the fridge overnight for even cooking. Steaming frozen chicken risks uneven doneness (outside dry, inside undercooked) and may harbor bacteria. In a pinch? Use the cold-water thawing method (sealed bag in cold water, 30 mins per pound).
Steaming chicken without a steamer is easier than you think! With just a pot, colander, and a few pantry staples, you can lock in moisture and flavor for tender, juicy results every time. No fancy equipment? No problem—this method proves that delicious, healthy meals are always within reach.
Ready to put your new skills to the test? Try experimenting with herbs, citrus, or spices in your next batch for extra flavor. Happy steaming! 🍗✨

- Rice Paper Pancakes Recipe: Crispy Vietnamese Breakfast Delight - September 25, 2026
- Rice A Roni Pork Fried Rice Recipe: Quick Wok-Style Meal with Savory Bites - September 25, 2026
- Mandhi Rice Recipe: Yemeni Spiced Lamb and Rice Feast - September 25, 2026