
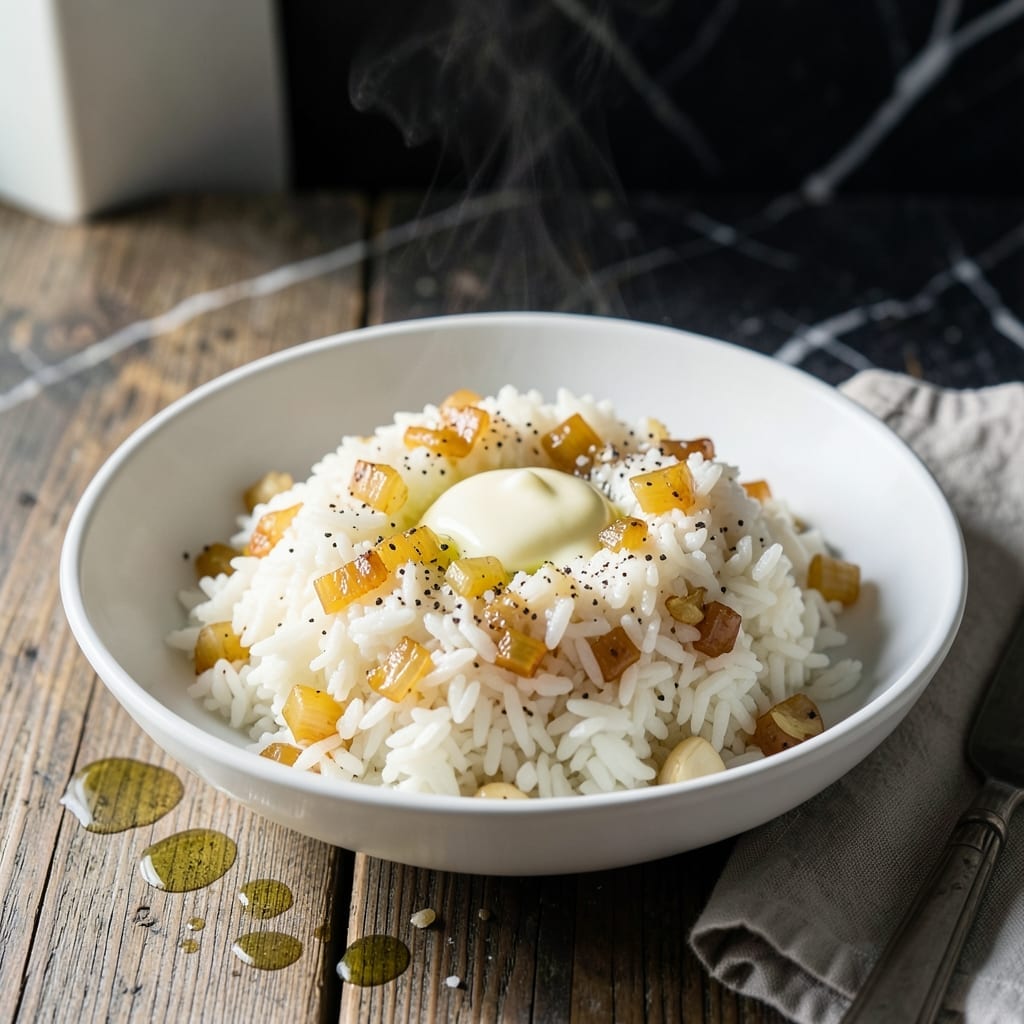
This foolproof method delivers perfectly fluffy rice with a rich, buttery finish every time.
I’ve tested countless ratios and techniques, and this approach consistently yields grains that are tender yet distinct. The key is precise timing and a simple butter-to-rice ratio that enhances every bite without overpowering.
The result is a side dish that pairs effortlessly with any main course. Each grain stays separate, coated in a subtle sheen of butter that elevates the natural flavor of the rice.
Whether for a weeknight dinner or a special occasion, this technique ensures reliable, restaurant-quality results.
Ingredients for Ina Rice
Precise ratios and quality ingredients create restaurant-quality rice every single time.
| Ingredient | Amount | Notes |
|---|---|---|
| Long-Grain White Rice 🍚 | 2 cups | Rinsed until water runs clear |
| Unsalted Butter 🧈 | 4 tbsp | Divided for cooking and finishing |
| Water 💧 | 3 ½ cups | Or substitute low-sodium chicken broth |
| Kosher Salt 🧂 | 1 tsp | Diamond Crystal preferred for precision |
| Freshly Ground Black Pepper 🌶️ | ¼ tsp | Or to taste |
| Garlic Cloves 🧄 | 2 cloves | Minced, optional for aroma |
| Yellow Onion 🧅 | ¼ whole | Finely diced, optional |
| Bay Leaf 🍃 | 1 whole | Removed before serving |
| Dry White Wine 🍷 | ¼ cup | Optional for depth of flavor |
| Fresh Parsley 🌿 | 2 tbsp | Chopped, for garnish |
The rice quality is paramount. Long-grain varieties like Basmati or Jasmine yield distinct, fluffy grains, while short-grain tends to clump. Lundberg or Carolina brands are reliable choices at most supermarkets. Unsalted butter allows precise seasoning control—Plugrá or Land O’Lakes are professional standards. For the water, filtered tastes cleaner, but tap works fine (just avoid heavily chlorinated).
No white wine? Additional broth or a splash of lemon juice adds brightness. Diamond Crystal kosher salt is my go-to for its clean flavor and easy pinchability. Fresh herbs can be swapped: chives or thyme work beautifully. The garlic and onion are optional but add depth—skip them if you prefer a pure buttery flavor. For a richer version, substitute half the water with whole milk.
Leftover rice keeps 4-5 days refrigerated in an airtight container. Reheat with a splash of water and a pat of butter to restore moisture. For freezer storage up to 3 months, spread cooked rice on a tray to freeze individually before bagging. This prevents that dreaded mushy texture upon thawing.
Why You’ll Love This Recipe
- One-Pot Wonder: I just dump rice, butter, water, salt, and pepper in a pot and let it simmer—no stirring, no fuss.
- Buttery Comfort: The melted butter soaks into every grain, making it rich and satisfying with just a hint of peppery bite.
- Feeds the Crowd: Honestly, it’s my go-to for potlucks because it stretches easily and pairs with anything from grilled chicken to roasted veggies.
- Budget Staple: A pound of rice and a few pantry basics make enough for leftovers, and it costs pennies per serving.
Step-by-Step Instructions for Buttery Long-Grain White Rice
Master this technique for perfectly fluffy, fragrant rice with a rich, buttery finish.
Step 1: Sauté Aromatics for Depth of Flavor
Melt 2 tbsp Unsalted Butter in a heavy pot over medium heat. Add the finely diced 0.25 whole Yellow Onion and cook for 3-4 minutes until translucent and soft.
Add the minced 2 cloves Garlic Cloves and cook for 30 seconds until fragrant but not browned. Stir in the 1 whole Bay Leaf to infuse its subtle aroma.
This creates a flavorful base that will permeate every grain of rice. The onion and garlic should never take on color—just soften and release their essence.
Step 2: Toast Rice for Nutty Richness
Add the 2 cups Long-Grain White Rice and stir to coat in the butter. Cook for 2-3 minutes, stirring frequently, until the rice becomes slightly opaque and releases a nutty aroma.
Toasting the rice before adding liquid prevents it from becoming mushy and enhances its natural flavor. You’ll notice the grains start to make a subtle clicking sound as they heat through.
At this point, pour in the 0.25 cup Dry White Wine and stir, allowing it to deglaze the pot and evaporate completely before proceeding.
Step 3: Add Liquids and Seasonings
Pour in the 3.5 cups Water and add the 1 tsp Kosher Salt and 0.25 tsp Freshly Ground Black Pepper. Stir once to distribute the ingredients evenly, then bring to a boil over medium-high heat.
As soon as the mixture reaches a boil, reduce the heat to low, cover the pot with a tight-fitting lid, and set a timer for 15 minutes. The liquid should be at a gentle simmer, not a rolling boil.
Resist the urge to lift the lid during this cooking time—steam is crucial for even cooking and fluffy results.
Step 4: Rest and Finish with Butter
After 15 minutes, turn off the heat and let the rice rest, covered, for 10 minutes. This allows the grains to absorb any remaining moisture and the steam to finish the cooking process.
Remove the 1 whole Bay Leaf and discard it. Gently fluff the rice with a fork, then stir in the remaining 2 tbsp Unsalted Butter until melted and fully incorporated.
The rice should be tender but still hold its shape, with each grain distinct and glossy from the butter.
Step 5: Garnish and Serve
Transfer the rice to a serving bowl and sprinkle with 2 tbsp Fresh Parsley. The parsley adds a pop of color and freshness that balances the rich, buttery rice.
Serve immediately while hot. Each bite should deliver perfectly cooked grains with a subtle background of onion, garlic, and wine, all tied together with the luxurious butter finish.
This method ensures consistent results every time, with rice that’s neither sticky nor dry—just perfectly buttery and fluffy.
Pro Tips For Making Ina Rice
- Rinse the Rice: Always rinse the long-grain white rice until the water runs clear—this removes excess starch and keeps the grains separate, not gummy.
- Toast the Rice: Before adding water, cook the rice in the butter for 2-3 minutes on medium heat until it smells nutty. I learned this the hard way—skipping this step gives bland results.
- Use the Right Ratio: Stick to 1 part rice to 2 parts water—any more and you’ll end up with mush, any less and it’ll be undercooked. Sounds simple, but I’ve ruined batches by eyeballing it.
- Rest Before Serving: Once done, let it sit covered off the heat for 5 minutes. My grandmother swore by this, and she was right: it lets the rice steam evenly and absorb all the buttery flavor.
Essential Equipment for Perfect Results
Heavy Bottom Pot
I always use a 3-4 quart enameled cast iron Dutch oven—like my trusty Le Creuset. Its heavy base distributes heat evenly, preventing hot spots that can burn the rice while the lid traps steam perfectly. 💡
Tight-Fitting Lid
A well-sealing lid is non-negotiable for this recipe. Mine is tempered glass so I can peek without lifting. If yours doesn’t fit snugly, cover with foil first, then the lid to lock in that essential steam.
Wooden Spoon
Use a wooden spoon to stir the toasting rice—it won’t scratch your pot like metal might. I keep a dedicated rice spoon in my utensil crock for this exact purpose.
Fine Mesh Strainer
Rinsing the rice removes excess starch that could make it gummy. A fine mesh strainer prevents grains from slipping through. I rinse until the water runs completely clear, which usually takes 3-4 changes of water.
Instant-Read Thermometer
While not essential, I love using my ThermoWorks ThermoPop to verify the water reaches 212°F before adding the rice. This ensures consistent boiling times, especially at higher altitudes. 🌡️
Rice Paddle or Fork
When fluffing the finished rice, a rice paddle or fork separates grains without crushing them. I avoid spoons which can compress the rice. Gently fold from the bottom up to maintain those distinct grains.
Nutrition Facts
Frequently Asked Questions
What kind of rice works best for this method?
Use long-grain white rice like Basmati or Jasmine for fluffy, distinct grains. Short-grain varieties tend to clump together.
Can I substitute the water with something else?
Yes, low-sodium chicken broth adds depth of flavor. For extra richness, replace half the water with whole milk.
Why do I need to toast the rice first?
Toasting enhances the nutty flavor and prevents mushiness. It takes just 2-3 minutes over medium heat.
How do I store leftovers?
Keep in an airtight container for 4-5 days in the fridge. Freeze for up to 3 months by spreading rice on a tray first.

- Mujadara Rice and Lentils Recipe: Earthy Spiced Lentils With Caramelized Onions - November 1, 2026
- Naija Fried Rice Recipe: Street-Style Spice With Veggie Crunch - November 1, 2026
- Mushy Rice Recipe: Fluffy Grains Transformed in Minutes - November 1, 2026