
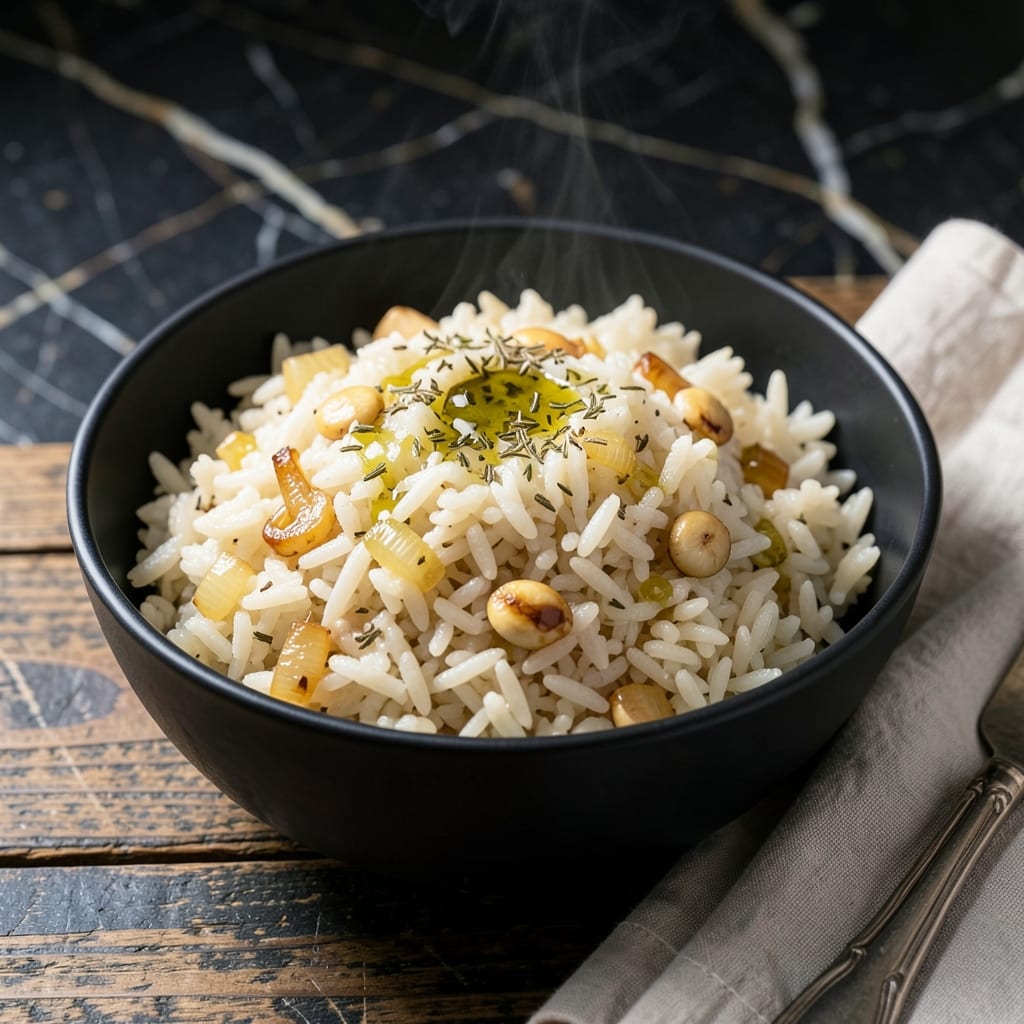
This Instant Pot method transforms plain rice into a perfectly aromatic side dish with minimal effort. The sealed environment locks in flavors, ensuring every grain absorbs the seasonings evenly.
I’ve refined this technique to deliver consistent results every time. The key is using the right liquid ratio and letting the pressure work its magic for one-pot convenience.
You’ll end up with fluffy, fragrant rice that pairs beautifully with any main course. The hands-off cooking process means you can focus on the rest of your meal.
No more watching pots or stirring—just set it and forget it until the timer goes off.
Ingredients for Instant Pot Flavored Rice
A few pantry staples and fresh herbs create this aromatic one-pot side dish effortlessly.
| Ingredient | Amount | Notes |
|---|---|---|
| Long-Grain White Rice 🍚 | 2 cups | Rinsed until water runs clear |
| Chicken Broth 🍲 | 2 ½ cups | Low-sodium preferred for control |
| Olive Oil 🫒 | 2 tbsp | Extra-virgin for depth of flavor |
| Garlic Cloves 🧄 | 4 cloves | Minced finely for even distribution |
| Yellow Onion 🧅 | 1 whole | Finely diced for subtle texture |
| Dried Thyme 🌿 | 1 tsp | Crushed between fingers to release oils |
| Dried Rosemary 🌿 | 1 tsp | Finely chopped to avoid large pieces |
| Bay Leaf 🍃 | 1 whole | Removed before serving |
| Salt 🧂 | 1 tsp | Kosher or sea salt preferred |
| Black Pepper 🌶️ | ½ tsp | Freshly ground for best flavor |
| Lemon Juice 🍋 | 1 tbsp | Freshly squeezed brightens flavors |
| Fresh Parsley 🌿 | ¼ cup | Chopped, for garnish |
The broth is everything here. Low-sodium chicken broth lets you control the salt level—Better Than Bouillon is my go-to for depth. The rice should be long-grain white for that fluffy texture (jasmine or basmati both work great). I grab my dried herbs from Penzeys when I can—their thyme and rosemary are potent and fresh. Don’t skip the rinse on the rice (the good stuff, not the pre-rinsed kind).
No chicken broth? Vegetable broth or water plus bouillon cube works in a pinch. Want more aroma? Add a pinch of saffron or turmeric for color. Fresh herbs can replace dried at triple the amount—just add them at the end. The onion and garlic are flexible: shallots for sweetness, red onion for bite (or whatever you’ve got). Need it faster? Use instant rice but cut the liquid by a quarter.
Leftovers keep 4-5 days in the fridge, reheat with a splash of water. Freezes beautifully for 3 months—portion into containers for easy sides. The flavors actually deepen overnight, so make extra (worth the extra minute).
Why You’ll Love This Recipe
- Set It and Forget: I toss everything in the Instant Pot, press a button, and walk away—no stirring, no watching.
- Garlic-Onion Richness: The chicken broth soaks into the rice while the sautéed garlic and onion give every bite a deep, savory punch.
- Meal Prep Hero: I make a big batch Sunday and pair it with proteins or veggies all week long.
- Budget Stretcher: A pound of rice, a few pantry staples, and I’ve got a filling side that feeds my family for days.
Step-by-Step Instructions for Instant Pot Flavored Rice
Here’s my foolproof method for perfectly seasoned rice using just one pot and your Instant Pot.
Step 1: Sauté Aromatics for Depth of Flavor
Set your Instant Pot to the Sauté function and add the 2 tbsp olive oil. Once it shimmers, add the finely diced yellow onion and cook for 3-4 minutes until it turns translucent and begins to soften at the edges.
Add the minced garlic cloves and stir for 30 seconds until fragrant—don’t let it brown. This builds a flavor foundation that makes the rice taste anything but plain. The onions should look glossy, not caramelized, at this stage.
Step 2: Toast the Rice and Add Seasonings
Stir in the 2 cups long-grain white rice and cook for 1-2 minutes, stirring constantly, until the grains appear slightly opaque and you catch a light nutty aroma. This toasting step prevents the rice from turning mushy.
Add the 1 tsp dried thyme, 1 tsp dried rosemary, 1 whole bay leaf, 1 tsp salt, and 0.5 tsp black pepper. Stir to coat the rice evenly. The herbs should smell vibrant and fresh as they warm in the pot.
Step 3: Pressure Cook to Perfection
Pour in the 2.5 cups chicken broth and stir, scraping up any browned bits from the bottom of the pot to prevent burning. Secure the lid, set the valve to Sealing, and cook on High Pressure for 5 minutes.
The Instant Pot will take about 10 minutes to come to pressure before the cooking time begins. Once done, let the pressure release naturally for 10 minutes, then quick-release any remaining pressure. The rice should have absorbed all the liquid and appear tender.
Step 4: Finish and Fluff the Rice
Remove the lid and discard the bay leaf. Drizzle the 1 tbsp lemon juice over the rice and gently fold it in with a silicone spatula. The lemon brightens all the flavors and balances the richness of the broth.
Let the rice sit uncovered for 5 minutes to allow excess moisture to evaporate. Then fluff with a fork, separating any clumps. The grains should be distinct, tender, and evenly coated with the aromatic cooking liquid.
Sprinkle with the 0.25 cup fresh parsley just before serving. The parsley adds a pop of freshness and color that makes this dish look as good as it tastes.
Pro Tips For Making Instant Pot Flavored Rice
- Sauté Aromatics First: Cook the minced garlic and diced yellow onion in olive oil using the Instant Pot’s sauté function until soft and fragrant—about 3-4 minutes. This builds a flavor base that infuses the rice as it cooks.
- Rinse the Rice: Always rinse the long-grain white rice under cold water until the water runs clear to remove excess starch. I learned this the hard way after ending up with gummy rice more than once.
- Use the Right Ratio: Stick to a 1:1.25 ratio of rice to chicken broth (e.g., 1 cup rice to 1.25 cups broth) for perfectly fluffy grains. Skipping this and eyeballing it usually leads to undercooked or mushy results.
- Natural Release Only: Let the pressure release naturally for at least 10 minutes after cooking. I used to quick-release and wondered why my rice was unevenly cooked—this fixes it.
Serving Suggestions for This Recipe
Garnishing Ideas
Fresh parsley is just the start—try topping with toasted slivered almonds for crunch. A sprinkle of crumbled feta adds a tangy contrast that brightens the dish. 💫
Protein Pairings
This rice shines alongside grilled chicken or baked salmon. For a vegetarian option, pair with chickpea curry. The rice soaks up saucy dishes beautifully.
Veggie Sides
Roasted asparagus or steamed broccoli add freshness without overpowering. I love a simple cucumber-tomato salad with lemon dressing for a light contrast.
Sauce Complements
A drizzle of garlic aioli or tahini sauce takes this to restaurant level. For heat lovers, sriracha or chili oil adds a spicy kick. 🔥
Serving Temperature
Serve warm for maximum aroma, but this rice tastes great at room temperature too. If reheating, add a splash of chicken broth to restore moisture.
Presentation Tips
Use a ring mold for elegant plating, or serve family-style in a wooden bowl. Garnish with lemon wedges for guests to add extra brightness as desired.
Nutrition Facts
Frequently Asked Questions
Can I use brown rice instead?
Yes, but adjust the liquid to 3 cups and increase cooking time to 22 minutes on high pressure. Brown rice needs more water and time to soften properly.
What if my rice turns out mushy?
This usually happens from too much liquid or not toasting the rice first. Stick to the 2.5 cups broth ratio and always toast the grains for 1-2 minutes before pressure cooking.
Can I add vegetables to this?
Stir in 1 cup diced carrots or peas when you add the broth. For firmer veggies like bell peppers, sauté them with the onions first.
How do I store leftovers?
Keep in an airtight container in the fridge for up to 4-5 days. Reheat in the microwave with a splash of water or freeze for up to 3 months.

- Mujadara Rice and Lentils Recipe: Earthy Spiced Lentils With Caramelized Onions - November 1, 2026
- Naija Fried Rice Recipe: Street-Style Spice With Veggie Crunch - November 1, 2026
- Mushy Rice Recipe: Fluffy Grains Transformed in Minutes - November 1, 2026