
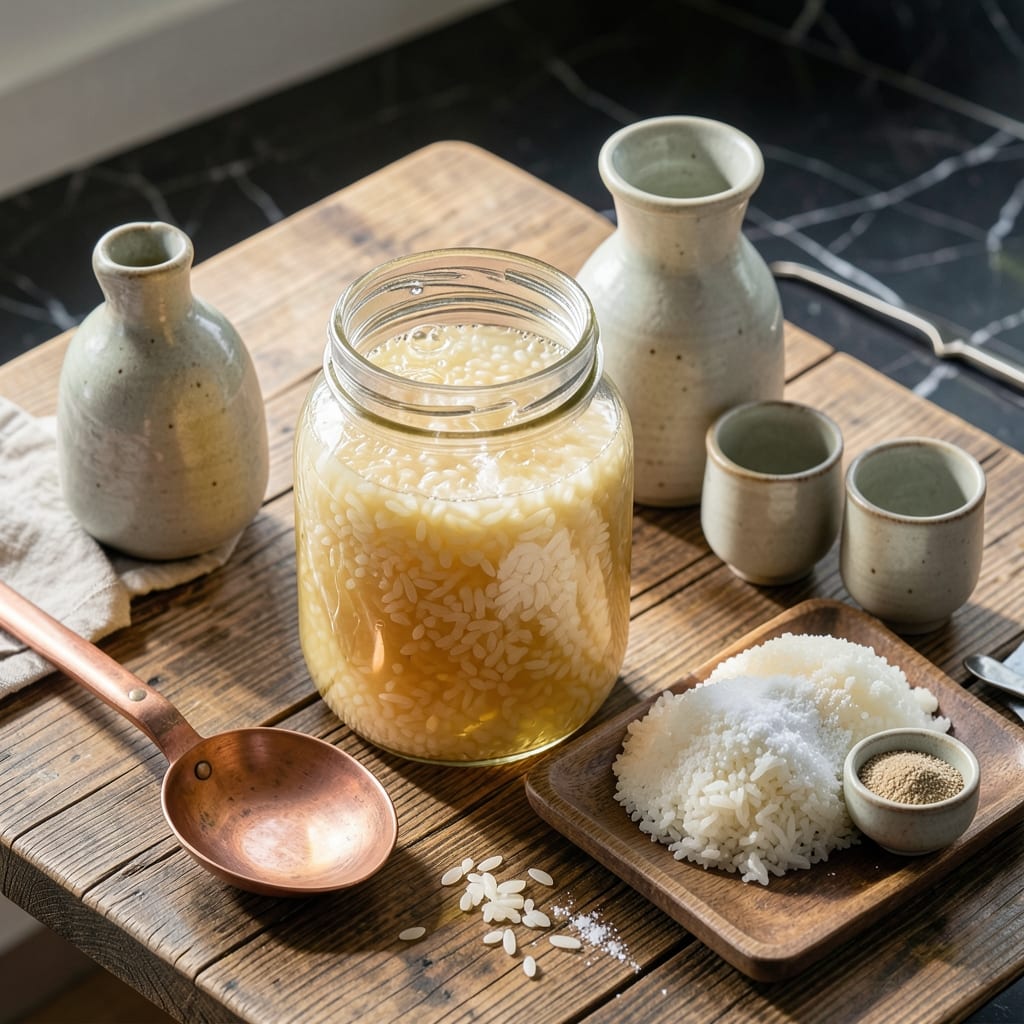
This traditional fermented beverage adds depth to countless Japanese dishes with its delicate balance of sweet and acidity. I’ve refined the method to ensure consistent results, even for first-time fermenters.
The process begins with short-grain rice, koji mold, and water, transforming simple ingredients into a versatile cooking wine. Proper fermentation time and temperature control are key to developing that signature umami character.
Use this in marinades, sauces, or as a cooking liquid to elevate stir-fries and braised dishes. Its subtle complexity enhances without overpowering, making it a staple in any kitchen.
With patience and attention to detail, you’ll create a liquid seasoning that brings authentic Japanese flavor to your cooking.
Ingredients for Japanese Rice Wine
Six simple ingredients transform into a complex, umami-rich cooking wine with authentic Japanese character.
| Ingredient | Amount | Notes |
|---|---|---|
| Short-Grain Rice 🍚 | 2 cups | Sushi rice or glutinous variety preferred |
| Koji Mold 🍄 | ½ cup | Dried koji rice starter culture |
| Water 💧 | 4 cups | Filtered or spring water |
| Sake Yeast 🧫 | 1 tsp | Optional for faster fermentation |
| Sugar 🧈 | 2 tbsp | Organic cane sugar preferred |
| Salt 🧂 | ½ tsp | Fine sea salt |
The short-grain rice must be high-quality sushi rice—avoid long-grain varieties as they lack the necessary starch structure. Koji mold is essential and can be sourced from Asian markets or online retailers like Amazon. Filtered water is critical to avoid chlorine, which can inhibit fermentation. I recommend Nishiki or Koshihikari brands for the rice base.
No koji mold? Unfortunately, there’s no direct substitute—this is the heart of the fermentation. For sugar, coconut sugar or agave can work, but may alter the final flavor slightly. If omitting sake yeast, extend fermentation time by 3-5 days. The salt can be adjusted to taste, but don’t skip it entirely as it balances the sweetness.
Store the finished rice wine in a dark, cool place for up to 6 months. Refrigeration extends shelf life to 1 year. The flavor deepens with age, so resist using it fresh—wait at least 2 weeks for optimal umami development.
Why You’ll Love This Recipe
- Minimal Hands-On Time: I just mix the short-grain rice, koji mold, and water, then let the sake yeast do its magic over a few days.
- Rich Umami Depth: The koji mold transforms the rice into something complex and satisfying—sweet, earthy, and perfectly balanced.
- Endless Uses: Honestly, I use my homemade sake in marinades, cocktails, and even desserts.
- Budget-Friendly Batch: A small bag of rice and koji makes a big yield, and it keeps well for months.
Step-by-Step Instructions for Japanese Rice Wine
This traditional fermentation process requires patience but yields exceptional depth of flavor.
Step 1: Sanitize Equipment and Prepare the Rice
Begin by thoroughly sanitizing all equipment with hot water to prevent contamination. Rinse the 2 cups Short-Grain Rice under cold water until the water runs clear, then drain completely. This removes excess starch that could inhibit fermentation.
Soak the cleaned rice in 4 cups Water for 4 hours at room temperature. The grains should absorb liquid and swell to about double their original size. After soaking, drain the rice completely—any residual moisture will dilute the final product and promote unwanted bacterial growth.
Step 2: Steam the Rice to Precise Doneness
Transfer the soaked rice to a steamer lined with cheesecloth. Steam over boiling water for 20-25 minutes until each grain is tender but still holds its shape. The rice should be sticky enough to clump together when pressed but not mushy.
Spread the steamed rice on a clean surface and allow it to cool to 130°F. This temperature is critical—too hot will kill the 0.5 cup Koji Mold, while too cool will prevent proper propagation. I use an instant-read thermometer to verify the temperature throughout the batch.
Step 3: Inoculate with Koji Mold
Once cooled, transfer the rice to a sterilized fermentation vessel. Sprinkle the 0.5 cup Koji Mold evenly over the surface, then gently fold it in using clean hands or a sanitized spoon. The koji should coat every grain without clumping.
Add the 2 tbsp Sugar and 0.5 tsp Salt, distributing them evenly throughout the mixture. These ingredients provide additional nutrients for the koji and help regulate fermentation. If using 1 tsp Sake Yeast, sprinkle it over the top and fold in gently—this accelerates fermentation but isn’t required for successful results.
Step 4: Ferment Under Controlled Conditions
Cover the vessel with a clean cloth and place it in a warm, dark location with a consistent temperature of 86-90°F. I maintain this environment using a proofing box or a turned-off oven with the light on. Stir the mixture gently once daily to ensure even fermentation and prevent mold growth on the surface.
After 24-36 hours, the koji will have propagated through the rice, which should now appear slightly fuzzy and smell sweet and fruity. The grains should hold together when pressed but separate easily when stirred. At this point, transfer the mixture to a secondary fermentation vessel.
Step 5: Complete the Fermentation Process
Add 4 cups Water to the koji rice and stir thoroughly to create a mash. Cover the vessel with a lid or plastic wrap and return it to the warm location. Ferment for 7-14 days, stirring daily. You’ll notice bubbles forming as fermentation progresses, and the mixture will develop a tangy, slightly sweet aroma.
After 2 weeks, strain the liquid through a fine-mesh sieve lined with cheesecloth. Press the solids gently to extract all liquid, but avoid squeezing too hard, which can make the wine bitter. Transfer the strained liquid to sterilized bottles and store in a cool, dark place. The wine will continue to develop complexity for 1-2 months before reaching its peak flavor.
Pro Tips For Making Japanese Rice Wine
- Sterilize Everything: I learned this the hard way—any bacteria in your tools can ruin the koji mold’s work, so boil all utensils and containers for 10 minutes before starting.
- Rinse Rice Thoroughly: Wash the short-grain rice until the water runs clear to remove excess starch, or your sake will end up cloudy and bitter.
- Skip Tap Water: Chlorine in tap water can kill the koji mold, so use filtered or boiled-and-cooled water for the entire process.
- Keep It Warm: Maintain a steady 86-90°F during fermentation—I use a seedling mat under my container to guarantee the yeast stays active.
Pro Cooking Tips for This Recipe
Temperature Precision
Maintaining 130°F during koji inoculation is critical. I use a ThermoWorks Thermapen to check multiple spots in the rice. Too hot kills the mold; too cool prevents propagation. A proofing box or warm oven works best for consistent heat.
Sanitation Matters
Sanitize all equipment with 190°F water or Star San solution. Even minor contamination can ruin your batch. I learned this the hard way—one spoiled batch taught me to be meticulous. Always use clean hands when handling koji.
Koji Distribution
Sprinkle 0.5 cup Koji Mold evenly, then fold gently. Clumping creates uneven fermentation. The grains should look dusted, not caked. I use a sterilized spoon to ensure every piece gets coated.
Fermentation Monitoring
Check daily for fuzzy white growth and a sweet aroma. If you see black or green spots, discard immediately. After 24-36 hours, the rice should hold together when pressed but separate easily. Stir daily to prevent surface mold.
Secondary Fermentation
Add 4 cups Water to create the mash. Cover with a lid or plastic wrap. Ferment for 7-14 days at 86-90°F. Bubbles mean it’s working. The longer you ferment, the deeper the umami. 🌡️
Straining Technique
Use a fine-mesh sieve lined with cheesecloth. Press gently—squeezing too hard extracts bitter compounds. Transfer to sterilized bottles and store in a cool, dark place. Wait at least 2 weeks before using for best flavor. 💡
Nutrition Facts
Frequently Asked Questions
What’s the ideal temperature for fermentation?
Keep it between 86-90°F during active fermentation. Use a proofing box or warm oven with the light on for consistent heat.
Can I use a different type of rice?
Avoid long-grain varieties—they lack the starch structure needed. Stick with short-grain sushi rice like Nishiki or Koshihikari for best results.
How do I know when it’s ready?
After 7-14 days, the liquid should smell tangy and slightly sweet. Strain when bubbles slow and the aroma is well-developed.
Can I skip the koji mold?
No—it’s essential for fermentation. Without koji, the rice won’t convert properly, and the flavor will be off.

- Mujadara Rice and Lentils Recipe: Earthy Spiced Lentils With Caramelized Onions - November 1, 2026
- Naija Fried Rice Recipe: Street-Style Spice With Veggie Crunch - November 1, 2026
- Mushy Rice Recipe: Fluffy Grains Transformed in Minutes - November 1, 2026