
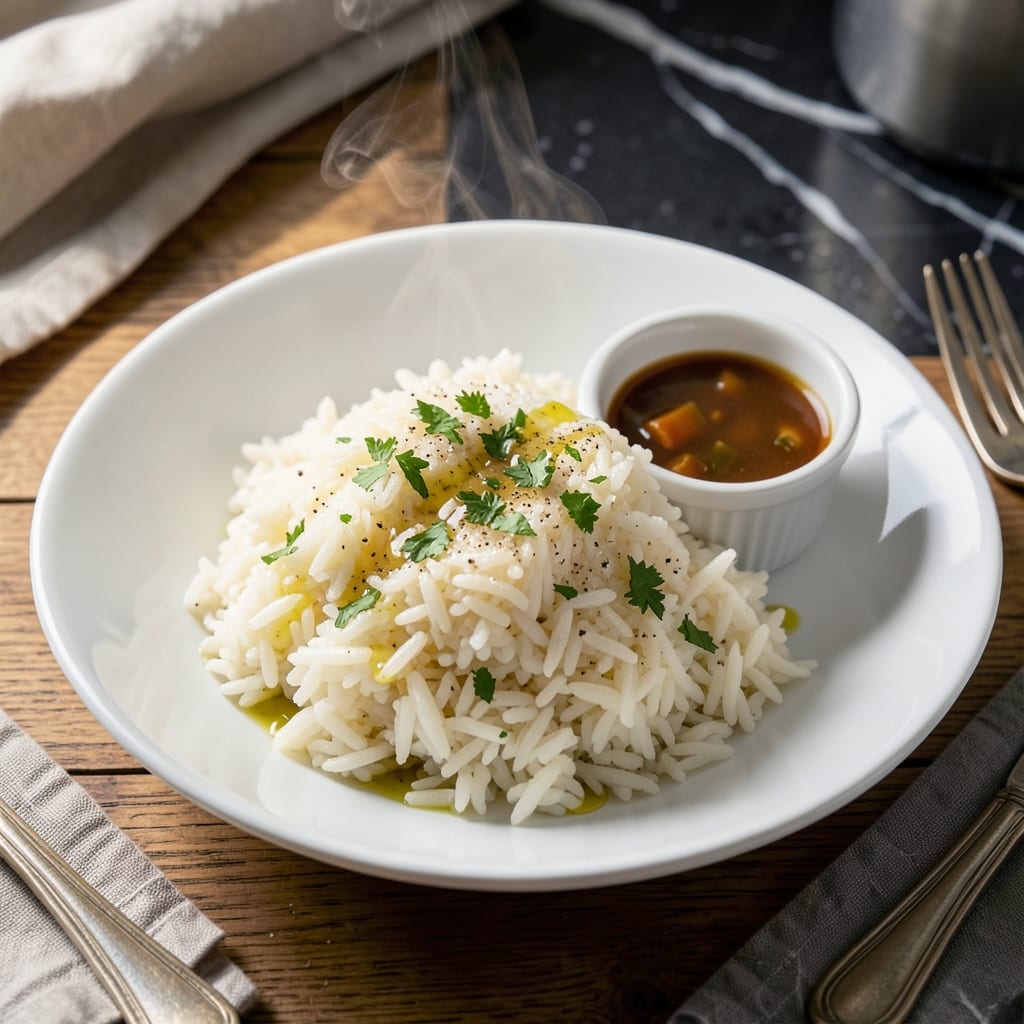
Mastering perfect rice in your Instant Pot is simpler than you think. This method delivers consistent results every time with minimal effort.
With a precise water-to-rice ratio and the right pressure settings, you’ll achieve fluffy, separate grains without sticky clumps. The process is nearly hands-off once you start.
Whether you’re cooking white or brown rice, the Instant Pot cuts the usual stovetop time in half while preventing burning. No more watching pots or adjusting heat.
You’ll end up with tender, evenly cooked rice that pairs perfectly with any main dish. This technique works for both small and large batches.
Ingredients for Instant Pot Rice Recipe 3 Cups
Just rice, water, and a few flavor boosters. Simple but foolproof every time.
| Ingredient | Amount | Notes |
|---|---|---|
| Long-Grain White Rice 🍚 | 3 cups | Rinsed until water runs clear |
| Water 💧 | 3 ¾ cups | Filtered or distilled preferred |
| Vegetable Broth 🥕 | ½ cup | Optional for extra flavor |
| Extra-Virgin Olive Oil 🫒 | 1 tbsp | Or neutral oil like avocado |
| Sea Salt 🧂 | ½ tsp | Fine grain for even distribution |
| Garlic Powder 🧄 | ½ tsp | Optional for depth |
| Onion Powder 🧅 | ¼ tsp | Optional for aromatic base |
| Bay Leaf 🌿 | 1 whole | Optional for subtle fragrance |
| Lemon Juice 🍋 | 1 tsp | Freshly squeezed for brightness |
| Fresh Parsley 🌿 | 2 tbsp | Chopped, for garnish |
Rice quality matters more than you think. Jasmine or basmati give the fluffiest results—avoid minute rice (it turns to mush). I grab mine from Trader Joe’s in bulk, but any long-grain works. The water ratio is non-negotiable: 1.25 cups liquid per cup of rice. Use filtered water if your tap has a strong taste. For the broth, Better Than Bouillon vegetable base is my go-to for depth.
No vegetable broth? Water with a pinch of salt still works. Swap olive oil for coconut oil for a subtle sweetness. Out of garlic powder? Fresh minced garlic at the start (sauté it first in the pot). The bay leaf is optional but adds a nice background note. For brown rice, increase water to 1.5 cups per cup of rice and cook on high pressure for 22 minutes.
Store uncooked rice in an airtight container for up to 2 years. Cooked rice keeps 4-5 days in the fridge or 6 months frozen. Reheat with a splash of water to restore moisture. Pro tip: rinse the rice thoroughly—it removes excess starch (that’s what causes gummy grains).
Why You’ll Love This Recipe
- Set It & Forget: I toss in 3 cups of rice, broth, and oil, then walk away—no stirring, no watching, just perfect rice every time.
- Rich, Simple Flavor: The vegetable broth and olive oil give it a depth that plain rice just can’t match.
- Meal Prep Hero: I make a big batch on Sunday and it fuels my lunches all week—no soggy leftovers here.
- Budget Stretch: Honestly, it’s the cheapest side dish that still feels special, and it feeds my whole family twice over.
Step-by-Step Instructions for Instant Pot Rice
Here’s the foolproof method for perfectly fluffy grains with minimal effort and maximum flavor.
Step 1: Rinse and Prep the Rice
Place the 3 cups Long-Grain White Rice in a fine-mesh strainer and rinse under cold running water until the water runs completely clear. This removes excess starch that could make your rice gummy or sticky. I always do this step over the sink, swirling the rice with my hand to ensure all grains get rinsed.
Once rinsed, let the rice drain thoroughly for 1-2 minutes. Shake the strainer gently to remove any lingering water. Properly rinsed and drained rice is the foundation of fluffy, separate grains rather than a dense, gluey texture.
Step 2: Sauté the Aromatics and Toast the Rice
Set your Instant Pot to the Sauté function on Normal heat. Add the 1 tbsp Extra-Virgin Olive Oil and let it heat for 30 seconds until it shimmers. Then, add the drained rice and stir to coat the grains evenly in the oil.
Toast the rice for 2-3 minutes, stirring frequently, until the grains become slightly translucent and emit a nutty aroma. At this point, add the 0.5 tsp Garlic Powder, 0.25 tsp Onion Powder, and 1 whole Bay Leaf. Stir for an additional 30 seconds to bloom the spices and deepen their flavors.
Step 3: Add Liquids and Seasonings
Pour in the 3.75 cups Water and 0.5 cup Vegetable Broth, using a wooden spoon to scrape up any browned bits from the bottom of the pot. This deglazing step prevents burning and incorporates those flavorful bits into the rice.
Add the 0.5 tsp Sea Salt and 1 tsp Lemon Juice, then give everything a good stir to distribute the ingredients evenly. The liquid should cover the rice by about ½ inch. If you notice any rice grains sticking to the sides of the pot above the liquid line, use a spatula to push them down to prevent burning.
Step 4: Pressure Cook to Perfection
Secure the lid on your Instant Pot, ensuring the valve is set to Sealing. Select the Pressure Cook function and set the timer for 3 minutes on High Pressure. It will take the Instant Pot approximately 10-15 minutes to come to pressure before the cooking time begins.
Once the cooking cycle is complete, let the pressure release naturally for 10 minutes, then switch the valve to Venting to release any remaining pressure. This natural release period is crucial—it allows the rice to steam gently and absorb the liquid fully, resulting in even, fluffy grains.
Step 5: Fluff and Finish
Carefully remove the lid, tilting it away from your face to avoid steam. Discard the Bay Leaf, then use a fork to fluff the rice gently, separating any clumps and redistributing the grains. The rice should be tender but still hold its shape, with no hard or crunchy bits in the center.
Let the rice sit uncovered for 2-3 minutes to allow excess moisture to evaporate. Stir in the 2 tbsp Fresh Parsley just before serving to add a pop of color and freshness. The grains should be light, fluffy, and perfectly seasoned, ready to complement any main dish.
Pro Tips For Making Instant Pot Rice Recipe 3 Cups
- Rinse the Rice: Always rinse your long-grain white rice before cooking—it removes excess starch and prevents a gummy texture. I learned this the hard way after a few sticky batches.
- Use Equal Liquid: For 3 cups of rice, use 3 cups of liquid (water or broth) for perfect texture. Sounds weird, but it works—no need to overcomplicate the ratio.
- Skip the Stir: After adding the rice and liquid, resist the urge to stir—it can cause the rice to clump. Just secure the lid and let the Instant Pot do its thing.
- Natural Release Only: Let the pressure release naturally for at least 10 minutes—this guarantees fluffy, evenly cooked rice. I used to rush it and ended up with undercooked grains.
Dietary Considerations for This Dish
Gluten-Free Goodness
This dish is naturally gluten-free since it uses only rice, water, and simple seasonings. No wheat, barley, or rye ingredients are involved, making it safe for anyone with celiac disease or gluten sensitivity. I always double-check my spices to ensure no cross-contamination. 💪
Vegan and Vegetarian
With its plant-based ingredients, this creation fits perfectly into vegan and vegetarian diets. The vegetable broth adds depth without any animal products. Even the optional garnishes like parsley and lemon juice are plant-derived.
Low-Fat Option
You can easily reduce the fat content by omitting the 1 tbsp olive oil or swapping it for a cooking spray. The rice will still cook perfectly, though toasting might be slightly less flavorful. This makes it ideal for heart-healthy meal plans.
Allergen-Free
This recipe is free from the top 8 allergens: milk, eggs, fish, shellfish, tree nuts, peanuts, wheat, and soy. Just verify your broth and seasonings are processed in allergen-free facilities if sensitivities are severe. ⚡
Low-Sodium Adaptation
For those watching their sodium intake, reduce the sea salt to ¼ tsp or omit it entirely. Use low-sodium vegetable broth or replace it with water. The lemon juice and herbs will still provide plenty of flavor.
Diabetic-Friendly
White rice has a higher glycemic index, but pairing it with protein and fiber-rich sides can help balance blood sugar. For a lower glycemic option, swap the white rice for brown rice and increase water to 1.5 cups per cup of rice.
Nutrition Facts
Frequently Asked Questions
What’s the best rice-to-water ratio for fluffy results?
Use a 1:1.25 ratio of rice to liquid. For 3 cups rice, that’s 3.75 cups total liquid (water + broth). This prevents mushiness while ensuring full cooking.
Can I cook brown rice the same way?
Yes, but increase water to 1.5 cups per cup of rice and cook on high pressure for 22 minutes. Brown rice needs more liquid and time to soften properly.
Why did my rice turn out sticky?
Sticky rice usually means too much liquid or not rinsing the grains first. Always rinse until water runs clear and measure liquid precisely.
How long does it take to release pressure naturally?
Allow 10 minutes for natural release before quick-releasing any remaining pressure. This step is key for even cooking and fluffy texture.

- Mujadara Rice and Lentils Recipe: Earthy Spiced Lentils With Caramelized Onions - November 1, 2026
- Naija Fried Rice Recipe: Street-Style Spice With Veggie Crunch - November 1, 2026
- Mushy Rice Recipe: Fluffy Grains Transformed in Minutes - November 1, 2026