
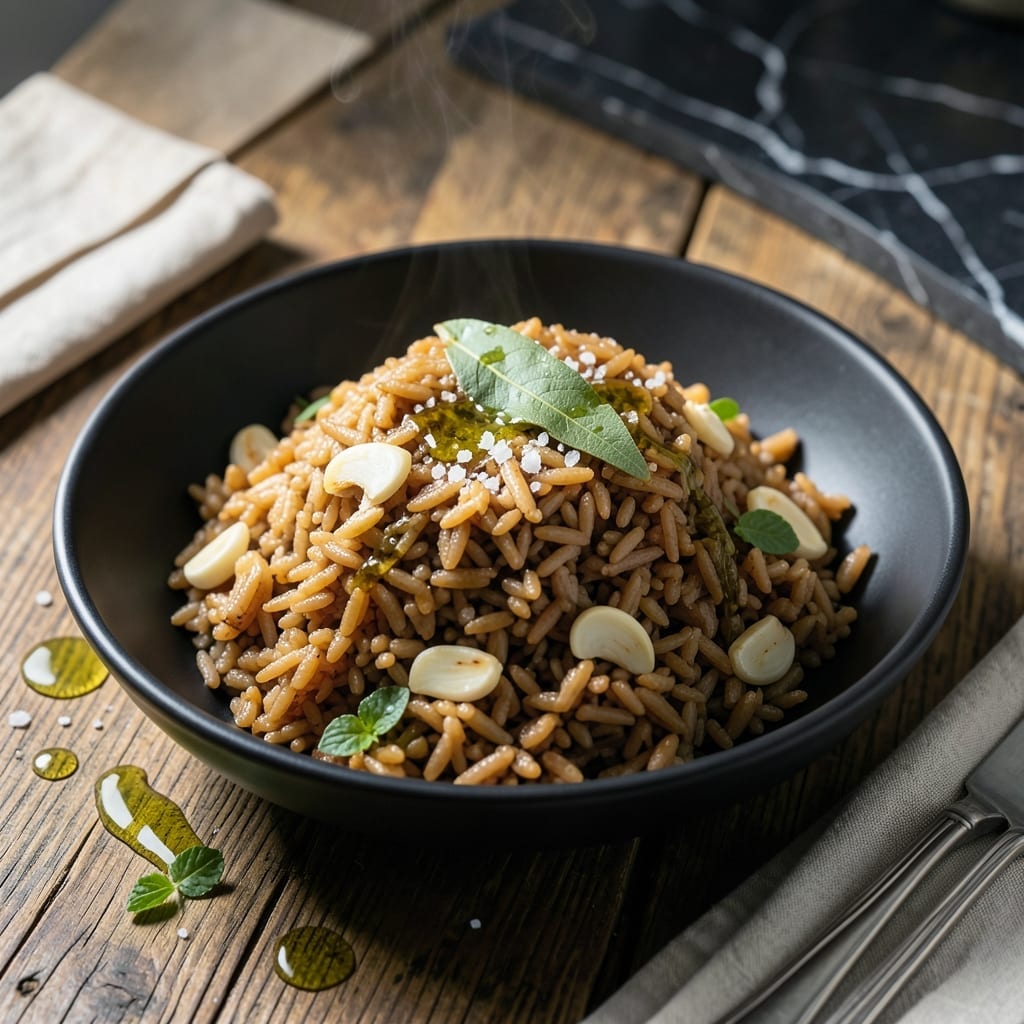
This method delivers perfectly cooked short grain brown rice with minimal effort and maximum flavor. The Instant Pot transforms typically long-cooking brown rice into a 30-minute staple without sacrificing texture or nutrition.
Short grain brown rice has a natural nuttiness and slight chew that holds up beautifully under pressure. The key is using the precise liquid ratio and natural release method to prevent mushiness while ensuring even cooking.
You’ll get fluffy, separate grains with that characteristic nutty depth every time. The rice absorbs just enough water to become tender while maintaining its structure, making it ideal for bowls, stir-fries, or as a simple side.
The hands-off approach means you can focus on the rest of your meal while the Instant Pot does the work. This technique consistently produces restaurant-quality results at home.
Ingredients for Instant Pot Short Grain Brown Rice
Minimal ingredients, maximum flavor. Perfectly cooked rice every time with these staples.
| Ingredient | Amount | Notes |
|---|---|---|
| Short Grain Brown Rice 🌾 | 1 ½ cups | Rinsed thoroughly before cooking |
| Water 💧 | 3 ¼ cups | Filtered or distilled preferred |
| Sea Salt 🧂 | ½ tsp | Fine grain for even distribution |
| Extra-Virgin Olive Oil 🫒 | 1 tbsp | Or neutral oil like avocado |
| Bay Leaf 🍃 | 1 whole | Optional for subtle aroma |
| Garlic Cloves 🧄 | 2 cloves | Minced or pressed for flavor |
| Vegetable Broth 🥕 | ½ cup | Low-sodium preferred for control |
| Lemon Juice 🍋 | 1 tsp | Freshly squeezed for brightness |
| Black Pepper 🌶️ | ¼ tsp | Freshly ground for best flavor |
| Dried Thyme 🌿 | ¼ tsp | Crushed between fingers to release oils |
The rice quality is non-negotiable here. Short grain brown rice from brands like Lundberg or Bob’s Red Mill delivers the ideal texture. Look for organic certification if possible—it often indicates fresher stock. Rinsing is critical (until water runs clear) to remove excess starch that could make the rice gummy. The water-to-rice ratio is precise: 2.25:1 for short grain brown in the Instant Pot.
No vegetable broth? Water plus a pinch of salt works fine. Skip the bay leaf if you don’t have it—a strip of kombu (seaweed) adds similar depth. For extra flavor, toast the rice in the pot with oil for 2 minutes before adding liquid. The lemon juice at the end brightens everything up—don’t skip it (or sub lime juice in a pinch).
Cooked rice keeps 4-5 days in the fridge in an airtight container. Freeze for up to 3 months in portions. Reheat with a splash of water to restore moisture. The rice actually tastes better the next day once flavors meld.
Why You’ll Love This Recipe
- Set It & Forget: I toss everything in, press start, and walk away—no stirring, no babysitting.
- Rich Nutty Depth: The bay leaf and olive oil give the rice a subtle earthy flavor that’s way more interesting than plain.
- Meal Prep MVP: It holds up beautifully in the fridge for days, so I can batch cook and pair it with anything.
- Budget Stretch: A pound of short grain brown rice costs pennies and yields enough for multiple meals.
Step-by-Step Instructions for Instant Pot Short Grain Brown Rice
Here’s the method. Straightforward, tested, works every time.
Step 1: Rinse and Prepare the Rice
Place the 1.5 cups Short Grain Brown Rice in a fine-mesh strainer and rinse under cold running water until the water runs clear. This removes excess starch that can make the finished rice gummy. I always let it drain completely—waterlogged rice affects the cooking ratio.
Rinsing also prevents the rice from sticking to the bottom of the pot during cooking. Shake the strainer gently to remove any lingering water droplets before proceeding. Proper preparation at this stage ensures even cooking and fluffy texture.
Step 2: Sauté Aromatics in the Instant Pot
Set the Instant Pot to the Sauté function on Normal heat. Add the 1 tbsp Extra-Virgin Olive Oil and let it warm for 30 seconds. Then add the 2 cloves Garlic Cloves, 0.5 tsp Sea Salt, 0.25 tsp Black Pepper, and 0.25 tsp Dried Thyme.
Sauté for 1 minute until the garlic becomes fragrant—don’t let it brown. Stir in the 1 whole Bay Leaf and immediately add the drained rice. Toast the rice with the aromatics for 2 minutes, stirring constantly, until the grains appear slightly translucent at the edges. This step enhances the nutty flavor profile.
Step 3: Add Liquids and Pressure Cook
Pour in the 3.25 cups Water and 0.5 cup Vegetable Broth, using a wooden spoon to scrape up any browned bits from the bottom of the pot. This deglazing prevents the Burn notice. Stir in the 1 tsp Lemon Juice for brightness.
Secure the lid, set the valve to Sealing, and cook on High Pressure for 22 minutes. The Instant Pot will take approximately 10-15 minutes to come to pressure before the cooking time begins. This extended cook time is crucial for short grain brown rice, which requires more liquid and time than white rice varieties.
Step 4: Natural Release and Finish
When the cooking cycle completes, allow the pressure to release naturally for 10 minutes. This gradual release prevents the rice from becoming mushy by avoiding sudden temperature changes. After 10 minutes, switch the valve to Venting to release any remaining pressure.
Open the lid and discard the bay leaf. Fluff the rice gently with a fork to separate the grains and distribute the cooking liquid evenly. Let it sit covered for 5 minutes to absorb any remaining moisture. The rice should be tender with a slight chew, and all liquid should be absorbed.
Pro Tips For Making Instant Pot Short Grain Brown Rice
- Rinse the Rice: Short grain brown rice can be starchy—give it a quick rinse under cold water until the water runs clear to prevent a gummy texture.
- Use the Right Ratio: I learned this the hard way: 1.25 cups water per 1 cup rice is the sweet spot for short grain brown rice in the Instant Pot, or it’ll either burn or stay undercooked.
- Skip the Quick Release: Let the pressure release naturally for at least 10 minutes after cooking—short grain brown rice needs that extra time to soften fully.
- Toast the Rice First: Sauté the rice with olive oil for 2-3 minutes before adding water—it adds a nutty depth that plain steamed rice just can’t match.
Dietary Considerations for This instant pot short grain brown rice
Gluten-Free Goodness
This dish is naturally gluten-free, making it perfect for anyone with celiac disease or gluten sensitivity. Short grain brown rice contains no gluten proteins, so you can enjoy it without worry. Just ensure your broth is certified gluten-free—I use Pacific Foods brand. 💪
Vegan and Plant-Based
The recipe aligns perfectly with vegan diets since it contains no animal products. The vegetable broth adds depth without compromising plant-based principles. For extra richness, stir in 1 tbsp nutritional yeast after cooking.
Low Sodium Option
To reduce sodium, use low-sodium vegetable broth or replace it entirely with water. You can also cut the sea salt to ¼ tsp or omit it entirely. The lemon juice and aromatics still provide plenty of flavor.
Nut Allergy Friendly
This creation is safe for nut allergies as written, with no cross-contamination risks. However, if you’re adding toppings, avoid nuts and check all ingredient labels carefully. I always recommend certified nut-free facilities for severe allergies.
Diabetic Considerations
Short grain brown rice has a lower glycemic index than white rice, making it a better choice for blood sugar management. The fiber content helps slow glucose absorption. A ½ cup serving provides about 15g net carbs with 2g fiber. ✨
FODMAP Adaptation
For low-FODMAP diets, omit the garlic and use garlic-infused oil instead. Replace onion powder with the green part of scallions if needed. The rice itself is naturally low-FODMAP in ½ cup servings.
Nutrition Facts
Frequently Asked Questions
Why does this need more water than white rice?
Brown rice has a fibrous outer bran layer that absorbs more liquid. The 2.25:1 water-to-rice ratio accounts for this, ensuring full hydration during the 22 minutes of pressure cooking.
Can I use broth instead of water?
Yes! Replace up to 2 cups of water with vegetable or chicken broth for extra flavor. Just reduce added salt accordingly to avoid over-seasoning.
What if my rice turns out mushy?
Mushy rice usually means too much liquid or stirring during cooking. Stick to the exact 3.25 cups liquid and let the pressure release naturally for 10 minutes before opening.
How do I store leftovers?
Cool completely, then transfer to an airtight container. Refrigerate for up to 5 days or freeze for 3 months. Reheat with a splash of water to restore moisture.

- Mujadara Rice and Lentils Recipe: Earthy Spiced Lentils With Caramelized Onions - November 1, 2026
- Naija Fried Rice Recipe: Street-Style Spice With Veggie Crunch - November 1, 2026
- Mushy Rice Recipe: Fluffy Grains Transformed in Minutes - November 1, 2026