
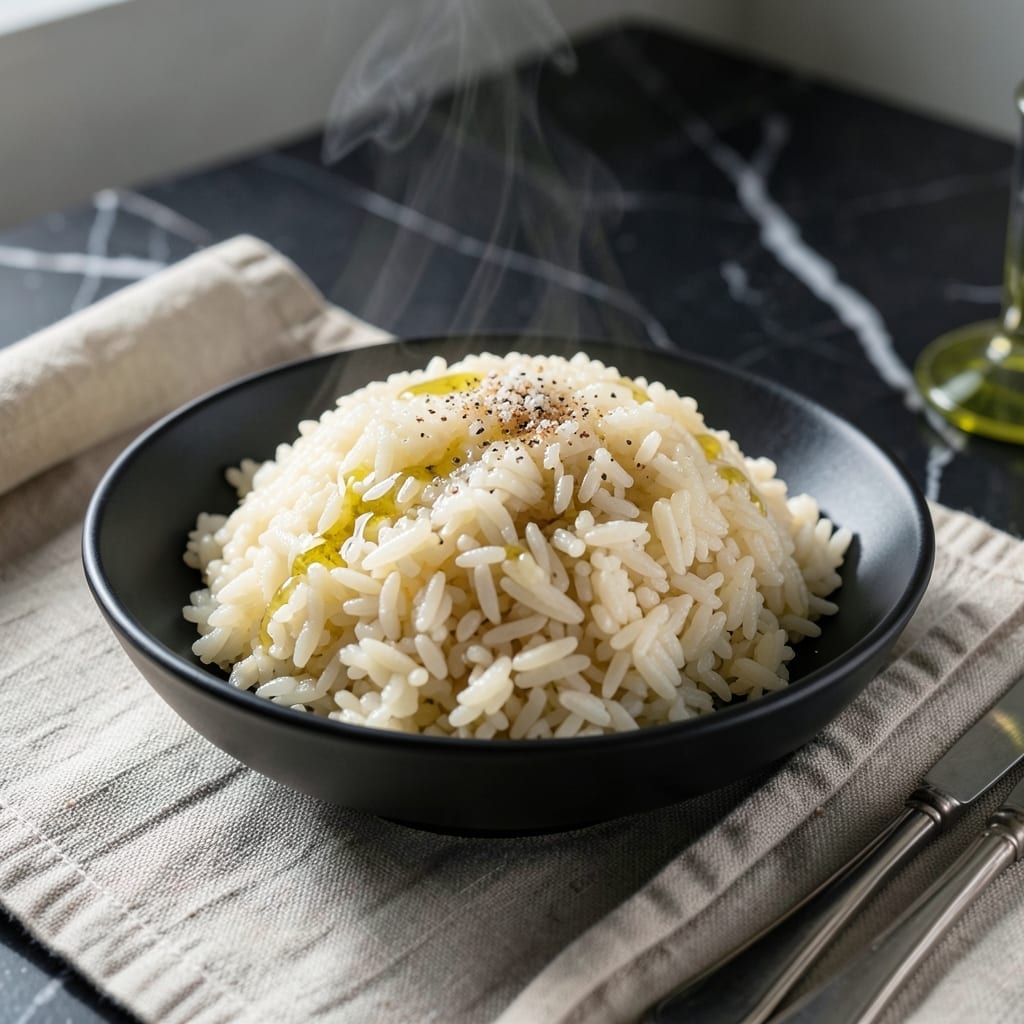
Achieving perfectly sticky short grain rice has never been easier than with this Instant Pot method. The pressure cooker transforms simple ingredients into consistently tender, clump-free rice every time.
This approach uses a precise water-to-rice ratio and controlled pressure cooking to deliver results that rival traditional stovetop methods. No more watching pots or worrying about scorching.
The Instant Pot’s sealed environment cooks the rice evenly, creating that ideal slightly sticky texture that holds together beautifully. It’s the foundation for sushi, rice bowls, or as a simple side.
Ready in about 20 minutes with nearly hands-off cooking. The rice emerges fluffy yet cohesive, with each grain perfectly cooked through.
Ingredients for Instant Pot Short Grain Rice
Simple pantry staples transform into perfectly sticky rice with minimal effort here.
| Ingredient | Amount | Notes |
|---|---|---|
| Short Grain White Rice 🍚 | 2 cups | Rinsed until water runs clear |
| Water 💧 | 2 ½ cups | Filtered or distilled preferred |
| Fine Sea Salt 🧂 | ½ tsp | Adjust to taste after cooking |
| Rice Vinegar 🍶 | 1 tbsp | Optional for sushi preparation |
| Granulated Sugar 🍚 | 1 tsp | Balances vinegar for sushi rice |
| Vegetable Broth 🥕 | ½ cup | Low-sodium for better control |
| Neutral Oil 🫒 | 1 tsp | Prevents rice from sticking |
| Dried Kombu 🌿 | 1 piece | 2-inch square for umami |
| Sake 🍶 | 1 tbsp | Optional for depth of flavor |
| Mirin 🍯 | 1 tbsp | Adds subtle sweetness |
The rice selection is critical for that signature stickiness. Short grain white rice (like Koshihikari or Calrose) delivers the ideal texture. Avoid long grain varieties—they stay separate. Whole Foods and Asian markets typically carry the best options. Rinse the rice thoroughly to remove excess starch, which can make the final product gummy rather than tender.
No rice vinegar? Apple cider vinegar at half the amount works in a pinch. For a gluten-free version, ensure your broth is certified. The kombu is optional but adds subtle oceanic depth—find it at Japanese grocery stores or online. Sake and mirin can be swapped for dry white wine and a pinch of sugar, though the flavor profile will shift slightly.
Cooked rice stays fresh in the fridge for 3-4 days in an airtight container. For sushi applications, use immediately or within 24 hours. The uncooked rice keeps indefinitely in a cool, dark pantry. Freezing cooked rice is possible but may alter the sticky texture upon thawing.
Why You’ll Love This Recipe
- Set and Forget: I toss everything in the Instant Pot, press a button, and walk away—no stirring, no watching the pot.
- Sweet-Tangy Balance: The rice vinegar and sugar combo gives it that subtle sushi-restaurant taste I crave.
- Meal Prep MVP: I make a big batch on Sunday and it stays perfect for sushi rolls or grain bowls all week.
- Pocket-Friendly Staple: Short grain rice is cheap, and this recipe turns it into something special without fancy ingredients.
Step-by-Step Instructions for Instant Pot Short Grain Rice
These tested steps ensure perfectly sticky, tender grains with minimal effort and maximum consistency.
Step 1: Rinse and Prepare the Rice
Place the 2 cups Short Grain White Rice in a fine-mesh strainer and rinse under cold running water, swirling with your hand. Continue until the water runs completely clear—this removes excess starch that could make the rice gummy rather than pleasantly sticky.
Drain well, shaking the strainer gently to remove all water. I always tap the strainer against the sink to ensure no moisture remains. Proper rinsing and draining prevents the rice from turning out mushy and ensures each grain stays distinct while still clinging together perfectly.
Step 2: Combine Liquids and Seasonings
In the Instant Pot insert, combine the 2.5 cups Water, 0.5 cup Vegetable Broth, 1 tsp Neutral Oil, and 1 piece Dried Kombu. The oil prevents sticking, while the kombu infuses subtle umami depth as the rice cooks.
Add the 0.5 tsp Fine Sea Salt, 1 tbsp Rice Vinegar, 1 tsp Granulated Sugar, 1 tbsp Sake, and 1 tbsp Mirin. Stir briefly to dissolve the sugar and salt. The vinegar and sugar balance each other for sushi-style rice, while sake and mirin add complexity without overpowering.
Step 3: Pressure Cook to Perfection
Add the rinsed and drained rice to the Instant Pot, stirring once to distribute the grains evenly in the liquid. Secure the lid, ensuring the valve is set to Sealing. Select the High Pressure setting and set the timer for 5 minutes.
The Instant Pot will take about 10 minutes to come to pressure before the timer begins. Once cooking completes, allow a natural pressure release for 10 minutes, then carefully switch the valve to Venting to release any remaining pressure. This gradual release prevents the rice from becoming waterlogged.
Step 4: Rest and Fluff for Ideal Texture
Open the lid and remove the piece of kombu. Let the rice rest, uncovered, for 5 minutes to allow excess moisture to evaporate. You’ll notice the grains plumping up and the surface looking slightly dry—that’s exactly what you want.
Using a rice paddle or silicone spatula, gently fold the rice from the bottom up in a slicing motion. Avoid stirring, which can break the grains. The rice should be glossy, uniformly cooked, and cling together slightly when pressed, with no hard centers or mushy spots. Taste and adjust the seasoning with additional salt if needed.
Pro Tips For Making Instant Pot Short Grain Rice
- Rinse the Rice: I learned this the hard way—skipping the rinse leaves your rice gummy. Swirl short grain rice in cold water until it runs clear to remove excess starch.
- Use Equal Water: For short grain rice in the Instant Pot, a 1:1 rice-to-water ratio works perfectly. Any more and you’ll end up with mush.
- Natural Release Only: Resist the urge to quick-release—letting the pressure drop naturally (10-12 minutes) keeps the grains tender and intact.
- Season the Water: Sounds weird, but it works: stir the salt, vinegar, and sugar into the water before adding rice so the flavors distribute evenly.
Common Mistakes When Making Perfect Results
Skipping the Rinse
Never skip rinsing your short grain rice—this removes excess starch that would make your rice gummy instead of pleasantly sticky. I rinse until the water runs completely clear, which usually takes 3-4 washes. This simple step prevents clumpy rice. 💡
Wrong Water Ratio
Using the wrong liquid ratio is a common mistake. For Instant Pot short grain rice, stick to 1.25 cups liquid per 1 cup rice. Too much water creates mushy rice, while too little leaves grains undercooked. I measure carefully with a pyrex measuring cup.
Immediate Pressure Release
Don’t release the pressure immediately after cooking. A natural release for 10 minutes allows the rice to finish steaming and absorb all liquid. Quick releasing can leave the center of the grains hard and the texture uneven.
Peeking Mid-Cook
Resist the urge to open the lid during cooking. The Instant Pot needs to maintain pressure, and opening the lid mid-cook releases steam and heat, potentially undercooking your rice. The sealed environment is what creates that perfect texture.
Over-Stirring After Cooking
Avoid vigorously stirring the rice after cooking. Instead, use a rice paddle to gently fold from the bottom up. Over-stirring breaks the grains and releases too much starch, making your rice pasty rather than tender and sticky. 🔥
Using Long Grain Rice
Short grain rice is essential for that sticky texture. Long grain varieties like basmati or jasmine won’t cling together the same way. I always double-check my rice bag—Koshihikari or Calrose are my go-to short grain varieties for best results.
Nutrition Facts
Frequently Asked Questions
Do I need to soak the rice first?
No soaking required! The pressure cooker handles everything. Just rinse until water runs clear to remove excess starch for perfect texture.
Can I use broth instead of water?
Use 2.5 cups of low-sodium broth for extra flavor. Reduce added salt since broth contains its own seasoning.
Why is my rice mushy?
Likely too much liquid or over-stirring after cooking. Stick to 1.25:1 liquid-to-rice ratio and fold gently, never stir vigorously.
How long does it keep?
Store in an airtight container in the fridge for 3-4 days. For sushi, use within 24 hours for best texture.

- Mujadara Rice and Lentils Recipe: Earthy Spiced Lentils With Caramelized Onions - November 1, 2026
- Naija Fried Rice Recipe: Street-Style Spice With Veggie Crunch - November 1, 2026
- Mushy Rice Recipe: Fluffy Grains Transformed in Minutes - November 1, 2026