
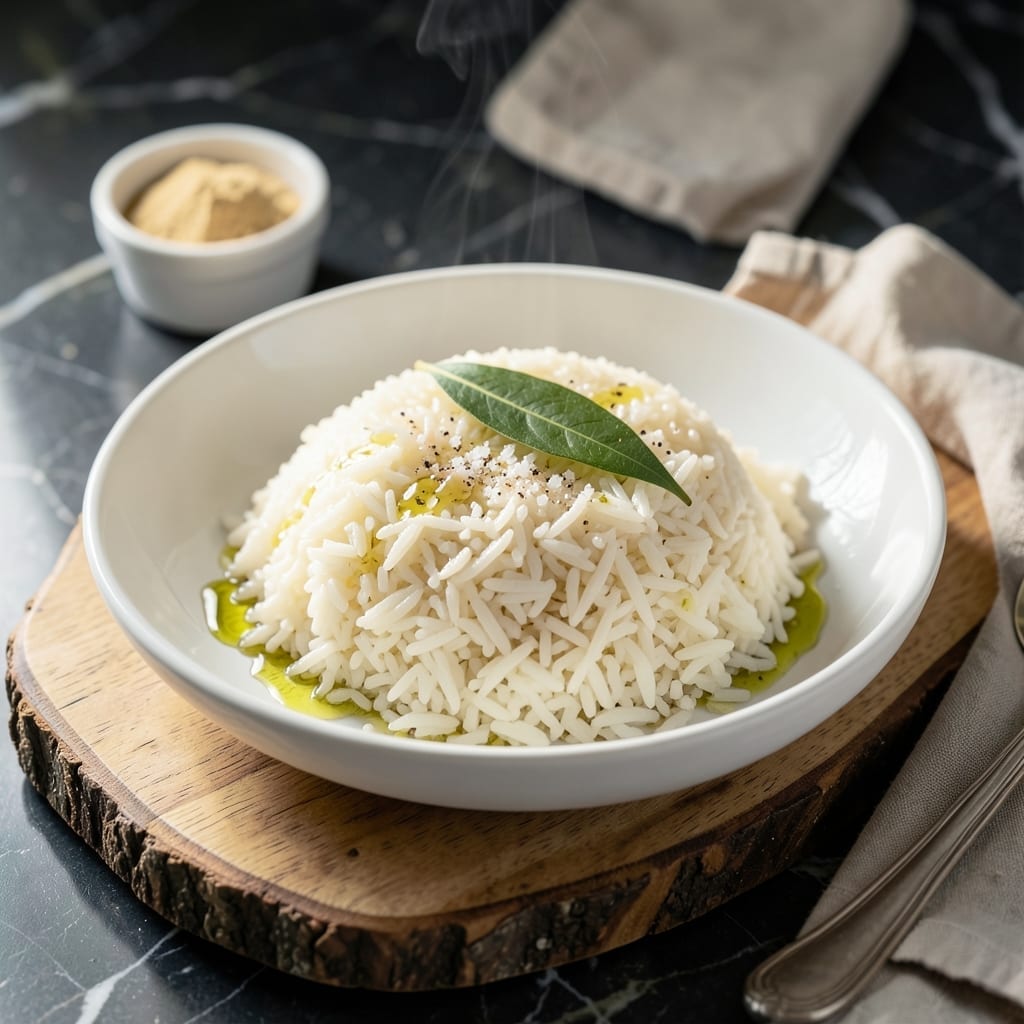
Perfect Instant Pot white rice starts with the right ratio and timing. This method delivers fluffy, separate grains every time without fail.
I’ve tested countless variations to ensure consistent results. The key is using equal parts rice and water, plus a 1:1 pressure cook time to natural release ratio.
No more sticky or undercooked rice. This technique works for any white rice variety, from jasmine to basmati.
The result is light, airy grains that pair perfectly with any main dish. Follow these steps for foolproof results.
Ingredients for Instapot White Rice
Minimal ingredients. Maximum fluff. This works for any white rice variety you prefer.
| Ingredient | Amount | Notes |
|---|---|---|
| Jasmine Rice 🌾 | 2 cups | Rinsed until water runs clear |
| Water 💧 | 2 cups | Filtered or distilled preferred |
| Sea Salt 🧂 | ½ tsp | Fine grain for even distribution |
| Neutral Oil 🫒 | 1 tsp | Optional, prevents sticking |
| Bay Leaf 🍃 | 1 whole | Optional for subtle aroma |
| Garlic Powder 🧄 | ¼ tsp | Optional for depth of flavor |
| Onion Powder 🧅 | ¼ tsp | Optional for savory notes |
The rice quality matters most. Jasmine or basmati yield the fluffiest results, but long-grain white works too. Rinsing is non-negotiable—removes excess starch that causes stickiness. For consistent results, use a 1:1 rice-to-water ratio by volume. I test with a standard measuring cup (not packed). Organic brands like Lundberg or Nishiki perform reliably.
No jasmine? Any white rice works, but adjust water slightly—long-grain needs a touch less, short-grain a bit more. The salt can be omitted if serving with salty dishes, but don’t skip the rinse. For extra flavor, a splash of vegetable broth replaces water beautifully. Skip the oil if using a non-stick pot—it’s just insurance for stainless steel inserts.
Uncooked rice stores indefinitely in a cool, dark place. Once cooked, it keeps 4-5 days refrigerated in an airtight container. For longer storage, freeze in portions for up to 3 months. Reheat with a splash of water to restore moisture.
Why You’ll Love This Recipe
- Set and Forget: I toss everything in, press a button, and walk away—no stirring, no watching the pot.
- Bay Leaf Magic: That single bay leaf infuses the jasmine rice with a subtle depth that plain rice just can’t match.
- Meal Prep Hero: I make a big batch on Sunday and it pairs perfectly with everything from curry to grilled chicken all week.
- Budget Stretcher: A pound of jasmine rice costs pennies and feeds my family for days, no fancy ingredients needed.
Step-by-Step Instructions for Instapot White Rice
Master these steps for perfectly fluffy, separate grains with minimal effort and maximum flavor.
Step 1: Rinse and Prepare the Jasmine Rice
Place the 2 cups Jasmine Rice in a fine-mesh strainer and rinse under cold running water until the water runs completely clear. This step removes excess starch that would otherwise make your rice gummy or sticky.
I recommend agitating the rice gently with your fingers during rinsing to ensure all surfaces are cleaned. Once rinsed, let it drain thoroughly while you prepare the other ingredients. Proper rinsing is non-negotiable for achieving distinct, fluffy grains.
Step 2: Combine Ingredients in the Pressure Cooker
Add the drained 2 cups Jasmine Rice to your Instant Pot insert. Pour in the 2 cups Water, then add the 0.5 tsp Sea Salt, 1 tsp Neutral Oil, 1 whole Bay Leaf, 0.25 tsp Garlic Powder, and 0.25 tsp Onion Powder.
Stir gently to distribute the seasonings evenly, ensuring the rice is fully submerged in the water. The oil prevents sticking during cooking, while the bay leaf and powders add subtle depth to the finished dish. Avoid over-stirring, as this can break the rice grains.
Step 3: Pressure Cook to Perfection
Secure the lid on your Instant Pot and set the valve to the sealing position. Select the “Pressure Cook” or “Manual” function and set the timer for 3 minutes on high pressure. For white rice, this short cook time is sufficient due to the pre-soaking effect of the rinsing step.
Once the cooking cycle completes, allow the pressure to release naturally for 10 minutes, then switch the valve to venting to release any remaining pressure. This natural release prevents the rice from becoming mushy by allowing it to finish steaming gently.
Step 4: Fluff and Rest Before Serving
Carefully open the lid and discard the Bay Leaf. Using a fork, gently fluff the rice from the bottom up to separate the grains without crushing them. The rice should appear tender and slightly glossy, with no hard or crunchy bits remaining.
Let the rice rest in the Instant Pot with the lid off for 5 minutes before serving. This brief rest allows excess moisture to evaporate and the grains to firm up slightly, ensuring the best texture. Serve immediately while hot for the ideal fluffy consistency.
Pro Tips For Making Instapot White Rice
- Rinse the Rice: Always rinse jasmine rice until the water runs clear to remove excess starch—I learned this the hard way after ending up with a gummy pot.
- Use the Right Ratio: Stick to a 1:1 water-to-rice ratio for jasmine in the Instant Pot, and add a pinch of sea salt to the water for even seasoning.
- Skip the Oil Overload: A teaspoon of neutral oil is plenty to prevent sticking; more than that just makes the rice greasy instead of fluffy.
- Let It Steam: After cooking, let the rice sit for 10 minutes with the lid on—this guarantees it absorbs all the moisture and separates easily.
Troubleshooting Perfect Results
Burn Notice
If you see the dreaded BURN error, it means residue is sticking to the bottom. I fix this by adding ¼ cup extra water, scraping the pot, and restarting. Always deglaze thoroughly between batches to prevent this. 🔥
Undercooked Rice
If your rice comes out crunchy, it likely needs more liquid or time. Add ¼ cup hot water, seal, and pressure cook for another 2 minutes. Let it naturally release for 5 minutes this time.
Mushy Texture
Overcooked rice usually means too much water or over-stirring. Stick to the 1:1 ratio and stir just enough to distribute seasonings. For firmer grains, reduce water by 2 tbsp next time.
Sticky Situation
If your rice clumps together, it wasn’t rinsed well enough. Rinse until water runs completely clear. Also, avoid pressing rice down in the pot. I use a fork to fluff, never a spoon, for perfect separation.
Water Ratio Issues
Different rice types need slight adjustments. For long-grain white, keep the 1:1 ratio. For short-grain, try 1:1.25. Always level your measuring cups—packed rice absorbs less liquid. 💡
Uneven Cooking
If some grains are hard while others are soft, your pot may not be level. Check your Instant Pot’s placement. Also, ensure rice is spread evenly in the pot, not mounded in the center.
Nutrition Facts
Frequently Asked Questions
Do I need to soak the rice first?
No, soaking isn’t necessary for this method. Rinsing until water runs clear is sufficient to remove excess starch. Soaking can actually make the grains too soft for pressure cooking.
Can I double the recipe?
Yes, but never exceed the ½ full mark in your Instant Pot. For a 6-quart, 3 cups rice and 3 cups water works perfectly. The cook time remains 3 minutes.
Why did my rice turn out sticky?
Sticky rice usually means it wasn’t rinsed well or was stirred too much. Rinse thoroughly and stir just enough to distribute seasonings. Use a fork to fluff after cooking.
What if I don’t have a fork to fluff?
A rice paddle or spoon works in a pinch, but a fork is ideal. Gently fold from the bottom up to separate grains without crushing them. Avoid pressing down.

- Indian Jasmine Rice Recipe: Fragrant Basmati-Free Elegance - October 19, 2026
- KFC Rizo Rice Recipe: Copycat Side Dish With Savory Spice Blend - October 19, 2026
- Jeerakasala Rice Recipe: Fragrant Cumin-Infused Kerala Delight - October 19, 2026