
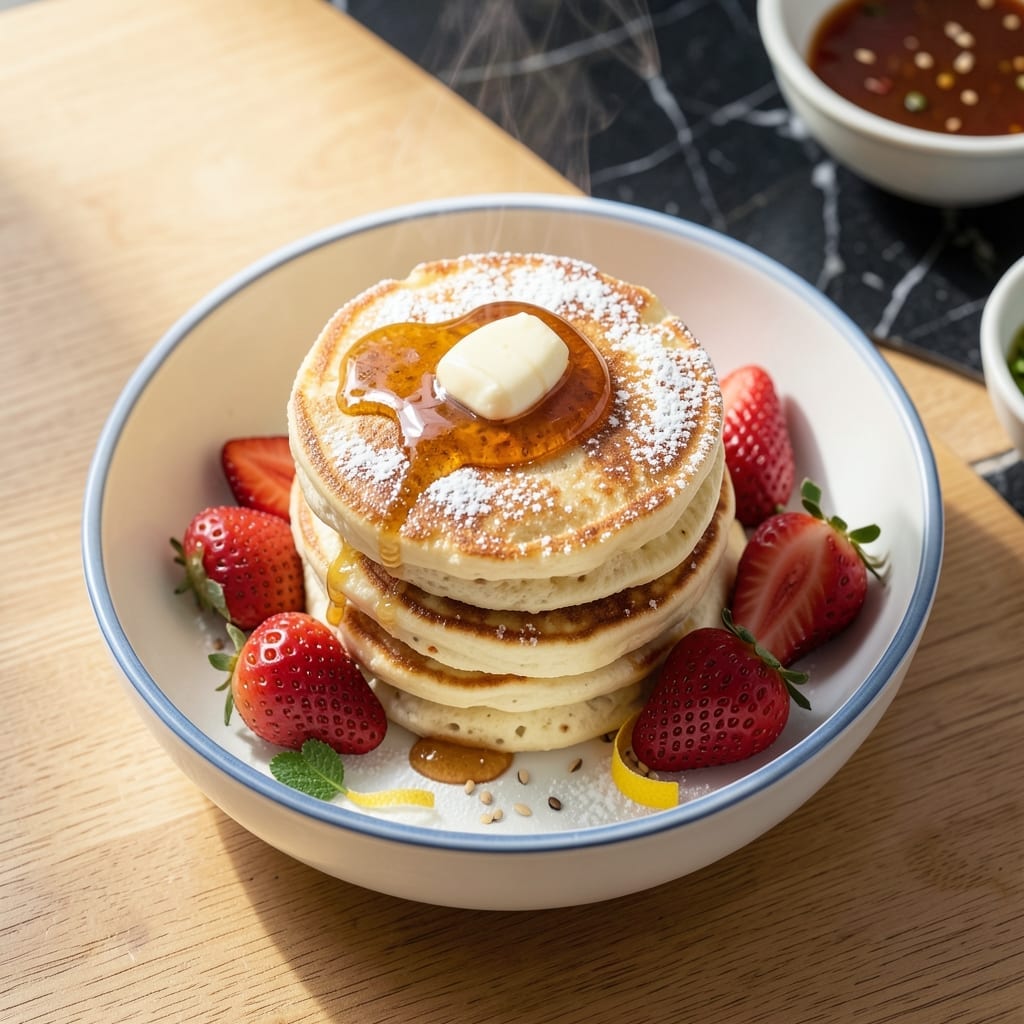
I discovered this method after years of struggling with uneven stovetop pancakes in my small Boston kitchen. The rice cooker’s steady heat creates perfectly fluffy results every time, with no flipping required.
This approach adapts traditional Japanese techniques for modern appliances. The batter combines simple ingredients, yet the texture rivals any specialty café version. It’s a game-changer for busy mornings.
You’ll achieve cloud-like pancakes with a tender crumb and golden edges, all while keeping your hands free. The rice cooker does the work—no watching, no adjusting heat.
Ideal for weekends or quick breakfasts, this dish proves that minimal effort can yield extraordinary results. Let’s begin with the batter.
Ingredients for Japanese Pancake Rice Cooker
Simple pantry staples transform into Japanese-style fluffy pancakes with this genius method.
| Ingredient | Amount | Notes |
|---|---|---|
| All-Purpose Flour 🌾 | 2 cups | Sifted for lighter texture |
| Granulated Sugar 🍚 | 3 tbsp | Fine grain preferred |
| Baking Powder 🧂 | 2 tsp | Fresh, aluminum-free preferred |
| Large Eggs 🥚 | 2 whole | Room temperature for best rise |
| Whole Milk 🥛 | 1 ½ cups | Full-fat for richness |
| Vanilla Extract 🌿 | 1 tsp | Pure extract, not imitation |
| Salt 🧂 | ¼ tsp | Fine sea salt preferred |
| Unsalted Butter 🧈 | 2 tbsp | Melted and cooled slightly |
| Vegetable Oil 🫒 | 1 tbsp | For greasing rice cooker |
| Honey 🍯 | 1 tbsp | Optional for serving |
| Maple Syrup 🍁 | ½ cup | For serving, warmed |
| Fresh Berries 🍓 | 1 cup | Optional garnish |
The flour is the foundation here—King Arthur or Gold Medal all-purpose work perfectly. Baking powder loses potency over time, so check the expiration date (yes, it has one). For the milk, whole milk gives the richest texture, but 2% works in a pinch. Eggs at room temperature incorporate more air, so pull them out 30 minutes before mixing (or microwave for 10 seconds).
No whole milk? Half-and-half with water at 1:1 gives similar results. Out of baking powder? 1/4 tsp baking soda + 1/2 tsp cream of tartar per teaspoon substitution. The honey can be swapped for agave if you prefer. For extra flavor, vanilla bean paste elevates the vanilla extract. The berries are totally optional—banana slices or chocolate chips work too.
Batter keeps in the fridge for up to 24 hours (stir before using). Cooked pancakes stay fresh for 2 days in an airtight container. Freeze extras layered with parchment for up to 1 month—reheat in a toaster oven to restore fluffiness.
Why You’ll Love This Recipe
- One-Pot Magic: I just dump everything in the rice cooker and walk away—no flipping, no watching, no fuss.
- Sweet & Fluffy: That perfect balance of sugar and eggs makes them light yet rich, with a melt-in-your-mouth texture.
- Breakfast to Dessert: I’ve served these for Sunday brunch and midnight snack attacks, and they disappear both times.
- Pantry Staples: Flour, sugar, eggs, milk—I always have these on hand, so it’s my go-to when the fridge looks sad.
Step-by-Step Instructions for Japanese Pancake Rice Cooker
Here’s my foolproof method for airy, cloud-like results with minimal hands-on time.
Step 1: Whisk the Dry Ingredients
In a large bowl, sift together the 2 cups All-Purpose Flour, 3 tbsp Granulated Sugar, 2 tsp Baking Powder, and 0.25 tsp Salt. Sifting aerates the flour and ensures a lighter texture, which is crucial for that signature jiggly consistency.
I always double-check that my baking powder is fresh—old leavening agents can leave your pancakes flat. Gently whisk until no lumps remain, but don’t overmix; you want to keep the mixture light and airy.
Step 2: Combine Wet Ingredients and Create the Batter
In a separate bowl, whisk the 2 whole Large Eggs until slightly frothy, then add the 1.5 cups Whole Milk, 1 tsp Vanilla Extract, and 2 tbsp Unsalted Butter (melted and cooled). The butter should be warm but not hot to avoid cooking the eggs prematurely.
Pour the wet ingredients into the dry mixture and fold gently with a spatula. Stop mixing as soon as the batter comes together—small lumps are fine. Overworking the batter develops gluten, which makes the pancakes tough instead of tender.
Step 3: Grease and Layer the Rice Cooker
Use the 1 tbsp Vegetable Oil to thoroughly grease the interior of your rice cooker, including the sides. This prevents sticking and helps the pancake rise evenly. Pour half the batter into the cooker and smooth the top with your spatula.
Close the lid and start the cooker. Most rice cookers will take about 15-20 minutes to cook the first layer. You’ll know it’s ready when the top looks set and slightly domed, with no wet batter visible in the center.
Step 4: Add the Second Layer and Finish Cooking
Once the first layer is set, gently pour the remaining batter over the top, spreading it evenly. Close the lid and let it cook for another 15-20 minutes. Avoid opening the lid during cooking—steam is essential for that fluffy texture.
The pancake is done when the entire surface is golden and a toothpick inserted in the center comes out clean. If the top browns too quickly, tent the cooker with a towel to prevent over-browning while the center finishes cooking.
Step 5: Serve with Warm Syrup and Berries
Let the pancake rest in the rice cooker for 5 minutes to set slightly before transferring it to a serving plate. Slice it into wedges and drizzle with warmed 0.5 cup Maple Syrup or 1 tbsp Honey for extra sweetness.
Top with 1 cup Fresh Berries for a pop of color and freshness. The contrast of the warm, pillowy pancake with the cool, juicy berries is what makes this dish truly special. Serve immediately for the best texture.
Pro Tips For Making Japanese Pancake Rice Cooker
- Whisk Eggs First: Beat the eggs separately until frothy before mixing with milk—this adds air and makes the pancakes fluffier. I learned this the hard way after making dense pancakes for months.
- Sift Dry Ingredients: Always sift the flour and baking powder together to avoid lumps. Sounds tedious, but it actually changes the outcome of your pancake texture.
- Don’t Overmix: Stop mixing as soon as the batter comes together—small lumps are fine. Overmixing develops gluten, and your pancakes will turn out tough.
- Grease the Cooker: Lightly coat the rice cooker pot with oil or butter before adding batter. This prevents sticking and makes cleanup a breeze.
Wine and Beer Pairings for japanese pancake rice cooker
Sparkling Pairings
For a celebratory brunch, try a dry sparkling sake like Dassai 39. Its crisp acidity and subtle fruit notes cut through the pancake’s richness beautifully. Serve chilled at 45-50°F for the best experience. 🍾
Light Beer Options
A Japanese lager like Asahi Super Dry offers a clean, refreshing contrast to the sweetness. The light body won’t overpower the delicate vanilla and butter flavors in your creation. I love this pairing for weekend brunches.
Fruity White Wines
A slightly off-dry Riesling from Germany or Washington State complements the maple syrup. Look for one with stone fruit notes—Dr. Loosen Blue Slate is my go-to. The wine’s acidity balances the dish’s sweetness perfectly.
Coffee and Tea
For non-alcoholic options, a cold brew coffee with a splash of cream enhances the vanilla notes. Alternatively, jasmine green tea adds a floral touch that pairs wonderfully with the berries on top.
Craft Beer Picks
A witbier like Hoegaarden brings citrus and spice that contrast nicely with the pancake’s sweetness. The effervescence cleanses your palate between bites, making each one taste fresh. 🍺
Dessert Wine
For an indulgent treat, a Moscato d’Asti from Italy offers peach and apricot flavors that mirror the dish’s sweetness. Serve well-chilled at 40°F in small dessert wine glasses to end the meal elegantly.
Nutrition Facts
Frequently Asked Questions
Can I use a different type of flour?
Cake flour works well for an even lighter texture. Avoid whole wheat as it makes the pancake dense. For gluten-free, use a 1:1 blend with xanthan gum added.
Why does my pancake have a raw center?
This usually means the batter was too thick or the cooker was opened too soon. Ensure your batter is smooth and avoid peeking during cooking.
How do I prevent sticking to the rice cooker?
Grease thoroughly with oil or butter, including the sides. Non-stick spray works too. Let the pancake rest for 5 minutes before removing.
Can I make these without a rice cooker?
Yes! Use a Dutch oven with a tight lid on low heat. The steam method is similar, but watch closely to prevent burning.

- Rice Pudding Recipe With Eggs and Milk: Old-Fashioned Custard-Style Comfort - September 30, 2026
- Rice Noodle Sauce Recipe: Bold Umami Depth for Authentic Stir-Fry - September 30, 2026
- Rice Pilaf Recipe: Fragrant Basmati With Toasted Vermicelli - September 30, 2026