
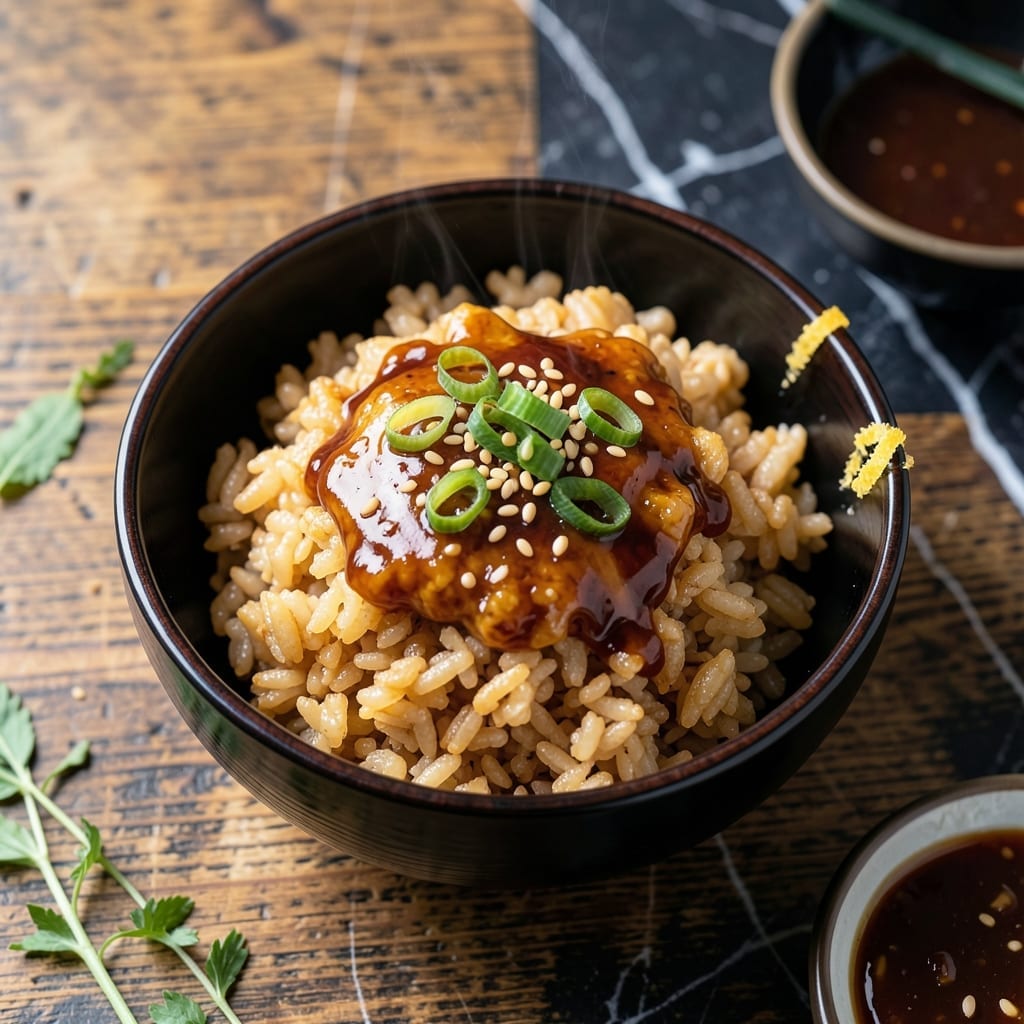
Japanese puffed rice offers a delightfully light and crunchy texture that elevates any snack or meal. This traditional method transforms simple rice into airy, golden bites that are impossible to resist.
The process is surprisingly straightforward, requiring just a few key ingredients and careful attention to temperature. I’ve refined this technique to ensure consistent results every time, whether you’re making it for a party or a quiet treat.
What you’ll achieve is a delicate balance of crispness and subtlety, with each piece melting in your mouth. It’s the perfect base for sweet or savory toppings, or simply enjoyed on its own.
Once you try this, store-bought versions will never compare. Here’s how to make it at home.
Ingredients for Japanese Puffed Rice
Simple ingredients transform into airy, crisp bites with this traditional method.
| Ingredient | Amount | Notes |
|---|---|---|
| Japanese Short-Grain Rice 🍚 | 1 cup | Rinsed until water runs clear |
| Water 💧 | 2 cups | For cooking rice |
| Sugar 🍚 | 2 tbsp | Granulated white sugar |
| Soy Sauce 🫙 | 1 tbsp | Low-sodium preferred |
| Rice Vinegar 🍶 | 1 tbsp | Unseasoned variety |
| Neutral Oil 🫒 | 2 cups | For deep-frying, like vegetable or canola |
| Sea Salt 🧂 | ½ tsp | Fine grain for even coating |
| Cornstarch 🌾 | 1 tbsp | For crispiness |
| Sesame Seeds 🌰 | 1 tsp | Toasted, optional garnish |
| Nori Sheets 🍱 | 1 sheet | Thinly sliced, optional garnish |
| Baking Soda 🧂 | ¼ tsp | For puffing reaction |
The rice is everything here. Japanese short-grain (sushi rice) is non-negotiable—other varieties won’t puff right. Koshihikari or Nishiki brands at Asian markets or Whole Foods are reliable. Rinse it until the water runs crystal clear (this removes excess starch for maximum crispness). The oil needs a high smoke point—avocado or peanut oil work if you’re avoiding canola.
No rice vinegar? Apple cider vinegar in a pinch, but the flavor shifts slightly. Out of short-grain? Don’t bother substituting—this recipe needs that sticky texture. For a gluten-free version, swap soy sauce for tamari. The sugar helps with caramelization (don’t skip it), but coconut sugar works if you’re avoiding refined. Baking soda is key—it’s what makes the rice puff dramatically.
Store cooled puffed rice in an airtight container at room temp for 3 days max—it loses crispness fast. For longer storage, freeze in a single layer first, then transfer to a bag for up to 1 month. Re-crisp in a dry pan or oven before serving (microwave = soggy disaster).
Why You’ll Love This Recipe
- 5-Minute Mix: I throw the rice in hot oil and it puffs up in minutes—no babysitting required.
- Sweet-Savory Magic: The sugar and soy sauce hit this perfect balance where I keep grabbing “just one more” handful.
- Snack or Side: I pack it for lunchboxes one day, serve it with cocktails the next.
- Pantry Hero: Between us, a pound of short-grain rice makes enough to feed a crowd for pennies.
Step-by-Step Instructions for Japanese Puffed Rice
This method transforms plain rice into an irresistibly crispy, airy snack with minimal effort.
Step 1: Cook and Season the Rice Base
Rinse the 1 cup Japanese Short-Grain Rice until the water runs clear to remove excess starch. Combine it with the 2 cups Water in a saucepan and bring to a boil, then reduce to a simmer. Cover and cook for 15-18 minutes until the liquid is absorbed and the grains are tender.
Transfer the cooked rice to a large bowl while still warm. Add the 2 tbsp Sugar, 1 tbsp Soy Sauce, and 1 tbsp Rice Vinegar, then mix gently until evenly distributed. This sweet-savory combination adds depth and balances the crispiness. Let it cool slightly—about 10 minutes—before the next step.
Step 2: Create the Puffing Slurry
In a small bowl, whisk together the 1 tbsp Cornstarch and 0.25 tsp Baking Soda until no lumps remain. The baking soda is the secret to achieving that signature puffed texture, so don’t skip it.
Sprinkle this slurry over the seasoned rice and fold everything together with a spatula. The mixture should look slightly sticky and clump together when pressed. If it seems too dry, add a teaspoon of water. You want the rice grains to hold their shape but still be loose enough to fry individually.
Step 3: Deep-Fry to Golden Perfection
Heat the 2 cups Neutral Oil in a deep, heavy-bottomed pot over medium-high heat until it reaches 350°F. Use a thermometer for accuracy—oil that’s too cool will make the rice greasy, while oil that’s too hot can burn the outside before the inside puffs.
Working in batches to avoid overcrowding, carefully drop spoonfuls of the rice mixture into the hot oil. Fry for 3-4 minutes, stirring gently, until the pieces turn deep golden brown and float to the surface. They’ll expand as they cook, so give them room. Remove with a slotted spoon and drain on a wire rack or paper towels.
Step 4: Season and Garnish While Warm
While the puffed rice is still hot, sprinkle it evenly with the 0.5 tsp Sea Salt. Toss gently to coat—this ensures every bite has a perfect balance of flavor. The salt will stick better to the warm, slightly oily surface, so don’t wait until it cools.
For an extra touch, sprinkle with the 1 tsp Sesame Seeds and thinly sliced 1 sheet Nori Sheets while still warm. These garnishes add a nutty, umami depth that complements the sweetness of the rice. Let it cool completely before serving—the puffed rice will crisp up even more as it sits.
Pro Tips For Making Japanese Puffed Rice
- Rinse the Rice: Wash the short-grain rice until the water runs clear—this removes excess starch so your puffed rice gets crisp, not gummy.
- Fry Twice: First shallow-fry the cooked rice to dry it out, then deep-fry at 350°F for that airy, golden puff.
- Skip Fresh Rice: Use day-old, cold rice—fresh is too moist and will turn to mush instead of puffing up.
- Season After Frying: Toss the puffed rice with soy sauce, sugar, and rice vinegar right after frying so the flavors stick while it’s still hot.
Regional Styles of These Flavors
Osaka-Style Arare
In Osaka, arare takes on a larger, irregular shape with a heartier crunch. The rice is mixed with extra soy sauce and sometimes mirin for depth. I’ve found that adding 1 tsp mirin to the seasoning step gives it that signature Osaka sweetness. These are often used in soups or as a topping for rice bowls. 🗺️
Kyoto-Style Senbei
Kyoto’s version is more refined, with thin, flat discs that are lightly seasoned. The rice mixture is pressed into molds before frying, creating uniform shapes. I use a small cookie cutter to achieve this look at home. They’re traditionally served with tea and have a delicate, almost flaky texture.
Tokyo-Style Kaki no Tane
These peanut-coated puffed rice balls are a Tokyo specialty. After frying, the puffed rice is tossed with crushed peanuts and a touch of soy sauce. I recommend using roasted peanuts for the best flavor. They’re a popular snack for festivals and street food stalls. ✨
Hokkaido-Style Butter Flavor
Hokkaido’s dairy-rich cuisine inspires a buttery variation. After frying, the puffed rice is tossed with 1 tbsp melted butter and a pinch of salt. This creates a rich, savory snack that’s surprisingly addictive. I often add a sprinkle of powdered sugar for a sweet-savory twist.
Okinawa-Style Sweet
Okinawa’s version leans heavily into sweetness, often incorporating brown sugar or honey into the mix. I replace the white sugar with 2 tbsp brown sugar for a deeper, caramel-like flavor. These are commonly shaped into small balls and served as a dessert or sweet snack.
Nutrition Facts
Frequently Asked Questions
What type of rice works best?
Use Japanese short-grain (sushi rice) for the best results. Brands like Koshihikari or Nishiki are ideal. Other varieties won’t puff correctly.
Can I bake instead of deep-frying?
Baking won’t achieve the same puffed texture. Deep-frying at 350°F is essential for that crisp, airy bite. An air fryer might work but results vary.
How do I keep it crispy?
Cool completely on a wire rack and store in an airtight container at room temperature. Avoid humidity—it’ll turn soggy fast.
Can I make this gluten-free?
Yes! Swap soy sauce for tamari and ensure all other ingredients are certified gluten-free. The texture stays the same.

- Mujadara Rice and Lentils Recipe: Earthy Spiced Lentils With Caramelized Onions - November 1, 2026
- Naija Fried Rice Recipe: Street-Style Spice With Veggie Crunch - November 1, 2026
- Mushy Rice Recipe: Fluffy Grains Transformed in Minutes - November 1, 2026