
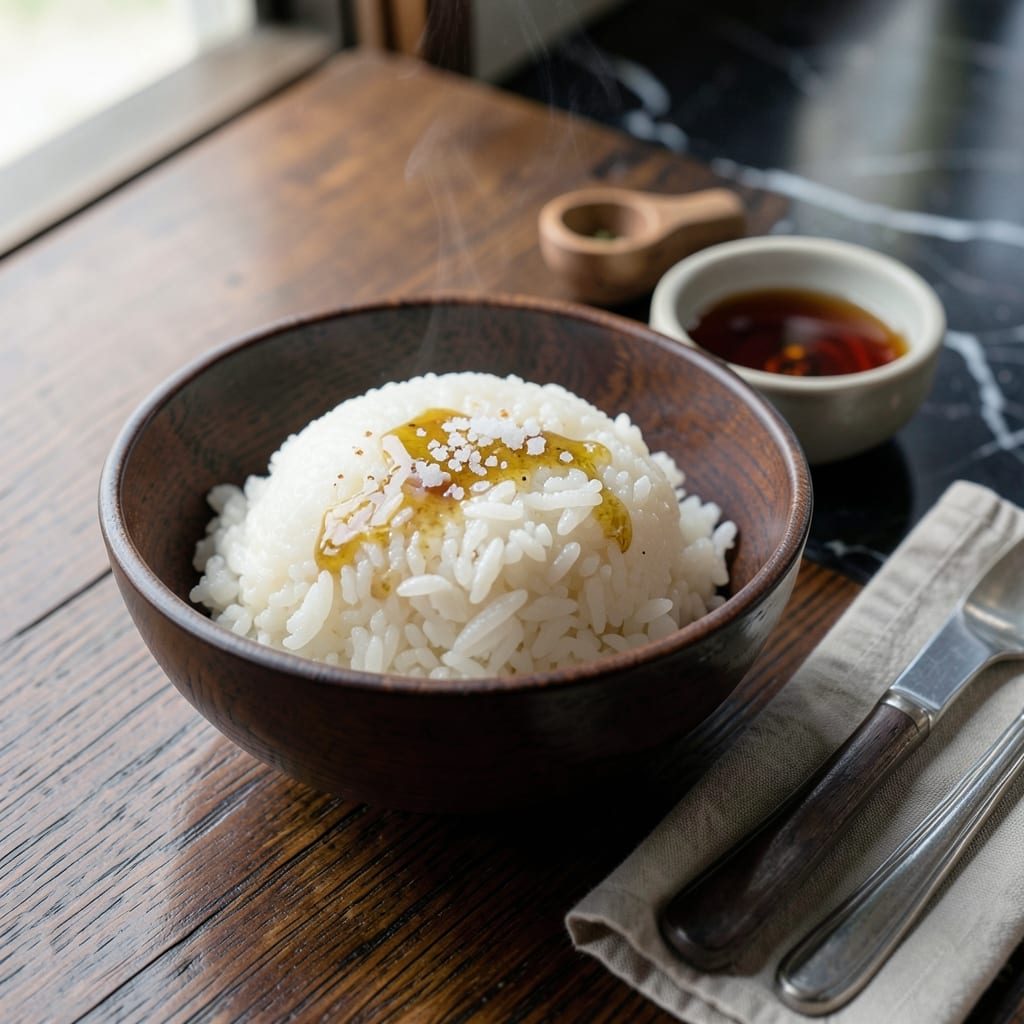
This recipe delivers the same sticky, slightly sweet rice you’d find in top-tier Japanese restaurants. The secret lies in the precise ratio of rice to water and a short soaking period before cooking.
I’ve refined this method over years of trial and error to achieve consistently perfect results every time. The rice emerges glossy and tender, with just the right amount of chew—ideal for sushi, bowls, or as a side.
What sets it apart is the addition of a touch of rice vinegar and sugar in the final seasoning step. This small detail transforms plain rice into something extraordinary.
Serve it warm with your favorite proteins or vegetables, or use it as the base for homemade sushi rolls. The versatility makes it a staple in my kitchen.
Ingredients for Japanese Restaurant Rice
Pantry staples plus a few Japanese essentials create that signature sticky sweet rice.
| Ingredient | Amount | Notes |
|---|---|---|
| Japanese Short-Grain Rice 🍚 | 2 cups | Rinsed until water runs clear |
| Water 💧 | 2 ½ cups | Filtered or spring preferred |
| Rice Vinegar 🍶 | 3 tbsp | Seasoned or unseasoned |
| Granulated Sugar 🍚 | 1 ½ tbsp | Dissolved in vinegar mixture |
| Salt 🧂 | 1 tsp | Fine sea salt preferred |
| Sake 🍶 | 1 tbsp | Optional for depth of flavor |
| Mirin 🍶 | 1 tbsp | Optional for sweetness |
| Dashi Stock 🍲 | ¼ cup | Optional for umami boost |
| Kombu 🌿 | 1 piece | 2-inch square, optional |
| Toasted Sesame Seeds 🌰 | 1 tsp | For garnish |
The rice is everything here. Koshihikari or Nishiki are the gold standards—find them at Asian markets or Whole Foods for about $5-7 per pound. Don’t skimp on the rinse step (the water should run crystal clear), and soak for at least 30 minutes (or up to 4 hours) before cooking. I always grab mine from Nijiya when I’m making a big batch for sushi night.
No rice vinegar? Apple cider vinegar at half the amount works in a pinch, but the flavor won’t be as clean. Skip the sake and mirin if needed—they’re enhancers, not essentials. Vegetable broth can stand in for dashi if you want to keep it vegetarian. The sugar can be swapped for mirin or honey (since vegetarian allows it), but stick to the same quantity to keep the balance right.
Cooked rice stays fresh for 2-3 days in the fridge—store it in an airtight container with a damp paper towel on top to prevent drying. Freeze for up to 1 month in portions. Reheat with a splash of water to restore moisture. Simple enough.
Why You’ll Love This Recipe
- One Pot Wonder: I just dump rice, water, and a splash of vinegar in a pot—no fancy steps, no stress.
- Sweet-Tangy Bite: The sugar and rice vinegar hit that spot-on sushi-restaurant flavor I crave at home.
- Pairs With Everything: Honestly, it’s my base for teriyaki bowls, sushi rolls, or even a fried egg on top at midnight.
- Budget Stretch: A pound of short-grain rice feeds us for days, and the seasonings cost pennies.
Step-by-Step Instructions for Japanese Restaurant Rice
Here’s my tested method for achieving that perfect sticky, sweet rice you’d find in your favorite sushi spot.
Step 1: Rinse and Cook the Rice
Place the 2 cups Japanese Short-Grain Rice in a fine-mesh strainer and rinse under cold water, swishing the grains with your hand, until the water runs completely clear. This removes excess starch and prevents gummy rice.
Combine the rinsed rice with 2.5 cups Water in your rice cooker or heavy pot. I’ve found that short-grain rice needs slightly more water than other varieties to achieve that ideal sticky texture. Cook according to your rice cooker’s instructions or bring to a boil, then reduce to a simmer, cover, and cook for 15 minutes.
Let it rest covered for 10 minutes after cooking. You’ll know it’s ready when all the water is absorbed and the grains are tender but still hold their shape.
Step 2: Prepare the Seasoning Mixture
While the rice cooks, combine 3 tbsp Rice Vinegar, 1.5 tbsp Granulated Sugar, 1 tsp Salt, 1 tbsp Sake, and 1 tbsp Mirin in a small saucepan. Heat over low heat just until the sugar dissolves completely—this takes about 2-3 minutes.
Remove from heat and let cool slightly. If you’re using the optional umami boost, add 0.25 cup Dashi Stock now. The liquid should be warm but not hot when you add it to the rice—hot vinegar mixture can make the rice mushy.
Step 3: Combine and Rest
Transfer the cooked rice to a large, shallow wooden or glass bowl. Gently fold in the vinegar mixture using a rice paddle or silicone spatula. Use a cutting motion to distribute the seasoning evenly without crushing the grains.
If you’re using 1 piece Kombu, place it on top of the rice now. The seaweed will infuse subtle flavor as the rice rests. Cover with a damp towel and let sit at room temperature for 10-15 minutes. This resting period allows the rice to absorb all the seasoning liquid properly.
Remove the kombu before serving. The rice should have a glossy sheen and hold together when pressed lightly—perfect for shaping into sushi or serving in bowls.
Step 4: Serve with Garnish
Fluff the rice gently with your paddle one more time. The grains should be separate but stick together when pressed. Taste and adjust seasoning if needed—though with the exact measurements we’ve used, it should be perfectly balanced.
Sprinkle with 1 tsp Toasted Sesame Seeds just before serving. These add a nutty aroma and visual contrast that makes the dish look as good as it tastes. Serve warm or at room temperature—never cold from the fridge, as this can make the rice hard.
Pro Tips For Making Japanese Restaurant Rice
- Rinse Thoroughly: Wash the short-grain rice in 3-4 changes of water until it runs clear—I learned this the hard way after ending up with gummy rice that tasted like raw starch.
- Use the Right Ratio: Stick to a 1:1.1 rice-to-water ratio by volume for perfect texture, and measure with the same cup for consistency.
- Rest Before Seasoning: Let the cooked rice sit covered for 10 minutes off the heat before mixing in the vinegar, sugar, and salt—it absorbs the flavors better and won’t turn to mush.
- Warm the Vinegar Mix: Gently heat the rice vinegar, sugar, and salt in a small saucepan until dissolved, then cool slightly before folding into rice—this prevents grainy sugar bits and uneven seasoning.
Regional Styles of This Recipe
Kanto-Style Sushi Rice
The Tokyo region prefers a slightly sweeter profile with 2 tbsp sugar instead of 1.5 tbsp. I add 1 tsp rice vinegar extra for balance. This creates that glossy, jewel-like rice you see in high-end sushi bars. 🌟
Osaka-Style Pressed Rice
For oshizushi, Osaka chefs use less vinegar (2 tbsp) and more salt (1.5 tsp). Press the seasoned rice into a wooden mold with toppings. The firmer texture holds shapes better for boxed lunches.
Kyoto-Style Tea Rice
This version omits sugar entirely, relying on 1 tbsp mirin and 1 tsp dashi for subtle umami. The rice pairs perfectly with grilled fish or pickled vegetables. I love this with matcha tea for afternoon snacks.
Hokkaido-Style Dashi Rice
Northern Japan incorporates ½ cup dashi into the cooking water. The seaweed and bonito flavors infuse each grain. Use Kombu from Hokkaido for authentic taste. This style shines in donburi bowls.
Okinawa-Style Purple Rice
Mix in ¼ cup cooked purple sweet rice for a nutty, colorful twist. The anthocyanins create a vibrant hue while adding antioxidant benefits. This version is slightly chewier, perfect for festive occasions.
Nutrition Facts
Frequently Asked Questions
Why rinse the rice until water runs clear?
Rinsing removes excess starch to prevent gummy texture. Stop when water is completely transparent, usually after 4-5 rinses.
Can I use a regular pot instead of a rice cooker?
Use a heavy pot with a tight lid. Bring to boil, then reduce to low heat and simmer for 15 minutes. Remove from heat and rest 10 minutes covered.
How do I fix rice that’s too dry?
Sprinkle 1-2 tbsp hot water over the rice, cover, and let steam for 5 minutes. Fluff gently with a paddle. Avoid overmixing.
What’s the best rice-to-water ratio?
Use 1:1.25 ratio (2 cups rice to 2.5 cups water). This ensures perfect stickiness every time.

- Mujadara Rice and Lentils Recipe: Earthy Spiced Lentils With Caramelized Onions - November 1, 2026
- Naija Fried Rice Recipe: Street-Style Spice With Veggie Crunch - November 1, 2026
- Mushy Rice Recipe: Fluffy Grains Transformed in Minutes - November 1, 2026