
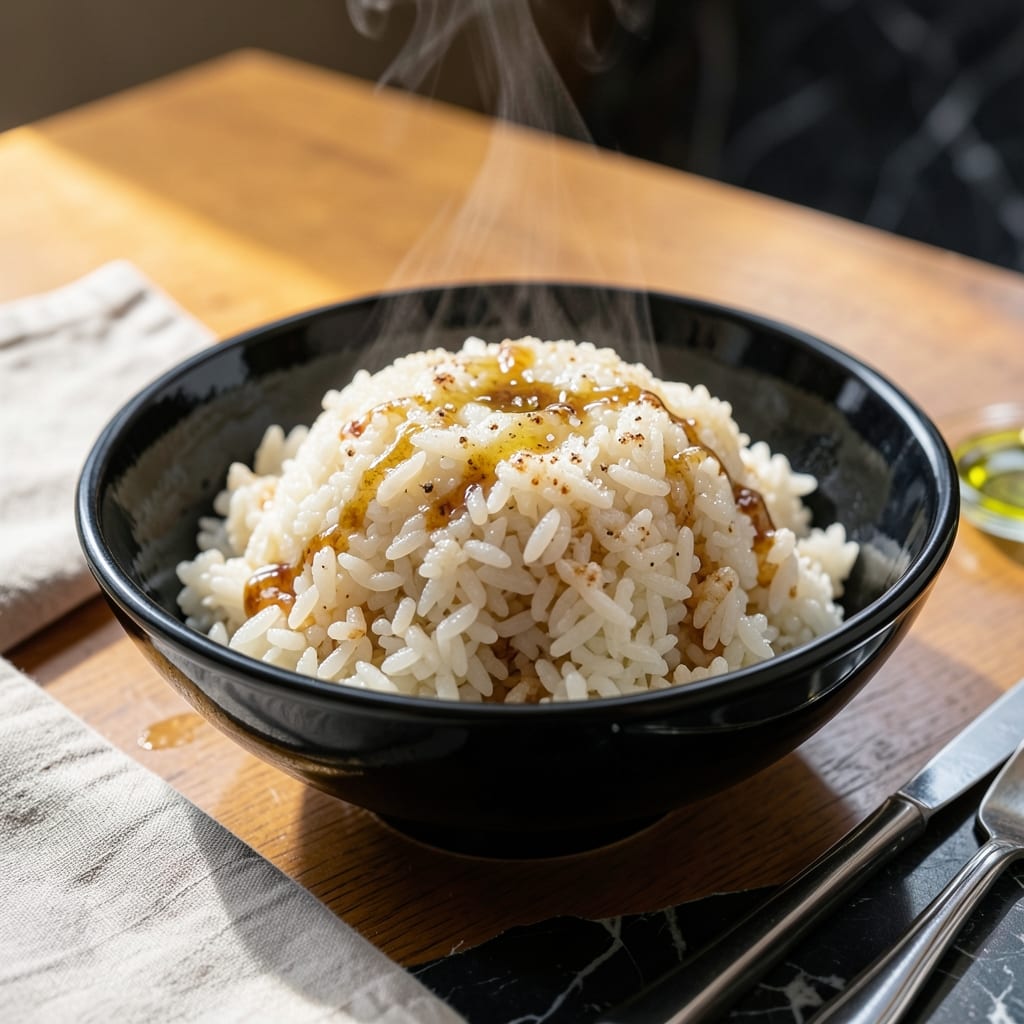
Achieving perfectly cooked rice is simpler than you think with this reliable method. The secret lies in the right water-to-rice ratio and letting the appliance do the work.
This approach delivers fluffy, separate grains every time without constant monitoring. No special skills or equipment are needed beyond a basic rice cooker.
What you’ll get is tender, evenly cooked rice with just the right amount of moisture. The process is nearly foolproof, making it ideal for beginners and experienced cooks alike.
Whether you’re serving it as a side or base for other dishes, this technique ensures consistent results. The method works with both white and brown rice varieties.
Ingredients for Japanese Rice Cooker
Short list of staples transforms into perfectly tender, fluffy rice every single time.
| Ingredient | Amount | Notes |
|---|---|---|
| Japanese Short-Grain Rice 🍚 | 2 cups | Rinsed until water runs clear |
| Water 💧 | 2 ½ cups | Filtered for best texture |
| Rice Vinegar 🍶 | 1 tbsp | Optional for subtle tang |
| Sea Salt 🧂 | ½ tsp | Fine grain preferred |
| Sake 🍶 | 1 tbsp | Optional for depth of flavor |
| Dashi Stock 🥣 | ¼ cup | Substitute with water if unavailable |
| Sugar 🍚 | 1 tsp | Balances acidity if using vinegar or sake |
| Nori Sheet 🌿 | 1 sheet | Crumbled as garnish |
| Sesame Seeds 🌰 | 1 tbsp | Toasted for garnish |
| Green Onions 🧅 | 2 whole | Thinly sliced for garnish |
The rice quality is paramount. Japanese short-grain varieties like Koshihikari or Nishiki deliver the ideal sticky yet separate texture. Avoid long-grain or jasmine—they lack the necessary starch content. Asian markets or the international aisle at Whole Foods carry authentic options. Rinsing removes excess starch, preventing gummy results. Invest in a fine-mesh strainer for this step.
No rice vinegar? White wine vinegar at half the amount works. Sake can be omitted, but it adds subtle sweetness that enhances the grain’s natural flavor. For dashi, instant dashi powder (dissolved in hot water) is a convenient alternative. Brown rice requires 1.25 times the water and a longer cook cycle—check your rice cooker’s manual for exact settings.
Uncooked rice stores indefinitely in a cool, dry place. Cooked rice stays fresh for 3-4 days refrigerated or 1 month frozen. For best results, let cooked rice cool completely before freezing in airtight containers. Reheat gently with a splash of water to restore moisture.
Why You’ll Love This Recipe
- Set and Forget: The rice cooker does all the work—just measure, press a button, and walk away.
- Umami Bomb: That sake and rice vinegar combo gives it a subtle depth that plain rice just can’t match.
- Meal Prep Hero: I make a big batch Sunday and it pairs perfectly with proteins or veggies all week.
Step-by-Step Instructions for Japanese Rice Cooker Rice
Master these simple steps and you will produce perfectly fluffy, sticky grains each and every time.
Step 1: Rinse the Japanese Short-Grain Rice Thoroughly
Place the 2 cups Japanese Short-Grain Rice in a fine-mesh strainer and rinse under cold, running water. I agitate the grains with my hand while rinsing, watching as the water turns from cloudy to nearly clear.
This step removes excess starch that would otherwise make the rice gummy. I continue until the water runs almost completely transparent, which typically takes 3-4 rinses. Drain well after the final rinse—you want no standing water in the strainer.
Step 2: Combine Liquids and Seasonings with Precision
In the rice cooker pot, combine the rinsed rice with the 2.5 cups Water, 0.25 cup Dashi Stock, 1 tbsp Rice Vinegar, 1 tbsp Sake, 0.5 tsp Sea Salt, and 1 tsp Sugar. I use a wooden spoon to gently stir, ensuring the grains settle evenly in the liquid.
The liquid should come about 1 inch above the rice level. If you notice any grains clumping together on the surface, press them down so they submerge. This prevents uneven cooking and ensures every bite is perfectly tender.
Step 3: Cook and Rest for Optimal Texture
Close the rice cooker lid and select the standard white rice setting. Most cookers will take 20-25 minutes to complete the cycle. I listen for the clicking sound that indicates the cooker has switched from cooking to the keep-warm mode—this is your signal the rice is done.
Once cooking completes, let the rice rest in the cooker with the lid closed for 10-15 minutes. This allows the grains to absorb any remaining moisture and the starches to set properly, resulting in that characteristic sticky yet separate texture.
Step 4: Fluff and Garnish Before Serving
After resting, open the lid and use a rice paddle to gently fold the rice from the bottom to the top. This redistributes the moisture and prevents the rice from compacting. I work quickly but carefully to avoid mashing the grains.
Transfer to a serving bowl and garnish with the 1 sheet Nori Sheet (crumbled), 1 tbsp Sesame Seeds, and 2 whole Green Onions (thinly sliced). The nori adds a subtle oceanic note, while the sesame seeds and green onions provide freshness and crunch.
Pro Tips For Making Japanese Rice Cooker
- Rinse Thoroughly: Wash the short-grain rice in 3-4 changes of cold water until it runs almost clear—this removes excess starch so your rice doesn’t turn gummy. I learned this the hard way after serving a pot of gluey rice at a dinner party.
- Use the Right Ratio: For Japanese short-grain rice, stick to a 1:1.1 rice-to-water ratio (1 cup rice to 1.1 cups water). Sounds weird, but it works—this small adjustment prevents soggy or undercooked grains.
- Soak Before Cooking: Let the rinsed rice soak in the water for 20-30 minutes before hitting start. After burning three batches, I finally figured out this step guarantees even cooking and fluffier texture.
- Add Sake Last: Stir in the sake just before closing the lid—it enhances the aroma without overpowering the rice. My grandmother swore by this, and she was right.
Troubleshooting japanese rice cooker
Rice Sticks Together
Over-rinsing can remove too much starch, leading to dry grains that clump. I rinse just until the water looks slightly cloudy instead of crystal clear. Also, resist stirring after cooking—this releases more starch and makes rice sticky. 💡
Mushy Texture
Using too much water is the most common culprit. For 2 cups rice, never exceed 2.5 cups liquid total, including dashi. If your cooker lacks a measuring line, remember the 1-inch rule above the rice level.
Uneven Cooking
Check that your rice cooker’s heating element isn’t damaged. I spread rice evenly in the pot before cooking and avoid opening the lid during the cycle. If the top layer is undercooked, you may need to replace your cooker’s thermal fuse.
Burnt Bottom
This happens when rice sits too long on keep-warm or if the pot isn’t properly non-stick. I immediately transfer rice to a serving bowl after resting. For stubborn burnt bits, soak the pot in warm water to prevent damage.
Rice Too Dry
Old rice absorbs more water, so increase liquid by 2-3 tbsp for rice stored over 6 months. Also, let the rice rest the full 15 minutes—this allows grains to absorb residual moisture. 🔥
Lid Won’t Close
Check for rice grains stuck in the sealing mechanism. I wipe the rim with a damp cloth before cooking. For Zojirushi models, ensure the pressure valve is clean and moving freely to prevent cooking cycle interruptions.
Nutrition Facts
Frequently Asked Questions
Can I use long grain rice instead?
Stick with short-grain for authentic texture. Long grain lacks the starch content to achieve that signature sticky yet separate result.
How do I know when it’s done?
Most cookers switch to keep-warm mode automatically after 20-25 minutes. Listen for a click, then let it rest for 10-15 minutes before opening.
What if my rice turns out mushy?
This usually means too much water. For 2 cups rice, never exceed 2.5 cups liquid total, including any broth or dashi used.
Can I add vegetables or proteins?
Add diced carrots or chicken at the start. For delicate items like shrimp, add them halfway through cooking.

- Mujadara Rice and Lentils Recipe: Earthy Spiced Lentils With Caramelized Onions - November 1, 2026
- Naija Fried Rice Recipe: Street-Style Spice With Veggie Crunch - November 1, 2026
- Mushy Rice Recipe: Fluffy Grains Transformed in Minutes - November 1, 2026