
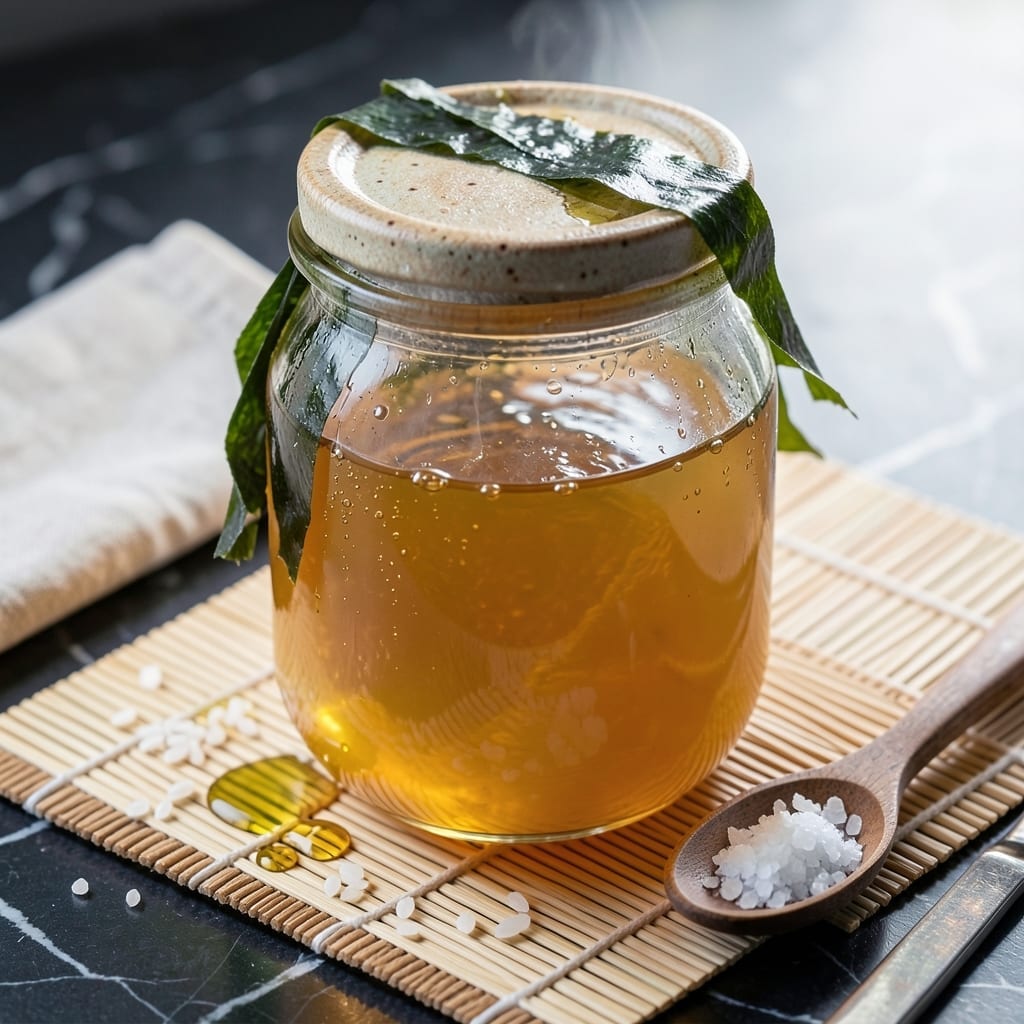
Creating your own rice vinegar at home unlocks a world of authentic Japanese flavors for dressings and marinades. This traditional method transforms simple ingredients into a tangy, versatile condiment that elevates any dish.
The process is surprisingly straightforward, requiring just rice, water, and patience. Fermentation develops the signature mild acidity and subtle sweetness that makes this vinegar perfect for sushi rice, salad dressings, or quick pickles.
What you’ll achieve is a homemade vinegar with depth and complexity that store-bought versions can’t match. The clean, bright flavor enhances without overpowering, making it indispensable in your kitchen.
Once ready, this vinegar will keep for months, ensuring you always have the perfect finishing touch for your favorite recipes.
Ingredients for Japanese Rice Vinegar
Seven simple ingredients transform into bright, tangy vinegar with authentic Japanese character.
| Ingredient | Amount | Notes |
|---|---|---|
| Short-Grain White Rice 🍚 | 1 cup | Sushi rice or calrose variety preferred |
| Filtered Water 💧 | 2 cups | Chlorine-free for fermentation |
| Rice Vinegar Mother 🧫 | ¼ cup | Or substitute unpasteurized apple cider vinegar mother |
| Sugar 🍚 | 2 tbsp | Organic cane sugar preferred for clarity |
| Sea Salt 🧂 | 1 tsp | Fine grain for even distribution |
| Kombu Seaweed 🌊 | 1 piece | 2-inch square, optional for umami depth |
| Dried Bonito Flakes 🐟 | ¼ cup | Optional, omit for strict vegan version |
The rice quality matters most here. Sushi rice or calrose gives the cleanest flavor profile—avoid jasmine or basmati as their aromatics can overpower. Filtered water is non-negotiable since chlorine inhibits fermentation. For the mother, Japanese markets often carry rice vinegar starters, or use unpasteurized apple cider vinegar mother as a reliable backup. The kombu adds subtle umami without fishy notes.
No rice vinegar mother? Substitute unpasteurized apple cider vinegar mother—it’ll work but may yield a slightly fruitier profile. Skip the bonito flakes entirely for a strict vegan version (the kombu still brings depth). Turbinado sugar can replace cane sugar, though it may darken the vinegar. For a faster start, use 1/4 cup of store-bought rice vinegar as a starter culture instead of mother.
Store the finished vinegar in a glass jar away from direct light. It’ll keep for 6-12 months at room temperature, developing more complexity over time. The mother can be reused indefinitely—just feed it fresh rice and water. Cloudiness is normal and actually desirable (that’s the good bacteria at work).
Why You’ll Love This Recipe
- One Pot Wonder: I just dump rice, water, and the mother in a jar and let it do its thing—no stirring, no fuss.
- Bright & Balanced: The touch of sugar and sea salt gives it that classic sweet-tangy kick I crave in dressings and marinades.
- Dressing to Die For: Honestly, I use this on salads, sushi rice, even drizzled over roasted veggies—it’s my secret weapon.
- Pantry Staple: A single batch lasts me months, and it costs pennies compared to store-bought.
Step-by-Step Instructions for Japanese Rice Vinegar
Here’s the method I use to create this tangy essence that beats anything store-bought.
Step 1: Cook and Cool the Rice Base
Rinse the 1 cup Short-Grain White Rice thoroughly under cold water until the water runs clear. This removes excess starch that could cloud your vinegar. Combine the drained rice with the 2 cups Filtered Water in a saucepan and bring to a boil.
Reduce heat to low, cover, and simmer for 15 minutes. Turn off the heat and let it sit, covered, for another 10 minutes. You’re looking for fully cooked, slightly sticky rice that’s absorbed all the water.
Spread the cooked rice on a clean kitchen towel or parchment paper to cool to room temperature. This prevents killing the vinegar mother when you add it later. The rice should be cool enough that you can comfortably hold your hand against it.
Step 2: Prepare the Fermentation Vessel
Sterilize a wide-mouth glass jar or ceramic container with boiling water and let it cool completely. I use a quart-sized mason jar for this quantity. The wide opening makes stirring easier and provides more surface area for fermentation.
Add the cooled rice to your vessel, then sprinkle the 2 tbsp Sugar and 1 tsp Sea Salt evenly over the top. Gently mix these into the rice with clean hands or a wooden spoon. The sugar feeds the vinegar mother, while the salt prevents unwanted bacterial growth.
Step 3: Introduce the Vinegar Mother and Flavorings
Pour the 0.25 cup Rice Vinegar Mother over the rice mixture, then add the 1 piece Kombu Seaweed and 0.25 cup Dried Bonito Flakes if using. These ingredients add depth and umami complexity to your finished vinegar.
Stir everything together thoroughly, making sure the rice is completely coated. The vinegar mother should be evenly distributed throughout the mixture. Cover the jar with a breathable cloth or paper towel secured with a rubber band—this allows airflow while keeping out contaminants.
Step 4: Ferment and Monitor Daily
Store the jar in a dark, warm place (about 70-80°F is ideal) for 3-5 days. Stir the mixture once daily with a clean wooden or plastic utensil. You’ll start to see bubbles forming within 24-48 hours—this is the fermentation process beginning.
The rice will begin to break down and the liquid will become increasingly acidic. After 3 days, taste the liquid daily. When it reaches your desired tanginess (usually between 4-7 days total), it’s ready. The vinegar should have a sharp, clean acidity with a slight sweetness from the rice.
Step 5: Strain and Store Your Vinegar
Once fermented to your liking, strain the mixture through a fine-mesh sieve lined with cheesecloth. Press gently on the solids to extract all the liquid, but don’t force it—this could make your vinegar cloudy. Discard the solids or compost them.
Transfer the strained vinegar to a clean glass bottle or jar and store it at room temperature in a dark place. Your homemade vinegar will continue to develop complexity for up to 6 months. The flavor will mellow slightly over time, becoming more rounded and nuanced.
Pro Tips For Making Japanese Rice Vinegar
- Use filtered water: Tap water can introduce chlorine or minerals that interfere with fermentation—I learned this the hard way after a batch turned cloudy.
- Keep it warm: Store your fermenting mixture in a consistently warm spot (75-85°F), like an oven with the light on, to keep the mother active.
- Skip metal utensils: Metal can react with the vinegar, so use glass, ceramic, or wooden spoons when stirring or tasting.
- Balance the sugar: Add sugar gradually—about 1 tablespoon per cup of rice mash—to feed the mother without overpowering the final tang.
Flavor Customization for These Flavors
Sweet and Fruity
Add 1 cup pineapple chunks or sliced strawberries to the fermentation jar for a fruit-infused vinegar perfect for salad dressings. The natural sugars in the fruit will enhance fermentation. I find 2 days of additional fermentation extracts the best flavor.
Herbal Infusion
Steep 3-4 sprigs of fresh thyme or rosemary in the finished vinegar for 24 hours before using. This creates a sophisticated version ideal for marinades. Strain out the herbs before storage to prevent bitterness. 🌿
Spicy Kick
Add 1-2 dried chili peppers or 1 tsp red pepper flakes to your vinegar for a spicy twist. The heat develops beautifully over 3-5 days. I love using this in quick pickles or drizzled over dumplings.
Citrus Zest Boost
Mix in the zest of 1 lemon or lime during the final 2 days of fermentation. The citrus oils add bright, aromatic notes that complement seafood dishes perfectly. Remove the zest before straining.
Umami Depth
For extra savory complexity, add 1 tbsp soy sauce or 1 tsp miso paste to the finished vinegar. This creates a rich, salty-sweet version wonderful for stir-fry sauces. Stir well to fully incorporate.
Floral Notes
Infuse with 1 tbsp dried lavender or hibiscus flowers for 48 hours. The result is a fragrant vinegar that elevates fruit salads and cocktails. Use sparingly—the floral flavor is potent. ✨
Nutrition Facts
Frequently Asked Questions
What’s the fastest way to make it?
For quicker results, use 1/4 cup store-bought rice vinegar as a starter instead of mother. This cuts fermentation time to 2-3 days while still delivering great flavor. Keep the temperature at 75-80°F for fastest activity.
Can I use brown rice instead?
Yes, but expect a darker vinegar with nuttier notes. Brown rice may take 1-2 extra days to ferment fully. Strain carefully as the bran can create cloudiness. The flavor works well in heartier dishes.
Why is my vinegar cloudy?
Cloudiness is normal and often desirable—it’s the beneficial bacteria at work. For clearer vinegar, use filtered water and avoid pressing solids during straining. A slight haze doesn’t affect flavor or safety.
How do I know it’s ready?
Taste test after 3 days of fermentation. It’s done when it has a sharp, clean acidity with subtle sweetness. Bubbles should be minimal and the rice mostly dissolved. Trust your palate over the calendar.

- Mujadara Rice and Lentils Recipe: Earthy Spiced Lentils With Caramelized Onions - November 1, 2026
- Naija Fried Rice Recipe: Street-Style Spice With Veggie Crunch - November 1, 2026
- Mushy Rice Recipe: Fluffy Grains Transformed in Minutes - November 1, 2026