
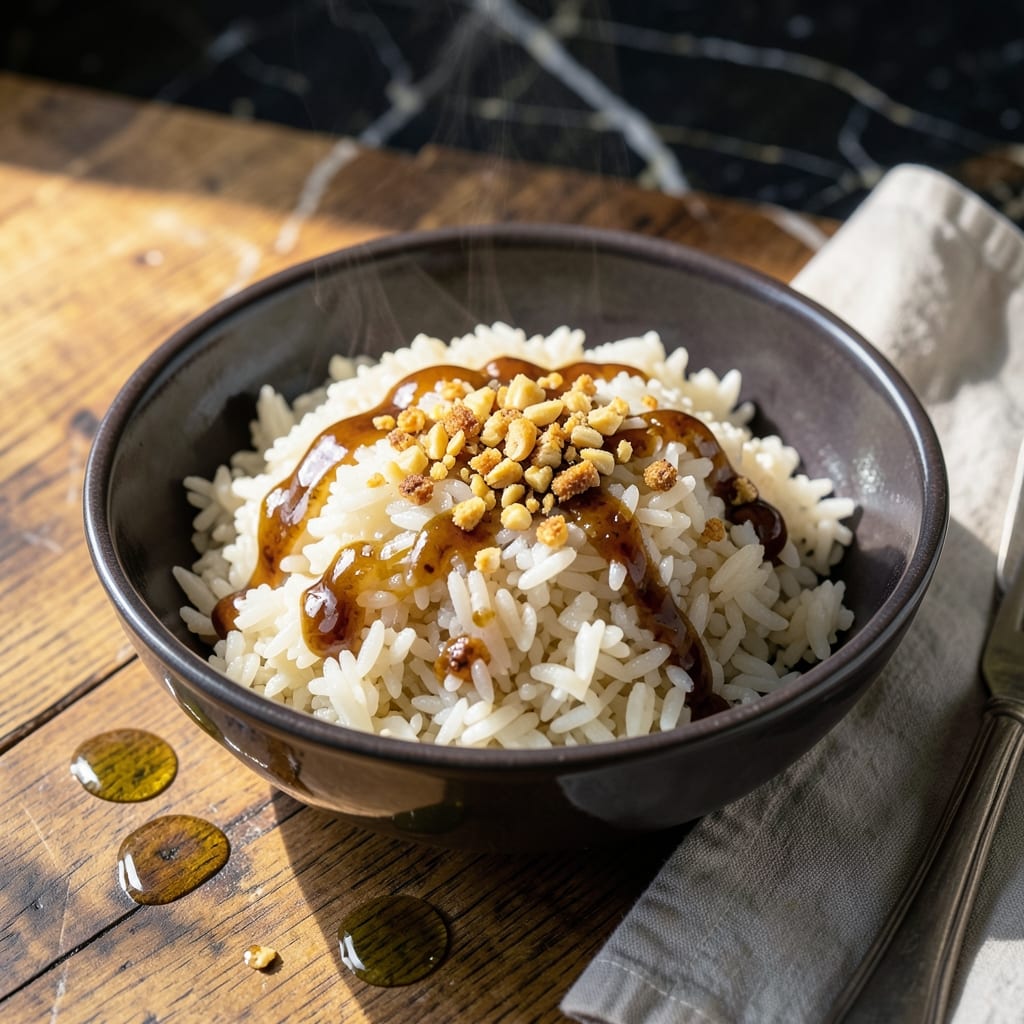
This Filipino-style Java rice transforms simple ingredients into a dish with crispy golden edges and fragrant garlic notes. The technique creates a perfect balance of textures that’s both comforting and impressive.
Traditional Pinoy Java rice relies on careful toasting and precise liquid ratios to achieve its signature bottom layer. I’ve refined this method to ensure consistent results every time, with minimal effort and maximum flavor.
The result is a pan of rice with a delicate, savory aroma and a satisfying crunch at the base. Each grain stays separate while the edges develop that coveted golden crust.
Serve as a side or main dish for any meal. This recipe delivers authentic taste with a modern, foolproof approach.
Ingredients for Java Rice Recipe Pinoy Style
Simple pantry staples create this fragrant, crispy-edged Filipino-style rice dish with ease.
| Ingredient | Amount | Notes |
|---|---|---|
| Long-Grain White Rice 🍚 | 2 cups | Rinsed and drained thoroughly |
| Garlic Cloves 🧄 | 6 cloves | Minced finely for maximum flavor |
| Water 💧 | 3 cups | Divided for toasting and cooking |
| Vegetable Oil 🫒 | 3 tbsp | For crispy golden edges |
| Salt 🧂 | 1 tsp | Adjust to taste preference |
| Soy Sauce 🥫 | 2 tbsp | For savory depth and color |
| Butter 🧈 | 2 tbsp | For rich garlic flavor |
| Black Pepper 🌶️ | ½ tsp | Freshly ground preferred |
| Chicken Broth 🍲 | ½ cup | Optional for extra flavor |
| Green Onions 🧅 | 3 whole | Thinly sliced for garnish |
| Bay Leaf 🌿 | 1 whole | For aromatic infusion |
The rice quality matters here. Long-grain white rice (like Jasmine or Basmati) gives you those separate grains with crispy edges. Most grocery stores carry it—look for brands like Mahatma or Carolina. The garlic should be fresh; avoid the pre-minced jars (they lack punch). For the oil, any neutral vegetable oil works, but I prefer canola or sunflower for high-heat toasting.
No soy sauce? Fish sauce at half the amount works, but skip it for vegetarian versions. Butter can be swapped for margarine or coconut oil if needed. Chicken broth? Vegetable broth is a fine substitute. The bay leaf is subtle but adds depth—dried bay leaves are fine. Short on green onions? Chives or shallots add a similar fresh note.
Store uncooked rice in a cool, dry place for up to 1 year. Once cooked, leftovers keep 4-5 days in the fridge. Reheat in a skillet for best texture—microwaving can make it soggy. The crispy bottom is best fresh, but the rice itself reheats well.
Why You’ll Love This Recipe
- I’ll be real: the leftovers taste even richer after the flavors meld overnight.
- 5-Minute Prep: Honestly, it’s just rice, garlic, oil, and salt—no fancy steps, just quick cooking.
- Garlic Bomb Flavor: That golden, crispy garlic in every bite makes plain rice taste ridiculous.
- Feeds a Crowd: I stretch one pot to four meals without breaking the bank.
Step-by-Step Instructions for Java Rice Pinoy Style
Here’s the method I use to achieve perfectly golden rice with irresistible crispy edges every time.
Step 1: Toast the Rice for Nutty Depth
Heat the 3 tbsp Vegetable Oil in a large pot over medium heat. Add the 2 cups Long-Grain White Rice and stir continuously for 2-3 minutes until the grains turn slightly opaque and emit a nutty aroma.
This toasting step is crucial—it prevents the rice from turning mushy and gives it that characteristic golden color. Watch carefully to avoid burning; the rice should look like tiny pearls when it’s ready for the next step.
Step 2: Sauté Garlic and Add Liquids
Push the toasted rice to one side of the pot and add the 6 cloves Garlic Cloves, minced. Cook for 30 seconds until fragrant but not browned. Immediately add the 2 tbsp Butter, 2 tbsp Soy Sauce, 1 tsp Salt, 0.5 tsp Black Pepper, and 1 whole Bay Leaf.
Pour in the 3 cups Water and 0.5 cup Chicken Broth, then stir to combine all ingredients. The liquid should just cover the rice by about ½ inch. Bring the mixture to a gentle boil.
Step 3: Simmer and Create the Crispy Bottom
Once boiling, reduce heat to low, cover the pot, and let it simmer undisturbed for 15 minutes. After this time, remove the lid and increase heat to medium for 5-7 minutes to allow the bottom layer to crisp up.
You’ll hear a slight crackling sound and smell a toasty aroma when it’s ready. Resist the urge to stir—this is how the coveted crispy bottom forms. The top grains should be tender while the bottom develops a golden-brown crust.
Step 4: Rest and Garnish for Serving
Turn off the heat and let the rice sit covered for 5 minutes. This resting period allows steam to finish cooking any resistant grains and lets the crispy bottom set properly.
Before serving, fluff the top layer gently with a fork, being careful not to disturb the crispy bottom. Garnish with the 3 whole Green Onions, thinly sliced. Serve immediately by scooping from the bottom to include the crispy bits in each portion.
Pro Tips For Making Java Rice Recipe Pinoy Style
- Toast the Garlic: Cook the minced garlic in oil until golden but not brown—I learned this the hard way after burning three batches. It adds depth without bitterness.
- Rinse the Rice: Wash the long-grain rice until the water runs clear to remove excess starch, or you’ll end up with a gummy, sticky mess instead of fluffy grains.
- Use Cold Water: After toasting the garlic, add cold water to stop the cooking immediately and prevent the garlic from turning bitter.
- Salt Last: Add the salt only after the rice has absorbed most of the water—this keeps the grains from hardening prematurely and ensures even seasoning.
Creative Variations of This Dish
Vegetable Java Rice
Add 1 cup diced carrots and ½ cup peas when you sauté the garlic. The vegetables cook perfectly in the rice liquid. I love the pop of color and extra texture this version brings to the dish. 🌱
Spicy Garlic Java
Boost the heat by adding 1-2 chopped siling labuyo (Filipino bird’s eye chili) with the garlic. For less spice, use ½ tsp chili flakes instead. The spice complements the crispy edges beautifully.
Coconut Milk Java
Replace 1 cup water with coconut milk for a richer, slightly sweet variation. This creates a creamy rice with crispy edges that’s popular in Southern Luzon. The coconut aroma pairs wonderfully with the garlic and soy.
Cheesy Java Rice
Sprinkle ½ cup grated cheddar or Edam cheese over the rice during the last 5 minutes of cooking. The cheese melts into the top layer while the bottom stays crispy. Kids especially love this version.
Pineapple Java
Add ½ cup crushed pineapple with the liquids for a sweet-savory twist. This Hawaiian-inspired variation works surprisingly well with the soy sauce base. The pineapple juices help create an extra crispy bottom.
Bacon Java Rice
Render 4 slices chopped bacon first, then use the fat to toast the rice. The bacon bits add a smoky depth that takes this dish to another level. It’s my go-to version for Sunday family lunches. 💛
Nutrition Facts
Frequently Asked Questions
Can I use brown rice instead of white?
Yes, but adjust the liquid and cooking time. Brown rice needs 4 cups water and 40-45 minutes of simmering. The crispy bottom may be less pronounced, but the nutty flavor works well.
Why is my rice mushy instead of crispy?
Likely from too much liquid or stirring during cooking. Use exactly 3 cups water and avoid stirring after adding liquid. Let it cook undisturbed to form the crispy layer.
Can I make this in a rice cooker?
Not ideally. The crispy bottom requires direct heat control. A heavy pot on the stovetop works best. For rice cookers, try the “crispy rice” function if available.
How do I reheat leftovers without losing the crisp?
Use a skillet over medium heat with a little oil. Cover for 2-3 minutes to steam, then uncover to crisp. Microwaving makes it soggy.

- Mujadara Rice and Lentils Recipe: Earthy Spiced Lentils With Caramelized Onions - November 1, 2026
- Naija Fried Rice Recipe: Street-Style Spice With Veggie Crunch - November 1, 2026
- Mushy Rice Recipe: Fluffy Grains Transformed in Minutes - November 1, 2026