
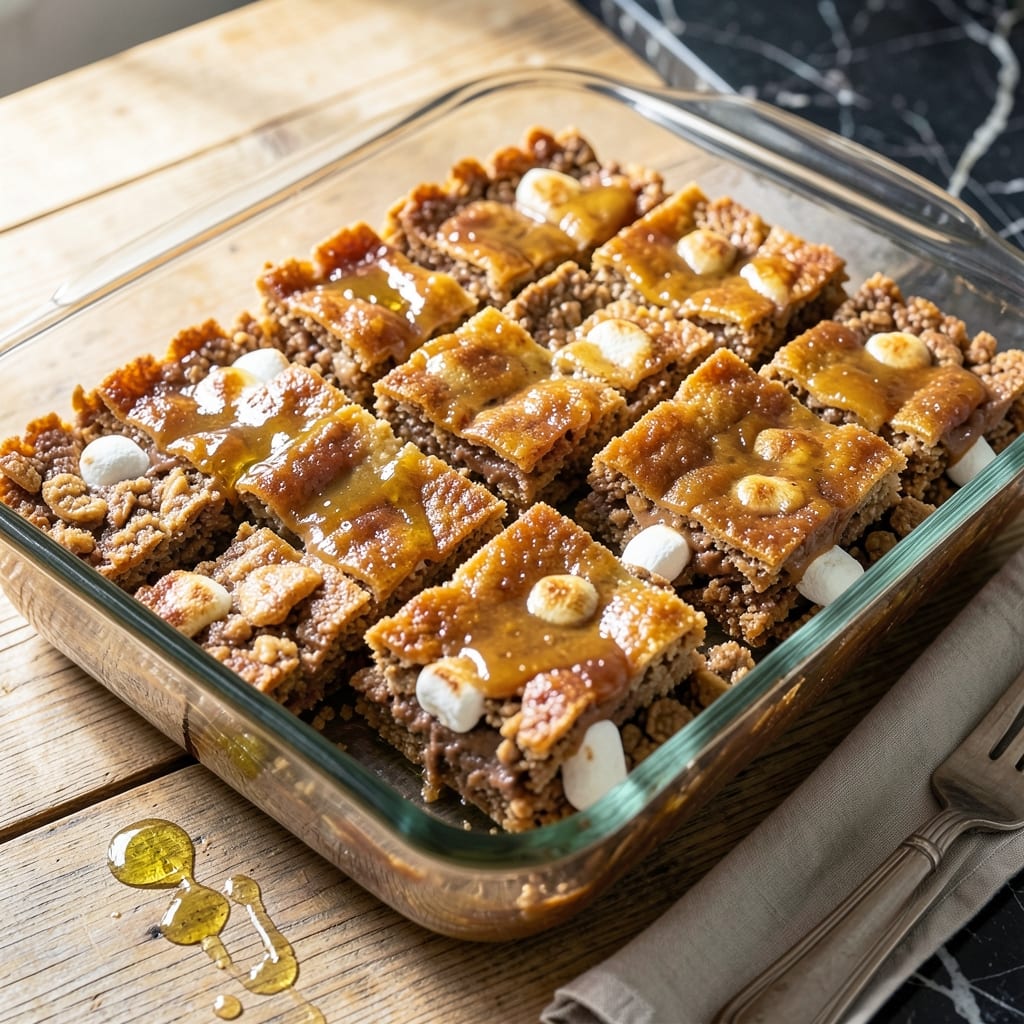
There’s nothing like the classic combination of peanut butter and Rice Krispies for a treat that’s both nostalgic and irresistible. This version takes the beloved original to new heights with a rich peanut butter twist, all while keeping the process effortless.
No oven required—just melt, mix, and press into the pan. The peanut butter adds depth and a satisfying chewiness that pairs perfectly with the crispy Rice Krispies. It’s a no-bake recipe that comes together in under 15 minutes.
What you get is a batch of treats that are chewy, sweet, and packed with nutty flavor. They hold their shape when sliced but remain soft and easy to bite into, making them a hit with kids and adults alike.
Perfect for parties, lunchboxes, or a quick sweet fix. Let’s make them today.
Ingredients for Kellogg’s Peanut Butter Rice Krispie Treats
A handful of pantry staples plus peanut butter transform into these nostalgic no-bake treats.
| Ingredient | Amount | Notes |
|---|---|---|
| Rice Krispies Cereal 🥣 | 6 cups | Kellogg's brand preferred |
| Creamy Peanut Butter 🥜 | 1 ½ cups | Smooth, natural or regular |
| Unsalted Butter 🧈 | ½ cup | 1 stick, for melting |
| Mini Marshmallows 🍬 | 10 oz | About 5 cups |
| Vanilla Extract 🌿 | 1 tsp | Pure for best flavor |
| Salt 🧂 | ¼ tsp | Fine grain, to balance sweetness |
| Granulated Sugar 🍚 | ½ cup | Optional for extra sweetness |
| Honey 🍯 | ¼ cup | Adds chewiness, optional |
The marshmallows are key here—Jet-Puffed or Kraft work perfectly. I always grab the mini ones since they melt faster and more evenly. For the peanut butter, Jif or Skippy are tried-and-true, but natural works too (just stir in the oil). The Rice Krispies should be fresh—check the box date, as stale cereal won’t give you that signature snap.
No mini marshmallows? Regular marshmallows chopped small work in a pinch. Out of peanut butter? Almond or cashew butter can substitute, though the flavor changes. Want it sweeter? Bump the sugar to 3/4 cup. The honey is optional but adds a nice depth (skip for vegan versions). Vanilla is subtle but worth the splash.
These keep well at room temperature for up to 3 days in an airtight container. For longer storage, freeze for 2 months. Slice before freezing for easy grab-and-go treats. They’ll soften slightly but still hold their shape.
Why You’ll Love This Recipe
- One Bowl Wonder: Honestly, I just melt butter, stir in marshmallows, peanut butter, and vanilla, then fold in Rice Krispies—no mixer, no fuss.
- Peanut Butter Bliss: That warm, gooey peanut butter and marshmallow combo with the crispy cereal? Ridiculously good.
- Party or Lunchbox: I pack these for school snacks or cut them into squares for potlucks—always disappear first.
- Stretches the Budget: A box of cereal, a jar of peanut butter, and marshmallows feed my whole family for pennies.
Step-by-Step Instructions for Peanut Butter Rice Krispie Treats
This no-bake method delivers perfectly chewy, nutty treats with minimal effort and maximum flavor.
Step 1: Melt Butter and Toast Marshmallows
In a large saucepan, melt the 0.5 cup Unsalted Butter over low heat. Once melted, add the 10 oz Mini Marshmallows and stir constantly with a silicone spatula.
Cook for 3-4 minutes until the marshmallows are completely melted and the mixture is smooth. Watch for the edges to turn lightly golden—this adds a subtle caramelized depth to the flavor. Remove from heat immediately to prevent burning.
Step 2: Incorporate Sweet and Salty Elements
Stir in the 1.5 cups Creamy Peanut Butter, 0.5 cup Granulated Sugar, 0.25 cup Honey, 1 tsp Vanilla Extract, and 0.25 tsp Salt. The mixture will thicken significantly as the peanut butter melts into the warm marshmallow base.
Use a sturdy spatula to press and fold the ingredients together until fully combined. The salt balances the sweetness, while the honey adds a subtle chewiness. If the mixture seems too thick, return the pan to low heat for 30 seconds to loosen it slightly.
Step 3: Fold in Rice Krispies Cereal
Add all 6 cups Rice Krispies Cereal to the saucepan at once. Gently fold the cereal into the marshmallow-peanut butter mixture using the spatula, pressing down lightly to ensure every piece is evenly coated.
Work quickly but carefully—the mixture will become stiff as it cools. You’ll notice the cereal starts to lose its crispness as it absorbs the warm, sticky binding. Stop folding once no dry cereal remains visible.
Step 4: Press and Set in the Pan
Transfer the mixture to a 9×13-inch baking dish lined with parchment paper. Use the spatula or lightly greased hands to press the mixture evenly into the pan. Press firmly but avoid compacting too tightly, which can make the treats dense.
For an even top, place a sheet of parchment paper over the mixture and use a flat-bottomed glass to gently press and smooth the surface. Let the treats set at room temperature for 1-2 hours until firm enough to cut.
Step 5: Cut and Serve
Once fully set, lift the treats out of the pan using the parchment paper overhang and transfer to a cutting board. Use a sharp knife dipped in warm water to cut into 12 equal squares, wiping the knife clean between cuts for clean edges.
The treats should hold their shape but still feel slightly tacky to the touch. Serve at room temperature for the best texture—chewy with a slight crispness from the toasted marshmallow base. Store leftovers in an airtight container for up to 3 days.
Pro Tips For Making Kellogg’S Peanut Butter Rice Krispie Treats
- Melt Butter Low: Use medium-low heat when melting the butter and marshmallows—I learned this the hard way after scorching two batches. It melts evenly and prevents that burnt, bitter taste.
- Warm the Peanut Butter: Stir the peanut butter into the warm marshmallow mixture for 30 seconds first to loosen it up. Sounds weird, but it blends in smoother than cold peanut butter straight from the jar.
- Press While Warm: Get the mixture into the pan and pressed down within 2-3 minutes of removing from heat. After burning my fingers a few times, I now use buttered hands or a spatula to spread it fast before it hardens.
- Skip the Cheap Marshmallows: Mini marshmallows melt faster and more evenly than large ones, but don’t skimp on quality—off-brand versions often have a weird aftertaste that ruins the whole batch.
Common Mistakes When Making This Recipe
Skipping the Parchment
Always line your 9×13-inch baking dish with parchment paper. Without it, the sticky mixture will cling to the pan, making removal nearly impossible. I learned this the hard way my first time. 💡
Overheating Marshmallows
Avoid melting marshmallows over medium or high heat. They’ll burn quickly, giving your treats a bitter, charred flavor instead of sweet. Keep the heat low and stir constantly for 3-4 minutes until smooth.
Using Stale Cereal
Check the freshness of your Rice Krispies. Stale cereal won’t deliver that signature snap and can make your treats sad and soggy. Always use a fresh box for the best texture.
Pressing Too Hard
When pressing the mixture into the pan, avoid compacting it too tightly. Over-pressing creates dense, tough treats instead of light and chewy ones. Use gentle, even pressure for the best results.
Cutting Too Soon
Let the treats set for the full 1-2 hours at room temperature. Slicing too early will result in crumbly, misshapen squares. Patience ensures clean cuts and perfect texture.
Ignoring Ingredient Temps
Ensure your peanut butter isn’t cold straight from the fridge. Cold peanut butter won’t blend smoothly into the warm marshmallow mixture, leading to lumps. Let it sit at room temp for 10-15 minutes first. 🔥
Nutrition Facts
Frequently Asked Questions
Can I use crunchy peanut butter instead?
Yes, but the texture will be different. Crunchy peanut butter adds extra nuttiness and bite. For best results, stick with creamy to maintain the classic smooth texture.
How do I make them extra chewy?
Add an extra 2 tablespoons of honey or corn syrup to the mixture. This boosts moisture and chewiness without changing the flavor much.
Can I make these gluten-free?
Use certified gluten-free Rice Krispies and ensure your peanut butter has no cross-contamination. The rest of the ingredients are naturally gluten-free.
Why did my treats turn out hard?
This usually happens from over-pressing or letting the marshmallow mixture cool too much before adding cereal. Work quickly and press gently for soft, chewy results.

- Mujadara Rice and Lentils Recipe: Earthy Spiced Lentils With Caramelized Onions - November 1, 2026
- Naija Fried Rice Recipe: Street-Style Spice With Veggie Crunch - November 1, 2026
- Mushy Rice Recipe: Fluffy Grains Transformed in Minutes - November 1, 2026