
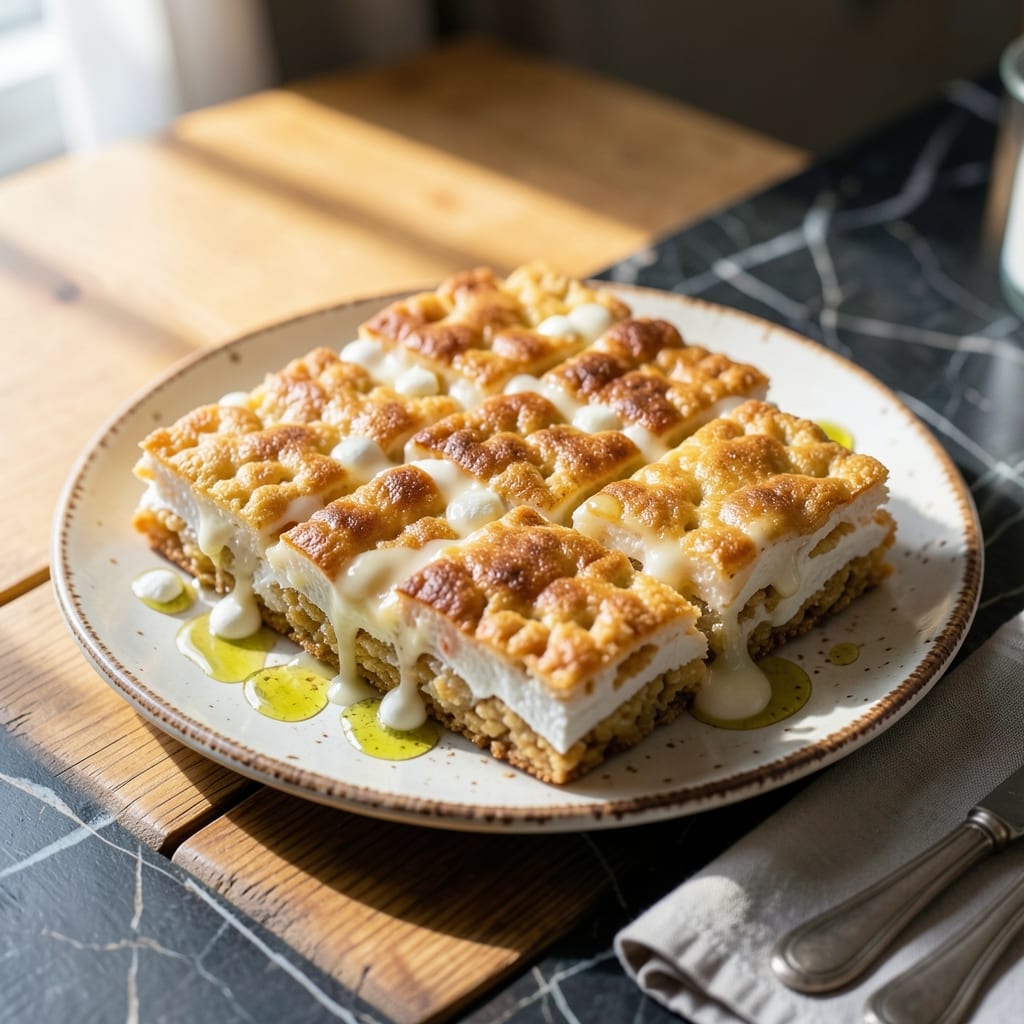
This timeless recipe brings back childhood memories with its perfect balance of crispy and chewy textures.
Using just 3 simple ingredients and no oven, it delivers consistent results every time. The melted marshmallows create a sticky base that binds the cereal perfectly without falling apart.
You’ll end up with golden squares that hold their shape while maintaining that signature snap. The beauty lies in its simplicity—no special equipment or advanced techniques required.
Ideal for potlucks, lunchboxes, or a quick sweet fix. This no-bake method ensures fresh, delicious treats in under 20 minutes.
Ingredients for Kellogg’s Rice Krispie Square
Three pantry staples transform into these nostalgic no-bake squares with ease.
| Ingredient | Amount | Notes |
|---|---|---|
| Kellogg's Rice Krispies Cereal 🥣 | 6 cups | Original flavor, not puffed rice |
| Miniature Marshmallows 🍬 | 10 oz | Or 40 regular marshmallows |
| Unsalted Butter 🧈 | ¼ cup | 4 tbsp or 1/2 stick |
The cereal must be Kellogg’s Rice Krispies—generic brands often lack the right snap. Walmart or Target always stock it in the cereal aisle. For marshmallows, Jet-Puffed miniatures melt fastest, but any brand works. The butter needs to be unsalted so you control the seasoning. I recommend Land O’Lakes for consistent quality.
No mini marshmallows? Use 40 regular ones cut into quarters for faster melting. Vegan version? Swap butter for Earth Balance and marshmallows for Dandies brand. The cereal amount can flex—5-7 cups depending on how crispy you like them. Don’t overpack the pan or they’ll be too dense.
Store in an airtight container at room temperature for up to 3 days. They soften over time, so eat them fresh. Freezing isn’t recommended—texture suffers. Perfect for same-day gifting or snacking.
Why You’ll Love This Recipe
- No-Bake Magic: I melt butter, toss in marshmallows, stir in Rice Krispies—done. The hardest part is waiting for them to set.
- That Snap Crackle: The buttery marshmallow goo clings to every crispy piece, so every bite crackles in your mouth.
- Party Ready: Birthdays, bake sales, or just because—these disappear faster than I can cut them into squares.
- Penny-Wise Treat: A box of cereal, a bag of marshmallows, and butter is all it takes to make a batch that feeds the whole block.
Step-by-Step Instructions for Kellogg’s Rice Krispies Squares
This no-bake method delivers consistently perfect results with minimal effort and maximum satisfaction.
Step 1: Melt the Butter and Marshmallows Together
In a large saucepan, melt the 0.25 cup Unsalted Butter over low heat. I always use a heavy-bottomed pan to prevent scorching. Once the butter has completely melted, add all 10 oz Miniature Marshmallows at once.
Stir constantly with a heatproof spatula as the marshmallows melt. You’ll notice they start to collapse and combine with the butter after 3-5 minutes. The mixture is ready when it becomes completely smooth with no visible marshmallow lumps. Be patient—rushing this step with higher heat can cause the sugar to burn.
Step 2: Incorporate the Cereal Thoroughly
Remove the saucepan from heat immediately once the marshmallow mixture is smooth. Working quickly, add all 6 cups Kellogg’s Rice Krispies Cereal to the pan. The residual heat from the melted mixture will be perfect for coating the cereal without making it soggy.
Use the same spatula to fold the cereal into the marshmallow mixture gently but thoroughly. You want every piece of cereal coated evenly—this ensures consistent texture in every bite. The mixture will become thick and slightly sticky, which is exactly what you want. Stop folding once you no longer see any dry cereal pieces.
Step 3: Press into Pan with Even Pressure
Transfer the cereal mixture to a 9×13-inch baking dish that has been lightly greased with butter or cooking spray. I find it helps to wet my hands slightly with cold water before pressing to prevent sticking.
Use your hands or the back of a greased spatula to press the mixture evenly into the pan. Apply firm, consistent pressure to create a uniform layer—this prevents the squares from crumbling when cut. The mixture should reach all corners of the pan and form a flat, even surface. Resist the urge to press too hard, which can make the squares dense.
Step 4: Cool Completely Before Cutting
Let the mixture cool at room temperature for 30-45 minutes until completely set. You’ll know it’s ready when the top feels firm to the touch and the squares hold their shape when pressed lightly with a finger.
Once cooled, use a sharp knife to cut into 2-inch squares. For clean cuts, dip the knife in hot water and wipe it clean between each slice. This prevents the marshmallow mixture from sticking to the blade and dragging through the squares. Store in an airtight container at room temperature for up to 3 days.
Pro Tips For Making Kellogg’S Rice Krispie Square
- Melt Butter Low: Use medium-low heat when melting the butter for the marshmallows—high heat will brown the butter and give your squares an off flavor I learned this the hard way after ruining a batch with burnt butter.
- Use Fresh Marshmallows: Stale marshmallows turn rock-hard when cooled, so check the bag’s freshness date and give them a quick squeeze—if they’re firm, skip them. Sounds weird, but it works.
- Press Lightly: When pressing the mixture into the pan, use a buttered spatula and just enough pressure to compact it—squashing too hard makes dense, tough squares. My grandmother swore by this, and she was right.
- Add Salt: Sprinkle about 1/4 teaspoon of salt into the melted butter before adding marshmallows—it balances the sweetness and makes a real difference, especially if using unsalted butter.
Regional Styles of This Dish
Midwest Classic
In the heartland, we keep it traditional with the original recipe—just Kellogg’s Rice Krispies, mini marshmallows, and unsalted butter. The simplicity here is key; no add-ins, no fancy twists. It’s all about that perfect crispy-chewy texture that reminds me of childhood.
Southern Pecan Twist
Down South, they love adding ½ cup chopped pecans to the mix for extra crunch and a touch of richness. Toast the pecans in a dry pan for 2-3 minutes before mixing them in. It adds a nutty depth that complements the sweetness beautifully.
West Coast Chocolate
California bakers often add ½ cup semi-sweet chocolate chips for a gooey, chocolatey twist. Stir them into the melted marshmallow mixture just before adding the cereal. The chocolate melts slightly, creating pockets of fudgy goodness in every bite.
Northeast Sprinkle Fun
In New England, colorful rainbow sprinkles are a popular addition, especially for birthday parties. Fold in ¼ cup sprinkles after mixing the cereal. It’s a playful touch that kids and adults alike adore. 💫
Texas Caramel Crunch
Everything’s bigger in Texas, including the flavor of these squares. Add ¼ cup crushed pretzels and 2 tbsp caramel sauce to the mix for a sweet-salty kick. The pretzels add a delightful crunch that contrasts with the chewiness.
Pacific Northwest Fruity
Seattle bakers love adding ½ cup dried cranberries for a tart contrast to the sweetness. Soak them in warm water for 5 minutes to soften before mixing in. It’s a refreshing twist that balances the flavors perfectly.
Nutrition Facts
Frequently Asked Questions
Can I use regular marshmallows instead of mini?
Yes! Use 40 regular marshmallows cut into quarters for faster melting. They work just as well but take a bit longer to dissolve completely.
How do I keep them from getting too hard?
Press lightly when shaping—overpacking makes them dense. Also, store in an airtight container at room temperature for no more than 3 days.
Can I add chocolate or nuts to the mix?
Stir in ½ cup chocolate chips or chopped nuts after melting the marshmallows. Fold gently to avoid crushing the cereal.
Why do my squares fall apart when cutting?
Let them cool completely (at least 30 minutes) before slicing. Use a hot, wet knife for clean cuts and dip between slices.

- Mujadara Rice and Lentils Recipe: Earthy Spiced Lentils With Caramelized Onions - November 1, 2026
- Naija Fried Rice Recipe: Street-Style Spice With Veggie Crunch - November 1, 2026
- Mushy Rice Recipe: Fluffy Grains Transformed in Minutes - November 1, 2026