
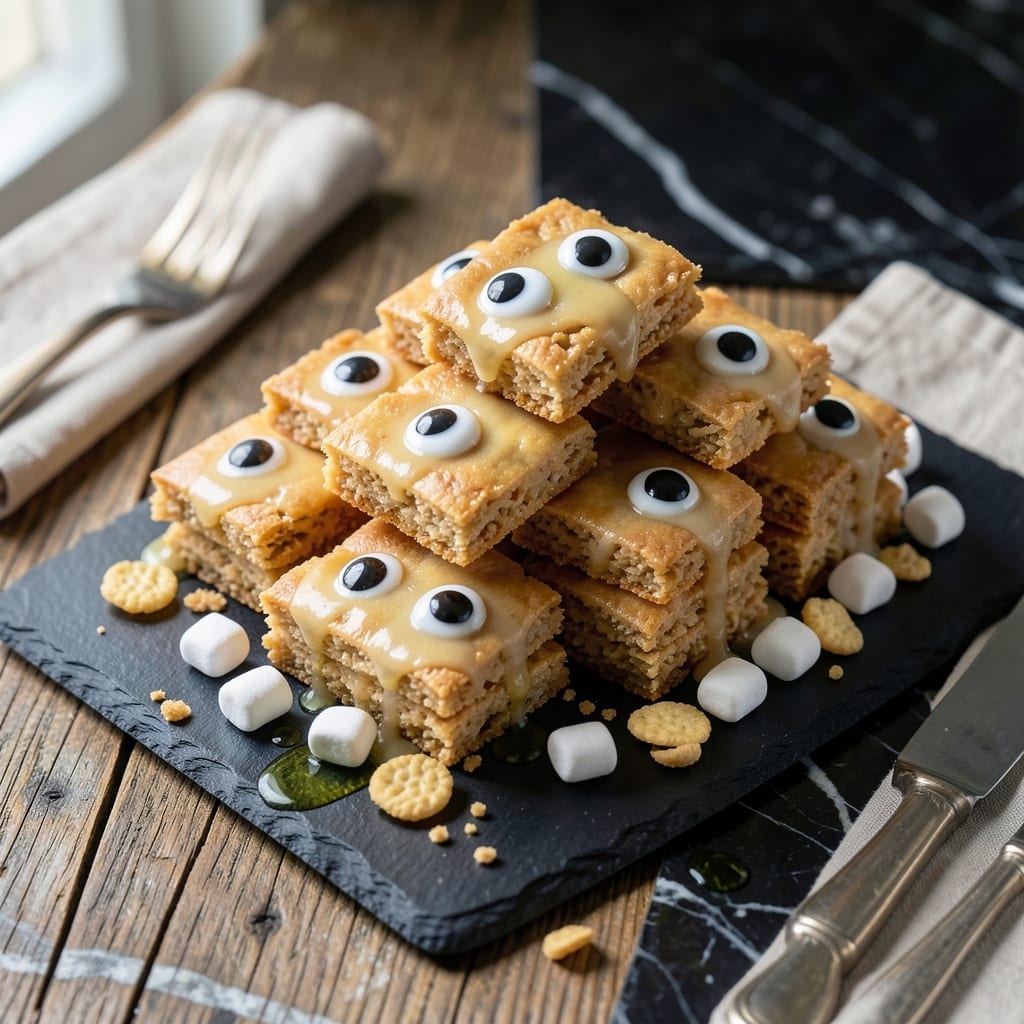
This no-bake Halloween treat transforms classic Rice Krispies into spooky, festive fun without turning on the oven. I developed this method to create memorable desserts that kids can help make safely.
The secret is in the shaping—use cookie cutters or molds to create ghosts, pumpkins, or bats. The melted marshmallow mixture acts like edible glue, holding the cereal together while remaining soft and chewy.
Each piece maintains that signature crispy texture we all love, now in holiday-ready forms. The process is foolproof and takes less than 30 minutes from start to finish, making it perfect for last-minute party prep.
Decorate with candy eyes, chocolate chips, or colored icing for extra flair. These treats are as enjoyable to make as they are to eat.
Ingredients for Kellogg’s Rice Krispie Treats Recipe Halloween
Transform classic cereal into festive Halloween shapes with these simple, kid-friendly ingredients.
| Ingredient | Amount | Notes |
|---|---|---|
| Rice Krispies Cereal 🥣 | 6 cups | Kellogg's brand recommended |
| Mini Marshmallows 🍬 | 10 oz | Or 40 regular marshmallows |
| Unsalted Butter 🧈 | 3 tbsp | For melting marshmallows |
| Vanilla Extract 🌿 | 1 tsp | Pure extract preferred |
| Salt 🧂 | ¼ tsp | Fine grain for balance |
| Candy Eyes 👀 | 24 pieces | For ghost decorations |
| Orange Candy Melts 🎃 | ½ cup | For pumpkin shapes |
| Chocolate Chips 🍫 | ½ cup | Semi-sweet for bats |
| Black Icing Gel ⚫ | 1 tbsp | For detailing shapes |
| Halloween Sprinkles 🎉 | ¼ cup | Assorted colors for fun |
For the best texture, use Kellogg’s Rice Krispies—their crispness holds up perfectly. Jet-Puffed mini marshmallows melt faster and more evenly than regular ones. I grab mine at Target or Walmart in the baking aisle. The butter should be unsalted so you can control the flavor. Vanilla extract adds depth, but skip it if you’re in a pinch (the kids won’t notice).
No mini marshmallows? Use 40 regular marshmallows instead. Want to skip the candy melts? White chocolate chips with food coloring work too. For vegan versions, swap butter for coconut oil and marshmallows for Dandies brand. The chocolate chips can be milk or dark—whatever you’ve got. Cookie cutters from Michaels make shaping a breeze.
Store treats in an airtight container at room temp for up to 3 days. They’ll soften over time but still taste great. For longer storage, freeze undecorated shapes for 1 month—decorate after thawing. The marshmallow mixture sets fast, so work quickly when shaping.
Why You’ll Love This Recipe
- One Pot Wonder: I melt the butter and marshmallows in a single saucepan, stir in the Rice Krispies, and we’re done—no fancy equipment, no mess.
- Goey Perfection: That first bite where the marshmallow stretches between your fingers? The vanilla and salt make it impossible to stop at one.
- Halloween Ready: I shape them into ghosts or pumpkins with cookie cutters, and suddenly they’re the star of the classroom party.
- Budget Friendly: A box of cereal and a bag of mini marshmallows feed my whole crew for less than a fiver. Honestly, it’s my go-to for last-minute treats.
Step-by-Step Instructions for Halloween Rice Krispie Treats
Here’s how I create spooky shapes without turning on the oven.
Step 1: Prepare the Rice Krispie Base
In a large pot, melt the 3 tbsp unsalted butter over low heat until just melted. Immediately add the 10 oz mini marshmallows and stir constantly with a silicone spatula until completely smooth—this takes about 3-4 minutes.
Once melted, remove from heat and stir in the 1 tsp vanilla extract and 0.25 tsp salt. The mixture should be glossy and uniform. Then fold in the 6 cups Rice Krispies Cereal all at once, pressing gently until every piece is evenly coated. I use a butter-greased spatula for this to prevent sticking.
Step 2: Shape and Cool the Treats
Transfer the mixture to a parchment-lined surface. Using buttered hands (trust me, this prevents major sticking), shape the mixture into 12 equal portions—these will become your pumpkins, ghosts, and bats. The cereal mixture will be warm but handleable.
Let the shapes cool at room temperature for 15-20 minutes until firm enough to hold their form. I often speed this up by popping them in the fridge for 10 minutes, but don’t let them get too cold or the candy melts won’t adhere properly.
Step 3: Create Spooky Decorations
Melt the 0.5 cup orange candy melts in a microwave-safe bowl in 30-second intervals, stirring between each, until smooth. Dip the tops of 4 pumpkin-shaped treats into the melted orange candy, then immediately add Halloween sprinkles before the coating sets.
For the ghost treats, press 2 candy eyes into each of 4 portions while the base is still slightly warm. Use the 1 tbsp black icing gel to draw spooky mouths once cooled. The gel should go on smoothly—if it’s too thick, warm it briefly in your hands.
Step 4: Make Chocolate Bat Wings
Melt the 0.5 cup chocolate chips using the same microwave method as the candy melts. For the remaining 4 portions, shape each into a bat body by pinching the sides. Use a spoon to drizzle melted chocolate onto parchment in wing shapes, then press a bat body onto each pair before the chocolate sets.
Let all decorations set completely at room temperature for 30 minutes. The chocolate and candy melts should be firm to the touch with no tackiness. This waiting period is crucial—rushing it will smudge your decorations.
Pro Tips For Making Kellogg’S Rice Krispie Treats Recipe Halloween
- Melt Butter Low: Use medium-low heat when melting the butter and marshmallows—I learned this the hard way after scorching two batches. It takes about 5-7 minutes to fully melt without burning.
- Use Fresh Marshmallows: Stale mini marshmallows won’t melt as smoothly, and you’ll end up with weird lumps. Check the bag’s date; fresher ones melt into that perfect gooey consistency.
- Press Lightly Only: After mixing, press the cereal into the pan just enough to shape it—don’t pack it down like a pan of brownies. Over-pressing makes the treats dense and hard instead of crispy and light.
- Butter Your Hands: Sounds weird, but it works: Rub a little softened butter on your hands before shaping the treats. It keeps the mixture from sticking and makes cleanup a breeze.
Wine and Beer Pairings for This Dish
Milk Pairings
I always serve these treats with a cold glass of whole milk—the creamy richness perfectly balances the sweet marshmallow flavor. For a festive touch, use chocolate milk to echo the cocoa notes in the decorations. Even my Sicilian Nonna approves of this American classic pairing. 🥛
Coffee Options
A hot cup of dark roast coffee cuts through the sweetness beautifully. I brew mine with a splash of cinnamon for that cozy fall feeling. The bitterness of the coffee makes the treats taste even more indulgent.
Hot Chocolate
For kids (and kids at heart), a mug of hot chocolate with extra marshmallows creates a double marshmallow experience. Stir in 1 tsp vanilla to match the extract in the recipe. The warmth contrasts nicely with the room-temp treats.
Apple Cider
Spiced apple cider brings autumnal flavors that pair wonderfully with the Halloween theme. I heat mine with a cinnamon stick and 3 whole cloves for 10 minutes. The tartness cleanses your palate between bites. 🍎
Tea Choices
For a lighter option, Earl Grey tea with its citrus notes complements the vanilla in the treats. Or try chamomile for a caffeine-free bedtime pairing. I always keep these tea bags from Bigelow on hand.
Nutrition Facts
Frequently Asked Questions
Can I use regular marshmallows instead of mini?
Use 40 regular marshmallows in place of the 10 oz mini. They take slightly longer to melt but work just as well. Just chop them into smaller pieces for faster melting.
How do I keep the treats from sticking to my hands?
Lightly butter your hands before shaping to prevent sticking. A nonstick spray works too. Reapply as needed when forming multiple shapes.
Can I make these ahead of time?
Yes! Shape and store undecorated treats in an airtight container for up to 3 days. Add decorations the day of serving for the freshest look.
What if my candy melts seize up?
If they harden before use, microwave in 10-second bursts until smooth again. Avoid overheating, which can make them thick and lumpy.

- Mujadara Rice and Lentils Recipe: Earthy Spiced Lentils With Caramelized Onions - November 1, 2026
- Naija Fried Rice Recipe: Street-Style Spice With Veggie Crunch - November 1, 2026
- Mushy Rice Recipe: Fluffy Grains Transformed in Minutes - November 1, 2026