
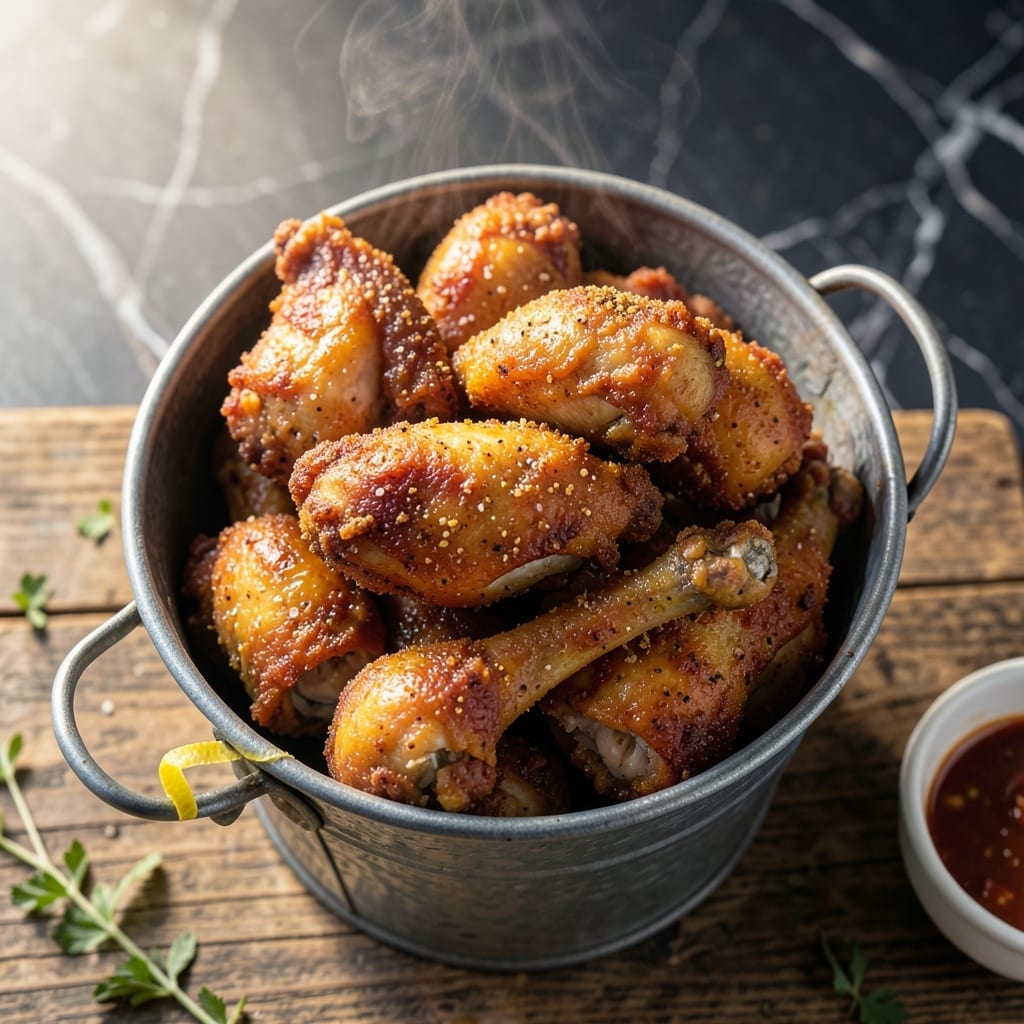
Achieving that signature crispy coating at home requires precision and patience. This method delivers the golden, herb-infused crust that made the original famous.
The key lies in a two-step frying process and a carefully balanced spice blend. Each piece emerges with a shatteringly crispy exterior while staying juicy inside.
I’ve tested multiple techniques to replicate that unmistakable flavor and texture. The result is a perfect recreation of the classic, with every bite packed with savory depth.
Serve hot for the best experience, as the coating stays extra crispy right out of the fryer. Here’s how to nail it every time.
Ingredients for Kfc Original Chicken
These carefully measured ingredients create that signature crispy, herb-infused coating everyone loves.
| Ingredient | Amount | Notes |
|---|---|---|
| Chicken Pieces 🍗 | 3 lb | Bone-in, skin-on thighs and drumsticks |
| All-Purpose Flour 🌾 | 2 cups | For initial dredging layer |
| Buttermilk 🥛 | 2 cups | Full-fat for maximum tenderness |
| Large Eggs 🥚 | 2 whole | Beaten into buttermilk wash |
| Salt 🧂 | 2 tbsp | Diamond Crystal kosher preferred |
| Black Pepper 🌶️ | 1 tbsp | Freshly ground for best flavor |
| White Pepper 🌶️ | 1 tbsp | Essential for authentic flavor profile |
| Paprika 🌶️ | 1 tbsp | Sweet variety for color |
| Garlic Powder 🧄 | 1 tbsp | Fine grind for even distribution |
| Onion Powder 🧅 | 1 tbsp | Enhances savory depth significantly |
| Dried Thyme 🌿 | 1 tbsp | Crushed between fingers to release oils |
| Dried Basil 🌿 | 1 tbsp | Rubbed to activate flavor |
| Dried Oregano 🌿 | 1 tbsp | Mediterranean variety preferred |
| Celery Salt 🌿 | 1 tbsp | Key to signature seasoning |
| Ground Ginger 🌿 | 1 tsp | Adds subtle warmth to blend |
| Peanut Oil 🫒 | 4 cups | High smoke point for frying |
The chicken selection is critical. Bone-in, skin-on thighs and drumsticks provide the juiciest results and best coating adhesion. Source from Whole Foods or Costco for consistent quality. The buttermilk must be full-fat—low-fat versions won’t deliver the same tenderness. For the flour, White Lily or Gold Medal all-purpose are professional standards for optimal crispiness.
No buttermilk? Mix 2 cups whole milk with 2 tbsp white vinegar and let sit for 10 minutes. Out of celery salt? Combine 1 tbsp salt with 1/2 tsp celery seed. The spice blend can be adjusted to taste, but maintain the white pepper—it’s non-negotiable for authenticity. Peanut oil is ideal for frying, but vegetable or canola oil works in a pinch (smoke point matters here).
The raw chicken keeps in the fridge for 2 days max. The spice blend can be mixed ahead and stored in an airtight container for 6 months. For extra crispiness, rest the coated chicken on a wire rack for 15 minutes before frying—this helps the coating set properly.
Why You’ll Love This Recipe
- One Bowl Wonder: I love that I can mix the flour, buttermilk, and eggs in a single bowl—no fuss, no extra dishes.
- That KFC Crunch: The buttermilk marinade makes the coating stick perfectly, giving that iconic crispy bite every time.
- Feeds the Whole Crew: Honestly, it’s my go-to for game nights or when the kids bring friends over—always a hit.
- Budget Stretch: A big batch costs less than takeout, and leftovers taste just as good the next day.
Step-by-Step Instructions for Secret Herb-Coated Chicken
This tested method delivers consistently crispy, flavorful results with professional technique.
Step 1: Prepare the Seasoned Flour Blend
In a large bowl, whisk together the 2 cups all-purpose flour with 2 tbsp salt, 1 tbsp black pepper, 1 tbsp white pepper, 1 tbsp paprika, 1 tbsp garlic powder, 1 tbsp onion powder, 1 tbsp dried thyme, 1 tbsp dried basil, 1 tbsp dried oregano, 1 tbsp celery salt, and 1 tsp ground ginger until fully combined.
This blend creates the signature herb coating that defines the dish. The combination of white and black pepper provides depth, while the celery salt contributes that distinctive savory note. Ensure the spices are evenly distributed—this prevents hot spots of flavor in your finished product.
Step 2: Create the Buttermilk Egg Wash
In a separate large bowl, whisk the 2 cups buttermilk with the 2 whole large eggs until smooth. The buttermilk’s acidity tenderizes the chicken, while the eggs help the seasoned flour adhere properly.
Full-fat buttermilk is essential here—the higher fat content creates a richer wash that results in better browning. Let the mixture sit for 2 minutes after whisking to allow the ingredients to fully incorporate.
Step 3: Dredge and Double-Coat the Chicken
Pat the 3 lb chicken pieces dry with paper towels—this is crucial for proper coating adhesion. First, dredge each piece in the seasoned flour, pressing firmly to create an even initial layer. Shake off any excess flour, as clumps will burn during frying.
Next, dip the floured chicken into the buttermilk-egg wash, allowing excess to drip off. Finally, return the piece to the seasoned flour for a second coating. This double-dredging technique creates the thick, craggy crust that remains crispy. Place coated pieces on a wire rack to rest for 10 minutes.
Step 4: Fry to Golden Perfection
Heat the 4 cups peanut oil in a deep, heavy pot to 350°F. The oil must be deep enough to submerge the chicken pieces completely. Use a thermometer to maintain precise temperature—if the oil isn’t hot enough, the chicken will absorb oil and become greasy.
Carefully lower 3-4 pieces into the hot oil, being careful not to overcrowd the pot. Fry for 12-15 minutes for dark meat and 10-12 minutes for white meat, turning occasionally, until deep golden brown and the internal temperature reaches 165°F. The crust should be crisp and audibly crunchy when tapped. Drain on a wire rack to maintain crispness.
Work in batches to avoid lowering the oil temperature. Between batches, allow the oil to return to 350°F before adding more chicken.
Pro Tips For Making Kfc Original Chicken
- Double Dredge: Dip the chicken in buttermilk-egg mix, then flour, then back in the buttermilk-egg, then flour again—I learned this the hard way after my first batch had a sad, thin crust.
- Rest the Chicken: Let the floured pieces sit for 10-15 minutes before frying so the coating clings better and doesn’t slide off into the oil.
- Hot Oil Test: Drop a pinch of flour in the oil first; if it sizzles immediately, it’s ready—after burning three batches, I finally figured out how to gauge the temperature.
- Use a Rack: Place fried pieces on a wire rack, not paper towels, to keep the crust crisp instead of soggy from trapped steam.
Common Mistakes When Making This Dish
Overcrowding the Fryer
Never add too many pieces at once—this drops the oil temperature below 350°F. I limit to 3-4 pieces at a time in my 5-quart Dutch oven. Overcrowding creates soggy coating and uneven cooking. 🌡️
Skipping the Rest Period
Let the coated chicken rest for 10 minutes before frying. This allows the flour to adhere properly and prevents it from sliding off in the oil. I use a wire rack over a baking sheet for airflow on all sides.
Incorrect Oil Temperature
If your oil isn’t hot enough (350°F), the chicken will absorb oil and turn greasy. Use a deep-fry thermometer—I trust my Taylor Precision model. Too hot (above 375°F) and the outside burns before the inside cooks.
Using Wrong Chicken Pieces
Stick to bone-in, skin-on thighs and drumsticks. Boneless pieces lack the fat and collagen needed for juiciness. Skin-on is non-negotiable for that signature crispiness. I source mine from Costco for consistency.
Improper Dredging Technique
Press the flour into the chicken firmly during the first coating. Shake off excess flour—clumps will burn. The double-dredge is essential: flour, wash, then flour again. This creates that thick, craggy crust everyone loves.
Draining on Paper Towels
Always drain on a wire rack, not paper towels. Paper towels trap steam, making the coating soggy. My rack sits over a baking sheet to catch drips. This keeps every piece shatteringly crisp. 💪
Nutrition Facts
Frequently Asked Questions
Can I use boneless chicken?
Not recommended. Bone-in, skin-on pieces stay juicier and hold the coating better. Boneless tends to dry out and lacks the fat for crispiness. Stick to thighs and drumsticks.
What if I don’t have buttermilk?
Mix 2 cups whole milk with 2 tbsp white vinegar and let sit for 10 minutes. This creates a suitable substitute for the buttermilk wash.
Can I bake instead of fry?
Baking won’t give the same crispy texture. For oven cooking, use 425°F and place on a wire rack, but frying is essential for authentic results.
How do I keep it crispy after cooking?
Drain on a wire rack, not paper towels. Place in a 200°F oven on a rack to keep warm until serving. This prevents steam from making the coating soggy.

- Jollof Rice Sauce Recipe: West African Tomato and Spice Infusion - September 25, 2026
- Japanese Rice Soup Recipe: Umami-Rich Comfort in a Bowl - September 25, 2026
- Homemade Cream Of Rice Recipe: Silk-Smooth Breakfast in Minutes - September 25, 2026