
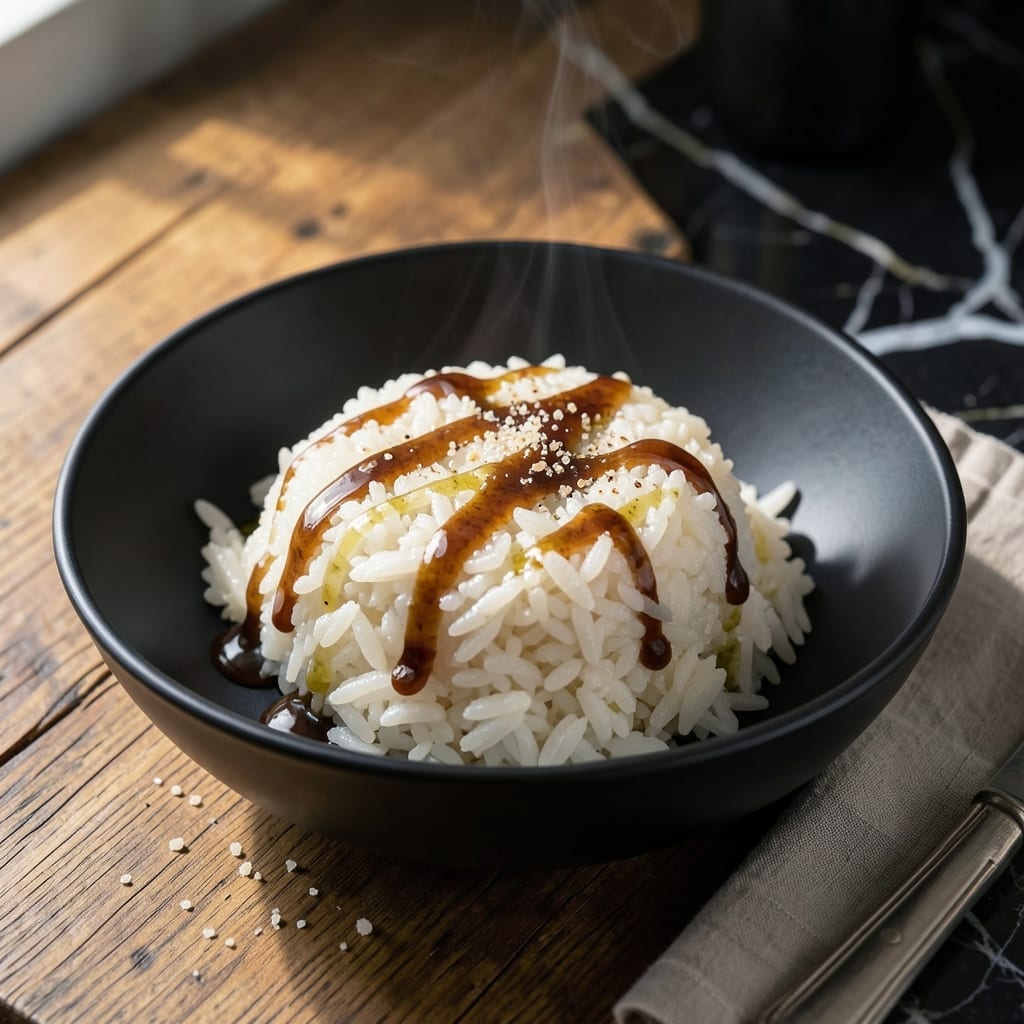
Achieving perfectly fluffy Japanese-style rice begins with the right technique and attention to detail. Kokuho rice, known for its sweet aroma and sticky texture, requires precise handling to unlock its full potential.
The process starts with thorough rinsing to remove excess starch, which prevents gummy results. Using the correct water ratio—typically 1:1.1 rice to water—ensures each grain cooks evenly and stays separate yet tender.
Cooking time and method matter just as much as preparation. A heavy pot with a tight lid and controlled heat yield grains that are soft, slightly chewy, and fragrant. Resting the rice after cooking allows steam to finish the job.
This dish serves as the foundation for countless meals, from sushi to simple bowls. Mastering it means elevated home cooking every time.
Ingredients for Kokuho Rice
Short list of quality ingredients for fragrant, perfectly textured Japanese-style rice.
| Ingredient | Amount | Notes |
|---|---|---|
| Kokuho Rose Rice 🍚 | 2 cups | Short-grain, uncooked, rinsed thoroughly |
| Water 💧 | 2.2 cups | Filtered for best results |
| Rice Vinegar 🍶 | 1 tbsp | Seasoned or unseasoned |
| Sugar 🍚 | 1 tsp | Granulated white sugar |
| Salt 🧂 | ½ tsp | Fine sea salt preferred |
| Soy Sauce 🥢 | ½ tbsp | Low-sodium optional |
| Mirin 🍾 | ½ tbsp | Sweet rice wine |
| Dried Kelp 🌊 | 1 piece | 2-inch square, optional for depth |
| Sesame Oil 🫒 | ½ tsp | Toasted for aroma |
| Green Onions 🧅 | 2 whole | Thinly sliced for garnish |
| Sesame Seeds 🌰 | 1 tsp | Toasted, for garnish |
The rice is everything here. Kokuho Rose is the gold standard for Japanese-style rice—look for it at Asian markets or well-stocked grocery stores like Whole Foods. If unavailable, any short-grain white rice works, but texture may vary slightly. The kelp adds umami depth (find it in the international aisle), but skip it if you can’t source it. Use filtered water to avoid any off-flavors from tap minerals.
No rice vinegar? Apple cider vinegar at half the amount works in a pinch. Mirin can be replaced with a pinch of sugar mixed into dry white wine. For a gluten-free version, swap soy sauce for tamari. The sugar balances acidity—honey or agave can substitute if needed. Green onions are optional but add freshness; frozen chives work too (thaw first).
Uncooked rice keeps in a sealed container for 1-2 years. Once cooked, store leftovers in the fridge for up to 5 days or freeze for 1 month. Reheat in a damp paper towel-covered bowl in the microwave to restore moisture. Garnishes like sesame seeds toast in seconds—watch closely to avoid burning.
Why You’ll Love This Recipe
- Set and Forget: I toss the rice and water in the pot, walk away, and 20 minutes later it’s done—no stirring, no fuss.
- Sweet-Tangy Bite: The rice vinegar and sugar combo gives it that bright, slightly sticky taste that makes me sneak seconds straight from the pot.
- Meal Prep Magic: It keeps beautifully for days, so I make a big batch and pair it with everything from grilled chicken to quick stir-fries.
- Pantry Hero: Kokuho Rose Rice is affordable, and the rest is just staples I already have—no last-minute grocery runs.
Step-by-Step Instructions for Kokuho Rice
Here’s the tested method that delivers perfectly fluffy grains with a delicate sheen every time.
Step 1: Rinse the Rice Thoroughly
Place the 2 cups Kokuho Rose Rice in a fine-mesh strainer and rinse under cold running water. I use my hand to gently agitate the grains while rinsing, watching the water run clear through the rice. This step removes excess starch, which prevents the cooked grains from becoming gummy.
Continue rinsing for 30-60 seconds until the water runs nearly clear. The rice grains should feel slightly gritty at first but become smoother as you rinse. Drain well and transfer to your rice cooker or heavy pot—any residual water will affect the cooking ratio.
Step 2: Cook the Rice with Kelp for Depth
Combine the rinsed 2 cups Kokuho Rose Rice with the 2.2 cups Water in your rice cooker or pot. Add the 1 piece Dried Kelp on top of the rice—this adds subtle umami depth to the finished dish. If cooking on the stovetop, use a heavy pot with a tight-fitting lid.
Start the rice cooker on its standard setting, or bring to a boil on the stovetop, then reduce to low heat and cover. For stovetop cooking, maintain a gentle simmer for 15 minutes, then remove from heat and let sit covered for another 10 minutes. The rice should absorb all the water and appear slightly domed with steam holes on the surface.
Step 3: Prepare the Seasoning Mixture
While the rice cooks, combine the 1 tbsp Rice Vinegar, 1 tsp Sugar, and 0.5 tsp Salt in a small bowl. Stir until the sugar and salt dissolve completely—the mixture should be clear with no visible grains. This sweet-salty-tangy blend is the signature flavor of Japanese-style rice.
Next, add the 0.5 tbsp Soy Sauce and 0.5 tbsp Mirin to the vinegar mixture. Whisk well to combine. The soy sauce adds depth while the mirin contributes a subtle sweetness that balances the acidity of the vinegar. Set this aside until the rice finishes cooking.
Step 4: Finish and Fluff the Rice
Once the rice has finished cooking and rested, remove the 1 piece Dried Kelp and discard it. Transfer the warm rice to a large bowl. Drizzle the prepared vinegar mixture evenly over the rice, then add the 0.5 tsp Sesame Oil.
Using a rice paddle or silicone spatula, gently fold the mixture into the rice with a cutting motion. Be careful not to overmix—this can break the grains and make the rice mushy. The rice should glisten slightly from the seasoning and have a faint aromatic scent from the sesame oil.
Step 5: Garnish and Serve
Thinly slice the 2 whole Green Onions and sprinkle them over the rice. Finish with the 1 tsp Sesame Seeds, distributing them evenly across the surface. The green onions add freshness while the sesame seeds provide a nutty crunch and visual appeal.
Serve immediately while warm. Each grain should be distinct yet slightly sticky, with a delicate balance of sweet, salty, and umami flavors. The rice should hold its shape when scooped but melt slightly in your mouth.
Pro Tips For Making Kokuho Rice
- Rinse the Rice: Wash Kokuho Rose Rice under cold water until it runs clear—this removes excess starch and prevents a gummy texture. I learned this the hard way after ending up with a sticky mess my first few tries.
- Rest After Cooking: Let the rice sit covered for 10 minutes off the heat once the water’s absorbed. Sounds weird, but it works: the grains firm up and absorb the last bit of moisture evenly.
- Balance the Vinegar: Use a 1:1 ratio of rice vinegar to sugar in the seasoning mix—about 2 tablespoons each for 2 cups of uncooked rice. My grandmother swore by this, and she was right: it keeps the flavor bright without being sour.
- Use Less Water: Cut the water by 1-2 tablespoons less than the package suggests. Kokuho Rose holds moisture differently, and this small tweak stops it from turning out mushy.
Flavor Customization for This kokuho rice
Sweet and Tangy
For a brighter flavor, increase the rice vinegar to 1.5 tbsp and add ½ tsp lemon zest. The citrus lifts the dish beautifully. I also like adding 1 tsp yuzu juice if I can find it at my local Asian market. 🌟
Umami Boost
Enhance the savory depth by doubling the soy sauce to 1 tbsp and adding 1 tsp fish sauce. A pinch of MSG (about ¼ tsp) works wonders too. The kelp already adds umami, but these extras take it to another level.
Spicy Kick
Stir in ½ tsp sriracha or 1 tsp gochujang into the seasoning mixture for heat. For a milder option, sprinkle with shichimi togarashi after cooking. I love how the spice contrasts with the rice’s natural sweetness.
Herb-Infused
Add 1 tbsp chopped cilantro or 1 tsp furikake to the finished rice. These add fresh, herbaceous notes. For a floral touch, a few drops of shiso oil work beautifully if available.
Nutty Crunch
Toast 2 tbsp crushed peanuts or 1 tbsp black sesame seeds and sprinkle on top. The texture contrast is amazing. I also like adding 1 tsp toasted nori strips for extra depth.
Citrus Twist
Finish with ½ tsp orange zest or 1 tsp ponzu sauce for a refreshing twist. The acidity cuts through the richness, making the dish feel lighter. This works especially well in summer. 💛
Nutrition Facts
Frequently Asked Questions
Why rinse the rice before cooking?
Rinsing removes excess starch, preventing gummy or clumpy results. Stop once the water runs nearly clear—usually after 30-60 seconds. This ensures fluffy, separate grains.
Can I cook this in a regular pot?
Yes! Use a heavy pot with a tight lid. Bring to a boil, then reduce to low heat for 15 minutes, followed by 10 minutes of resting off heat. Works just like a rice cooker.
How do I store leftovers?
Keep in an airtight container in the fridge for up to 5 days or freeze for 1 month. Reheat with a damp paper towel to restore moisture.
What’s the best water-to-rice ratio?
A 1:1.1 ratio (rice to water) works perfectly. For 2 cups rice, use 2.2 cups water. This ensures even cooking without mushiness.

- Mujadara Rice and Lentils Recipe: Earthy Spiced Lentils With Caramelized Onions - November 1, 2026
- Naija Fried Rice Recipe: Street-Style Spice With Veggie Crunch - November 1, 2026
- Mushy Rice Recipe: Fluffy Grains Transformed in Minutes - November 1, 2026