
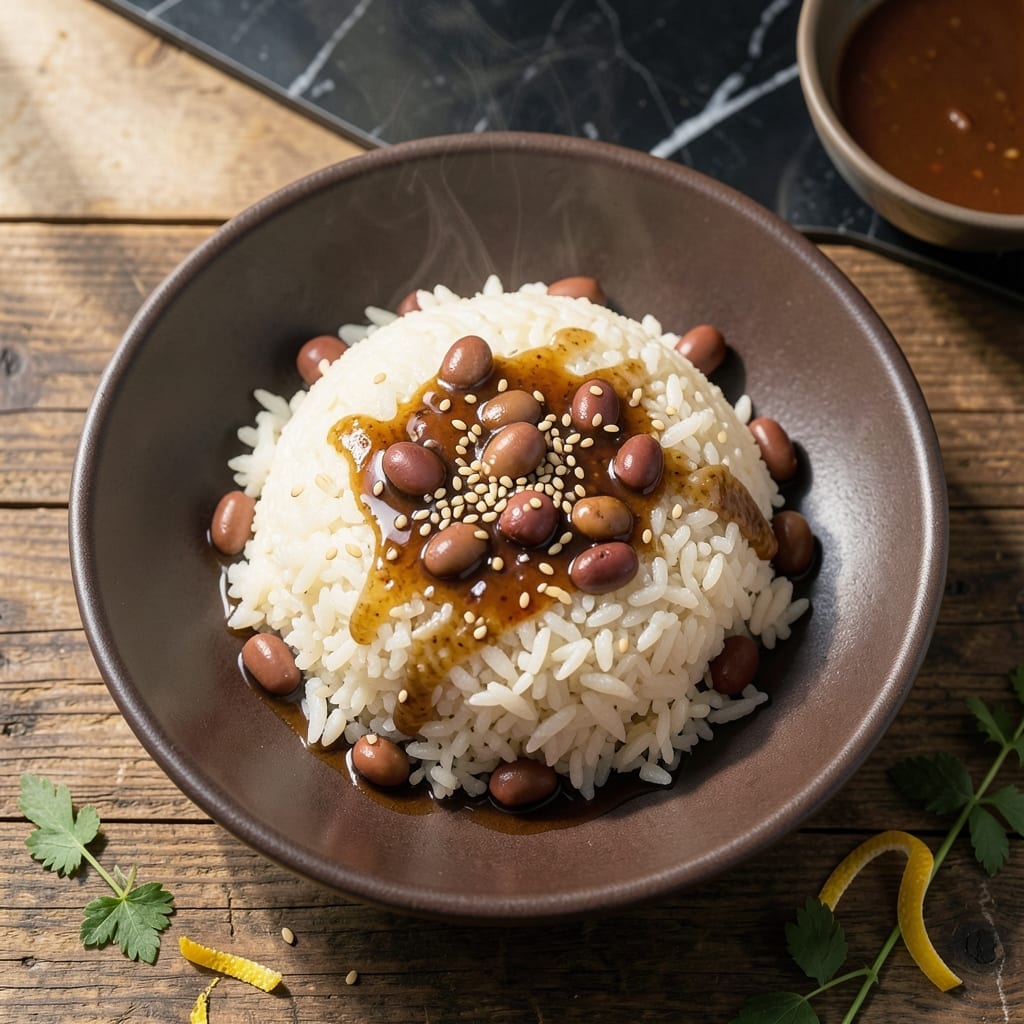
This traditional Korean dish transforms humble ingredients into a comforting bowl of sweet, earthy goodness. The combination of soft red beans and sticky rice creates a satisfying texture that’s both hearty and delicate.
What sets this recipe apart is the balance of flavors—naturally sweet red beans complement the savory rice, while a touch of salt enhances both. Traditional techniques ensure the beans break down just enough to infuse every grain with their essence.
The process is simple but intentional, with each step building layers of taste. You’ll end up with a dish that’s as nourishing as it is delicious, perfect for any meal.
Serve warm for the best experience. Here’s how to make it.
Ingredients for Korean Red Bean Rice
Simple pantry staples create this comforting, sweet and earthy Korean bowl.
| Ingredient | Amount | Notes |
|---|---|---|
| Adzuki Beans 🌱 | 1 cup | Dried, soaked overnight |
| Short-Grain White Rice 🍚 | 2 cups | Rinsed until water runs clear |
| Water 💧 | 4 cups | For cooking rice and beans |
| Sea Salt 🧂 | ½ tsp | Fine grain preferred |
| Sugar 🍚 | 2 tbsp | Adjust to taste preference |
| Soy Sauce 🫒 | 1 tbsp | Low-sodium preferred |
| Sesame Oil 🫒 | 1 tsp | Toasted for aroma |
| Garlic Cloves 🧄 | 3 cloves | Minced finely |
| Vegetable Oil 🫒 | 1 tbsp | Neutral flavor preferred |
| Scallions 🧅 | 3 whole | Thinly sliced for garnish |
| Toasted Sesame Seeds 🌰 | 1 tsp | For garnish |
The adzuki beans are non-negotiable for authenticity. Look for them in Asian markets or the international aisle at Whole Foods. They should be small, reddish-brown, and uniform in size. Soaking overnight (or at least 4 hours) ensures they cook evenly and infuse the rice properly. The short-grain white rice must be sticky—sushi rice works perfectly if you can’t find Korean brands.
No adzuki beans? Red kidney beans at half the quantity work in a pinch, though the flavor and texture will differ. Out of sesame oil? Perilla oil adds a similar nutty depth. For sugar, coconut sugar or maple syrup can substitute, but start with 1 tablespoon and adjust. The soy sauce should be vegan-friendly—check labels for fish derivatives if strict adherence is required.
Cooked rice and beans keep well in the fridge for 4-5 days in separate containers. Reheat with a splash of water to restore moisture. The dish actually improves overnight as flavors meld. Freeze portions for up to 3 months—thaw in the fridge before reheating.
Why You’ll Love This Recipe
- One Pot Meal: I love that I only need a rice cooker or pot—adzuki beans and rice cook together with zero fuss.
- Sweet & Earthy: The natural sweetness of the beans with a pinch of sugar and salt hits just right, like a warm hug in a bowl.
- Meal Prep Hero: It keeps beautifully for days, so I make a big batch for quick lunches or a side dish all week.
- Budget Friendly: Honestly, a bag of adzuki beans and rice costs pennies and feeds my family for multiple meals.
Step-by-Step Instructions for Korean Red Bean Rice
This method ensures perfectly cooked grains with balanced sweetness and earthy depth.
Step 1: Prepare the Adzuki Beans and Rice
Drain the soaked 1 cup Adzuki Beans and rinse thoroughly under cold water. In a separate bowl, rinse the 2 cups Short-Grain White Rice until the water runs completely clear, removing excess starch for optimal texture.
Combine the prepared adzuki beans and rice in a medium pot. This dual preparation ensures both components cook evenly without turning mushy. The rice grains should appear translucent when properly rinsed, indicating the starch has been removed.
Step 2: Cook with Aromatics and Seasonings
Add the 4 cups Water, 0.5 tsp Sea Salt, 2 tbsp Sugar, 1 tbsp Soy Sauce, 1 tsp Sesame Oil, and 3 cloves minced Garlic Cloves to the pot. Stir gently to distribute the ingredients evenly, ensuring the sweet and savory elements penetrate each grain.
Bring to a boil over medium-high heat, then immediately reduce to low heat, cover, and simmer for 45-50 minutes. Watch for the liquid to be fully absorbed and the surface to appear slightly dimpled—this indicates the rice is nearing completion.
Step 3: Steam and Fluff for Perfect Texture
Once the liquid is absorbed, turn off the heat and let the pot sit covered for 10 minutes. This steaming period allows the grains to finish cooking gently and absorb any remaining moisture, resulting in tender, separate grains.
Avoid peeking during this time, as releasing steam can cause uneven cooking. The rice should be soft but still retain a slight bite, with the adzuki beans tender yet intact.
Step 4: Finish with Vegetable Oil and Garnish
Drizzle the 1 tbsp Vegetable Oil over the rice and gently fold it in with a rice paddle or spatula. This adds a subtle sheen and prevents the grains from sticking together, enhancing both appearance and mouthfeel.
Transfer to a serving bowl and top with 3 whole thinly sliced Scallions and 1 tsp Toasted Sesame Seeds for a fresh, nutty finish. The scallions should be vibrant green, and the sesame seeds should glisten slightly, adding visual appeal and a final layer of flavor.
Pro Tips For Making Korean Red Bean Rice
- Soak the Beans: I learned this the hard way—skip soaking adzuki beans overnight and you’ll add an extra hour to cooking time. Cover them with 2 inches of water the night before for even tenderness.
- Rinse the Rice: Wash the short-grain rice until the water runs almost clear, about 4-5 rinses. It removes excess starch and keeps the final dish from turning gummy.
- Watch the Water: Adzuki beans absorb a lot, so use a 1:2.5 rice-to-water ratio (1 cup rice to 2.5 cups water) when cooking them together. Any less and you’ll end up with undercooked beans and dry rice.
- Salt Late: Add sea salt only in the last 10 minutes of cooking. Early salting toughens the beans, and I was skeptical until I compared batches side by side.
Dietary Considerations for This korean red bean rice
Vegan and Plant-Based
This dish is naturally 100% plant-based, making it perfect for vegan diets. The adzuki beans provide protein and fiber, while the short-grain rice offers complex carbs. I love how it satisfies without any animal products. 🌱
Gluten-Free Friendly
With naturally gluten-free ingredients, you only need to verify your soy sauce is labeled gluten-free. I use San-J Tamari for guaranteed results. The rest of the dish requires no modifications.
Low Sodium Option
To reduce sodium, cut the soy sauce to ½ tbsp and use low-sodium sea salt. The sugar and garlic will still provide plenty of flavor. I find the dish still tastes rich and satisfying.
Nut Allergy Safe
This recipe contains no nuts, but always check your sesame oil for cross-contamination warnings. I use Kadoya brand for its pure, single-ingredient label. Safe for most nut-free diets. 💡
Sugar Adjustments
For lower sugar, reduce to 1 tbsp or use monk fruit sweetener. The adzuki beans provide natural sweetness. I often add a pinch of cinnamon for depth without extra sugar.
Storage Safety
Cooked rice and beans can be refrigerated for 4-5 days in airtight containers. For longer storage, freeze for up to 3 months. Reheat with a splash of water to maintain texture.
Nutrition Facts
Frequently Asked Questions
Do I need to soak the beans overnight?
Soaking for 4-12 hours is ideal for even cooking and better flavor infusion. In a pinch, a quick 1-hour soak in hot water works, but texture may vary slightly.
Can I use canned beans instead of dried?
Yes! Use 1 can (15 oz) of drained adzuki beans and reduce cooking time to 25-30 minutes. Adjust water to 2 cups since canned beans are pre-cooked.
Why did my rice turn out mushy?
Over-stirring or using too much water causes this. Stick to the 1:2 rice-to-water ratio and avoid lifting the lid while cooking. Let it steam undisturbed for best results.
Can I make this in a rice cooker?
Combine all ingredients in the cooker and use the standard setting. Add 5-10 minutes extra if your cooker runs cool. Fluff gently before serving.

- Mujadara Rice and Lentils Recipe: Earthy Spiced Lentils With Caramelized Onions - November 1, 2026
- Naija Fried Rice Recipe: Street-Style Spice With Veggie Crunch - November 1, 2026
- Mushy Rice Recipe: Fluffy Grains Transformed in Minutes - November 1, 2026