
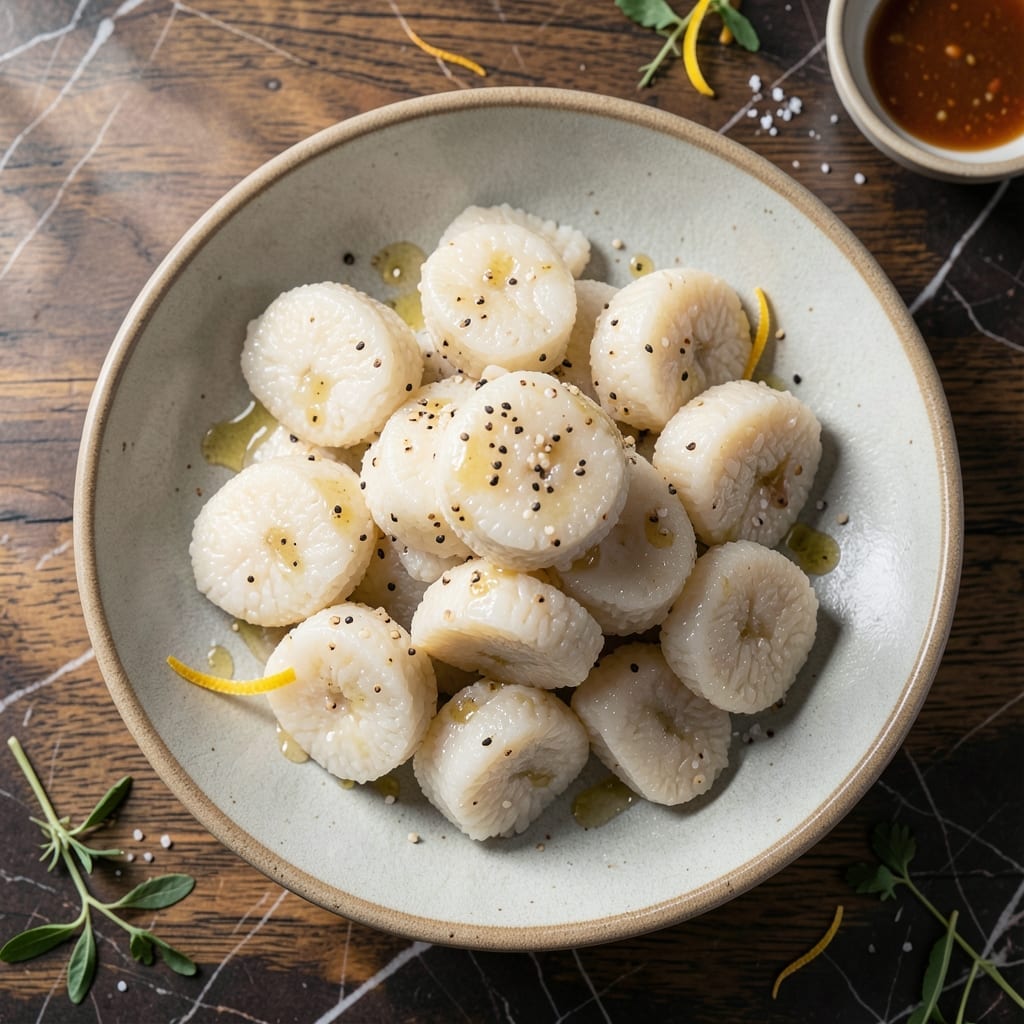
There’s an art to making rice cakes that are crisp at the edges with a subtle nutty depth. This recipe transforms simple ingredients into a satisfying dish with minimal effort.
The key lies in cooking the rice just until it reaches the perfect stickiness, then pressing it into thin, even layers. A light sprinkle of salt enhances the natural flavors without overpowering them.
What emerges is a batch of rice cakes with a delicate crunch and a toasting warmth that makes them irresistibly moreish. The texture is both tender and crisp, offering a delightful contrast.
Serve as a snack or pair with your favorite dips and toppings. This method ensures consistent results every time.
Ingredients for Lightly Salted Rice Cakes
Simple ingredients transform into crisp, nutty rice cakes with minimal effort.
| Ingredient | Amount | Notes |
|---|---|---|
| Short-Grain White Rice 🍚 | 2 cups | Sushi rice works best |
| Water 💧 | 4 cups | For cooking rice |
| Sea Salt 🧂 | ½ tsp | Fine grain preferred |
| Rice Vinegar 🍶 | 1 tbsp | Optional for tang |
| Sesame Oil 🫒 | 1 tsp | Toasted for nutty flavor |
| Neutral Oil 🫒 | 2 tbsp | For greasing pan |
| Cornstarch 🌾 | 1 tbsp | Prevents sticking |
| Sesame Seeds 🌰 | 1 tbsp | Optional topping |
| Green Onions 🧅 | 2 whole | Thinly sliced for garnish |
| Nori Sheets 🌿 | 2 sheets | Optional for wrapping |
The rice is critical here. Short-grain white rice (like sushi rice) gives you that sticky texture essential for holding the cakes together. Lundberg or Koshihikari brands are reliable. Avoid long-grain—it won’t bind properly. For the salt, fine sea salt dissolves evenly, but flaky salt adds a nice crunch if you’re feeling fancy.
No rice vinegar? Lemon juice or white vinegar works in a pinch. Sesame oil can be swapped with avocado oil if you want a neutral flavor. The cornstarch prevents sticking—arrowroot powder is a good alternative. Skip the nori? These taste great plain or with a sprinkle of furikake (found at Asian markets).
Store cooked rice in the fridge for up to 3 days before making cakes. The cakes themselves keep 5 days in an airtight container, or freeze for 1 month. Re-crisp in a dry pan or toaster oven.
Why You’ll Love This Recipe
- Five-Ingredient Magic: I just mix rice, water, salt, vinegar, and sesame oil—no fancy steps or hard-to-find items.
- Addictive Crunch: That light salt hit with the sesame oil’s nutty aroma? I can’t stop at one.
- Snack or Meal: I serve these as a quick snack or pair with soup for dinner, and they fit both perfectly.
- Stays Fresh: Leftovers keep well for days, so I always make a double batch. Honestly, it’s my go-to for unexpected guests.
Step-by-Step Instructions for Lightly Salted Rice Cakes
Here’s the method. Straightforward, tested, works every time.
Step 1: Cook the Short-Grain White Rice
Rinse the 2 cups Short-Grain White Rice under cold water until the water runs clear. This removes excess starch and prevents gummy rice cakes. Drain thoroughly in a fine-mesh sieve.
Combine the rinsed rice with 4 cups Water and the 0.5 tsp Sea Salt in a rice cooker or heavy pot. Cook until the water is absorbed and the rice is tender, about 20-25 minutes. For best results, let it sit covered for 10 minutes after cooking to steam.
Step 2: Prepare the Rice Mixture
Transfer the hot rice to a large bowl. While still warm, stir in the 1 tbsp Rice Vinegar and 1 tsp Sesame Oil—this adds subtle tang and nutty depth. The rice should be sticky but not wet. If it seems too moist, let it cool slightly.
Sprinkle the 1 tbsp Cornstarch evenly over the rice and fold gently to distribute. The cornstarch acts as a binder and helps create that perfect crisp texture when fried. The mixture should hold together when pressed but not be overly dense.
Step 3: Shape and Chill the Rice Cakes
Lightly grease a baking sheet with 1 tbsp Neutral Oil. Using wet hands to prevent sticking, form the rice into 8 equal patties, each about ½-inch thick. Press firmly to compact them—they’ll hold shape better when cooked.
Place the patties on the greased sheet and refrigerate uncovered for 20-30 minutes. Chilling firms up the rice, making it easier to handle and ensuring the cakes crisp up evenly without falling apart in the pan.
Step 4: Pan-Fry to Golden Perfection
Heat the remaining 1 tbsp Neutral Oil in a non-stick skillet over medium heat. When the oil shimmers, add the rice cakes in a single layer, working in batches if needed. Cook undisturbed for 4-5 minutes until the bottoms are deep golden brown and crisp.
Carefully flip each cake and cook for another 4-5 minutes until the second side is equally crisp and golden brown. The edges should be slightly lacy and crunchy. Transfer to a paper towel-lined plate to drain any excess oil.
Step 5: Garnish and Serve
Arrange the rice cakes on a serving platter. Sprinkle evenly with the 1 tbsp Sesame Seeds and thinly sliced 2 whole Green Onions for freshness and color. For an optional touch, wrap individual cakes with strips of 2 sheets Nori Sheets.
Serve warm while the exterior is still crisp. Each bite should offer a satisfying crunch on the outside with a soft, slightly sticky interior. The nori adds a subtle oceanic note that complements the nutty, salty-sweet balance of the rice cakes perfectly.
Pro Tips For Making Lightly Salted Rice Cakes
- Soak the Rice: Give the short-grain rice a good 4-6 hour soak before grinding—it makes the batter smoother and the cakes lighter. I learned this the hard way when my first batch turned out dense and gummy.
- Salt the Batter Last: Mix the sea salt into the batter right before cooking, not earlier. Adding it too soon can toughen the rice starch and ruin that soft, chewy texture.
- Keep Heat Low: Cook the cakes on low to medium heat, or they’ll brown too fast without cooking through. After burning three batches, I finally figured out patience is the thing that matters most here.
- Brush with Oil: Lightly coat the pan with sesame oil between batches—about ½ teaspoon each time. Sounds weird, but it works: prevents sticking and adds a subtle nutty flavor.
Serving Suggestions for This Dish
Dip Pairings
These rice cakes shine with soy-ginger dipping sauce—mix 3 tbsp soy sauce, 1 tsp grated ginger, and 1 tsp honey. For creaminess, try spicy mayo with 2 tbsp mayo and 1 tsp sriracha. 🌟
Topping Ideas
Top warm cakes with avocado slices and a drizzle of chili oil for freshness and heat. Or go savory with smoked salmon, cream cheese, and capers for a bagel-inspired twist.
Breakfast Style
Serve with a fried egg on top and a sprinkle of everything bagel seasoning. The runny yolk soaks into the crisp edges beautifully. Add sautéed spinach for extra nutrition.
Asian-Inspired
Pair with kimchi and gochujang for Korean flair. The tangy, spicy flavors contrast perfectly with the nutty rice. Add pickled radish for crunch.
Sweet Option
Drizzle with honey and peanut butter for a dessert-like treat. Sprinkle with crushed peanuts for texture. Serve with fresh fruit like sliced strawberries. 💛
Party Platter
Arrange on a board with hummus, baba ganoush, and olives. The neutral flavor of the cakes lets bold dips shine. Add cucumber slices for freshness.
Nutrition Facts
Frequently Asked Questions
Can I use long-grain rice instead of short-grain?
No, short-grain rice is essential for the sticky texture that holds the cakes together. Long-grain varieties won’t bind properly and will result in crumbly cakes.
Why do I need to chill the rice patties before frying?
Chilling firms up the rice, making the patties easier to handle. It also helps them crisp evenly in the pan and prevents them from falling apart during cooking.
How do I store leftovers to keep them crisp?
Store in an airtight container at room temperature for up to 2 days. To revive the crispness, reheat in a dry skillet over medium heat for 2-3 minutes per side.
Can I bake these instead of pan-frying?
Yes, bake at 400°F for 15-20 minutes, flipping halfway. They won’t be as crispy as pan-fried but will still have a pleasant texture.

- Jollof Rice Sauce Recipe: West African Tomato and Spice Infusion - September 25, 2026
- Japanese Rice Soup Recipe: Umami-Rich Comfort in a Bowl - September 25, 2026
- Homemade Cream Of Rice Recipe: Silk-Smooth Breakfast in Minutes - September 25, 2026