
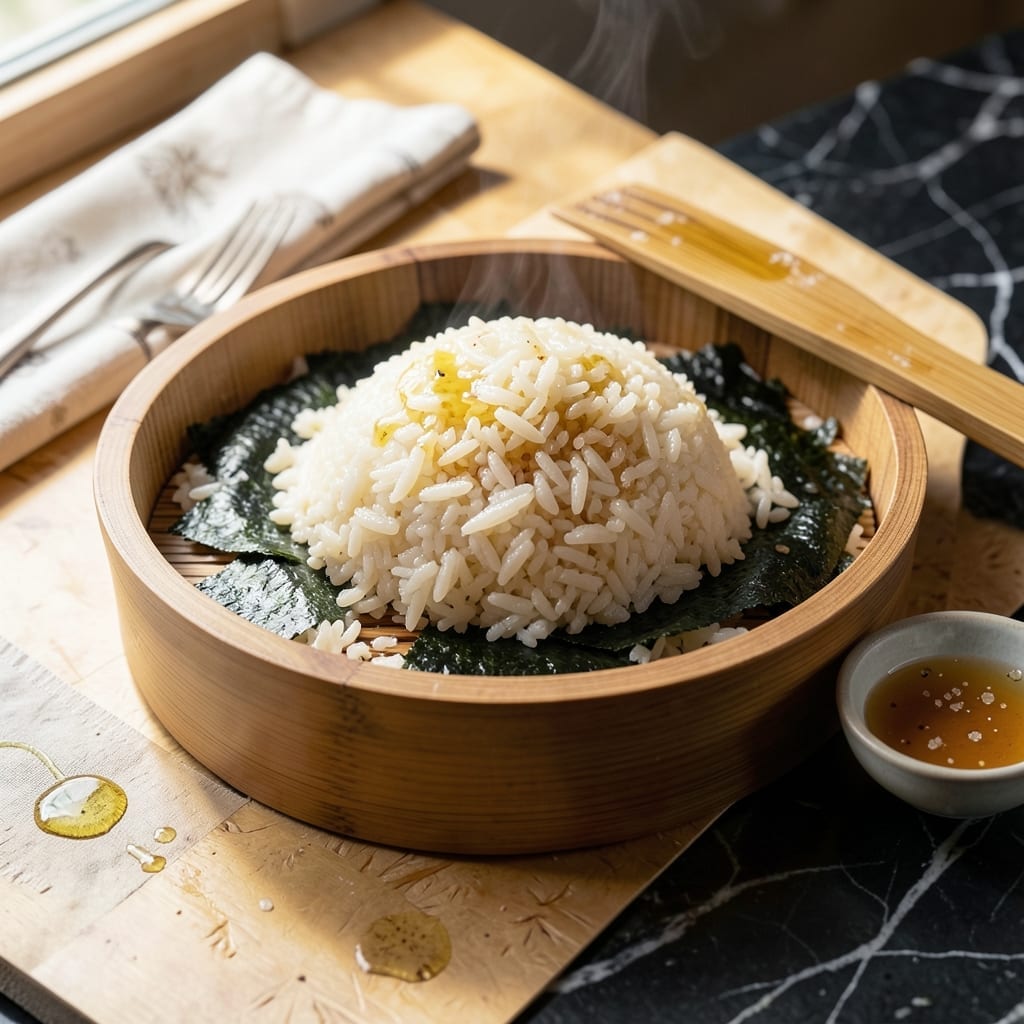
Achieving perfect sushi rice at home comes down to precision in rinsing, ratios, and resting time. This method delivers consistently sticky, glossy grains every time.
The key is using the right water ratio—1:1.1 rice to water—and thoroughly rinsing the grains to remove excess starch. Cooking in a rice cooker ensures even heat distribution for optimal texture.
Once cooked, the rice requires a gentle fold with seasoned vinegar to achieve that signature glossy finish. This step transforms plain rice into authentic sushi rice.
Master this foundation, and you’ll elevate any sushi or rice bowl dish with restaurant-quality results. The process is simple but demands attention to detail.
Ingredients for Long Grain Sushi Rice
Precision matters here. Eight ingredients transform into restaurant-quality rice with proper technique.
| Ingredient | Amount | Notes |
|---|---|---|
| Long Grain Sushi Rice 🍚 | 2 cups | Rinsed until water runs clear |
| Water 💧 | 2.2 cups | Filtered for best results |
| Rice Vinegar 🍶 | ½ cup | Unseasoned variety required |
| Granulated Sugar 🍚 | 2 tbsp | Dissolves completely in vinegar |
| Sea Salt 🧂 | 1 tsp | Fine grain for even distribution |
| Mirin 🍶 | 2 tbsp | Sweet cooking rice wine |
| Kombu 🌿 | 1 piece | 2-inch square, optional for depth |
| Sake 🍶 | 1 tbsp | Dry variety preferred |
The rice itself is non-negotiable. Koshihikari or Nishiki long grain sushi rice yields the best texture—avoid jasmine or basmati as they won’t achieve the right stickiness. Asian markets typically carry authentic varieties at better prices than standard grocers. Look for rice labeled specifically as sushi rice, and check the packaging date—fresher rice absorbs water more consistently.
No mirin? Substitute with 1 tbsp sugar plus 1 tbsp water. Sake can be replaced with dry white wine in a pinch, though the flavor profile will differ slightly. Kombu is optional but adds umami depth—dried shiitake works as an alternative. For the vinegar mixture, ensure the sugar fully dissolves while the rice cooks to prevent grainy texture.
Uncooked rice stores indefinitely in a cool, dark place. Once prepared, sushi rice is best used immediately but can be held at room temperature for 2-3 hours covered with a damp towel. Do not refrigerate as this dries out the grains and affects texture.
Why You’ll Love This Recipe
- Set and Forget: I just dump the rice and water in my rice cooker, press start, and walk away. No stirring, no watching, just foolproof results every time.
- Bright and Tangy: That first hit of vinegar with the sweetness of sugar? It’s the perfect balance—sticky but not mushy, with a flavor that’s way more interesting than plain rice.
- Sushi Night or Lunchbox: I use it for homemade rolls one day, then toss the leftovers into grain bowls or wraps. Honestly, it’s my meal prep MVP.
- Pennywise Staple: A big bag of long grain sushi rice costs peanuts and makes enough for multiple meals. Between us, it’s the cheapest way to eat like I’m at a sushi bar.
Step-by-Step Instructions for Long Grain Sushi Rice
Master the technique for consistently achieving the ideal sticky texture and glossy finish.
Step 1: Rinse and Soak the Long Grain Sushi Rice
Place the 2 cups Long Grain Sushi Rice in a fine-mesh strainer and rinse under cold water, swirling with your hand, until the water runs completely clear. This removes excess starch that would otherwise make the rice gummy.
Transfer the rinsed rice to a bowl and add the 2.2 cups Water. Let it soak for 30 minutes—this allows the grains to absorb moisture evenly and prevents cracking during cooking. The rice will expand slightly and appear translucent at the edges when ready.
Step 2: Cook the Rice to Optimal Tenderness
Drain the soaked rice thoroughly in the strainer, shaking gently to remove all excess water. Transfer it to a heavy-bottomed pot with a tight-fitting lid. Add the 1 piece Kombu to the pot for subtle umami depth, if using.
Bring to a boil over high heat, then immediately reduce to low heat, cover, and simmer for 15 minutes. Resist the urge to lift the lid—the steam trapped inside is crucial for even cooking. After 15 minutes, turn off the heat and let it sit, covered, for another 10 minutes to finish steaming.
Step 3: Prepare the Seasoning Mixture
In a small saucepan, combine the 0.5 cup Rice Vinegar, 2 tbsp Granulated Sugar, 1 tsp Sea Salt, 2 tbsp Mirin, and 1 tbsp Sake. Place over medium heat and stir until the sugar and salt dissolve completely—this should take 2-3 minutes.
Remove from heat and let the mixture cool to room temperature. The liquid should be clear with no visible sugar granules. This seasoning, called sushi-zu, gives the rice its signature sweet-savory balance and glossy sheen.
Step 4: Fold Seasoning into Rice Gently
Transfer the cooked rice to a large, non-reactive bowl—wooden or glass works best. Remove the kombu if used. Drizzle the cooled sushi-zu evenly over the warm rice using a gentle, circular motion.
Using a rice paddle or silicone spatula, fold the seasoning into the rice with a cutting and lifting motion. Be deliberate but gentle to avoid crushing the grains. The rice should appear glossy and slightly sticky, with each grain distinct yet clinging together. Fan the rice while folding to cool it slightly and enhance the shine—this step takes 3-5 minutes.
Step 5: Rest and Serve at Peak Texture
Cover the seasoned rice with a damp cloth and let it rest for 10 minutes at room temperature. This allows the flavors to meld and the rice to reach the perfect consistency for shaping.
Use immediately for sushi, or keep warm (covered) for up to 2 hours. The rice should hold its shape when pressed but remain tender and slightly tacky to the touch. For best results, maintain a temperature of at least 100°F if holding for service.
Pro Tips For Making Long Grain Sushi Rice
- Rinse Thoroughly: Wash the rice in 3-4 changes of cold water until it runs nearly clear—this removes excess starch so your grains stay separate and don’t turn to mush.
- Use the Right Ratio: Stick to 1:1.25 rice-to-water ratio (1 cup rice to 1.25 cups water). I learned this the hard way after ending up with undercooked or soggy batches.
- Fan While Seasoning: While folding in the vinegar-sugar-salt mix, fan the rice with a piece of cardboard or a handheld fan—it cools it faster and gives that glossy finish.
- Let It Rest: After seasoning, cover the rice and let it sit for 10 minutes. Sounds weird but it works—it lets the flavors settle and the grains firm up just right.
Creative Variations of These Flavors
Brown Rice Swap
For a nuttier flavor and extra fiber, substitute with short grain brown rice. Use the same 1:1.1 ratio but increase soaking time to 1 hour and cook for 45 minutes. The texture will be chewier but still works for sushi. 💪
Spicy Sriracha Mix
Add 1 tbsp sriracha and 1 tsp sesame oil to your sushi-zu for a kick. The heat pairs perfectly with the sweetness of mirin. I love this with spicy tuna rolls. The rice takes on a beautiful pink hue.
Citrus Infusion
Zest 1 lemon or lime into your seasoning mixture for a bright twist. The citrus oils add a refreshing note that cuts through rich fish. Works wonderfully with salmon nigiri. 🌟
Black Rice Version
Use black sushi rice (forbidden rice) for dramatic color. Rinse until water runs clear, then cook with the same 1:1.1 ratio. The deep purple-black grains make stunning sushi. Expect a slightly firmer bite.
Coconut Rice
Replace ½ cup water with coconut milk for a tropical twist. The rice will have a subtle coconut aroma. I recommend pairing with shrimp or mango for a fusion experience.
Herb-Flecked Rice
Fold in 2 tbsp chopped cilantro or 1 tbsp finely minced chives after seasoning. The fresh herbs add vibrant color and complement seafood beautifully. Works great in hand rolls.
Nutrition Facts
Frequently Asked Questions
Why must the rice be rinsed until water runs clear?
Rinsing removes excess starch that would make the rice mushy. Stop when water runs clear, usually after 4-5 rinses. This ensures each grain stays distinct yet sticky enough for sushi.
Can I make this without a rice cooker?
Yes! Use a heavy pot with a tight lid. Bring to boil, then reduce to low heat for 15 minutes. Turn off heat and let steam 10 minutes without peeking. The results will be just as good.
How do I fix rice that’s too dry?
Sprinkle 1-2 tbsp warm water over the rice, cover, and let sit for 5 minutes. Then gently fold. If needed, repeat once more. Avoid adding too much at once.
Can I prepare the rice ahead of time?
Best used immediately, but you can hold it warm for 2 hours covered with a damp towel. Never refrigerate—it dries out the grains and ruins the texture.

- Lump Rice Recipe Sri Lanka: Traditional Island-Style Texture - November 4, 2026
- Laos Sticky Rice Recipe: Traditional Steamed Perfection - November 4, 2026
- Magic Rice Recipe: One-Pot Aromatic Wonder - November 4, 2026