
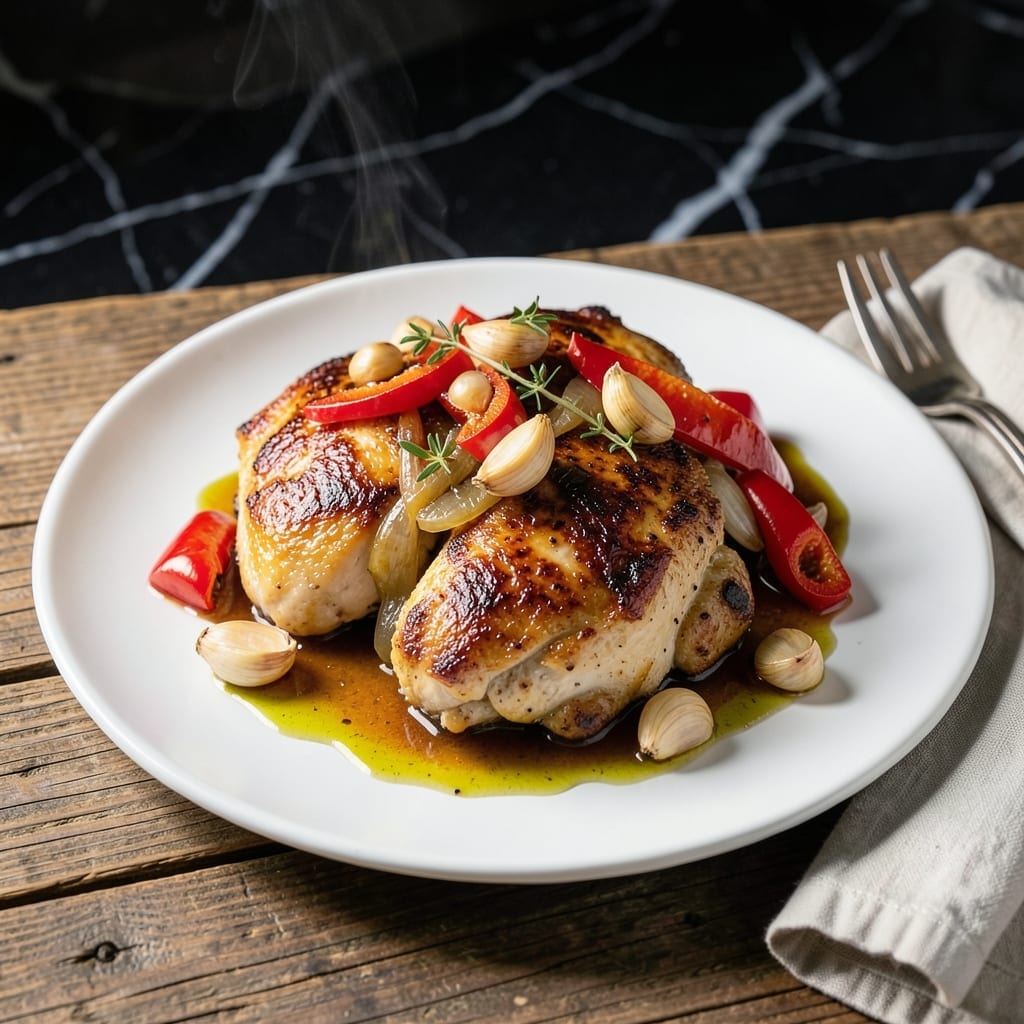
This recipe brings the signature fire-grilled taste of Longhorn Steakhouse into your kitchen with a simple method that anyone can master. The secret lies in a well-balanced marinade and precise grilling technique that locks in moisture and flavor.
I developed this version after countless attempts to replicate that smoky, char-grilled flavor at home. The key is using a two-step process: first marinating the chicken, then grilling it over medium-high heat to achieve those distinctive grill marks.
What you get is juicy, tender chicken with a slightly charred exterior that delivers that unmistakable steakhouse flavor. The marinade infuses every bite with a blend of savory, slightly sweet, and smoky notes.
Serve it with classic sides for a complete meal that tastes like it came straight from the restaurant. Here is everything you need to get started.
Ingredients for Longhorn Chicken
Pantry staples and a quick marinade deliver that iconic fire-grilled taste right at home.
| Ingredient | Amount | Notes |
|---|---|---|
| Boneless Skinless Chicken Breasts 🍗 | 1 ½ lb | Pounded to even thickness |
| Olive Oil 🫒 | ½ cup | Extra-virgin for marinade |
| Soy Sauce 🥫 | ¼ cup | Low-sodium preferred |
| Apple Cider Vinegar 🍏 | 2 tbsp | Balances sweetness |
| Brown Sugar 🍚 | 2 tbsp | Packed for marinade |
| Garlic Cloves 🧄 | 4 cloves | Minced for depth |
| Worcestershire Sauce 🥫 | 1 tbsp | Adds umami complexity |
| Smoked Paprika 🌶️ | 1 tsp | For signature smokiness |
| Black Pepper 🌶️ | 1 tsp | Freshly ground preferred |
| Kosher Salt 🧂 | 1 tsp | Diamond Crystal recommended |
| Lemon Juice 🍋 | 1 tbsp | Freshly squeezed brightness |
| Dijon Mustard 🟡 | 1 tbsp | Smooth, not whole grain |
The chicken is the star here. Boneless, skinless breasts work best—Costco has great quality in bulk. Pound them to even thickness (about 3/4 inch) so they cook evenly and pick up those grill marks. For the soy sauce, Kikkoman is reliable, but any low-sodium version prevents the marinade from getting too salty. The smoked paprika is non-negotiable—it’s what gives that Longhorn signature char.
No Worcestershire? Soy sauce plus a dash of liquid smoke gets you close. Out of apple cider vinegar? White vinegar in a pinch (but add a pinch of sugar to balance). The Dijon can be swapped for yellow mustard if that’s what’s in the fridge. If you’re avoiding sugar, honey or maple syrup works but adjust the sweetness to taste.
Marinate the chicken for at least 4 hours, but overnight is ideal. Keeps in the fridge for 2 days before cooking. Leftovers? They reheat surprisingly well—store in an airtight container for up to 4 days.
Why You’ll Love This Recipe
- One Pan Wonder: Five ingredients, one skillet, and 20 minutes is all it takes to get this on the table.
- Sweet & Tangy: The brown sugar and apple cider vinegar create that sticky, crave-worthy glaze that coats every bite.
- Weeknight Hero: I make this on Mondays when I’m already dreading cooking—it’s that reliable.
- Budget Stretch: Boneless chicken breasts stay affordable, and this recipe makes them taste like a million bucks. Honestly, it’s my go-to for feeding four without breaking the bank.
Step-by-Step Instructions for Longhorn Chicken
Here’s the method. Straightforward, tested, works every time.
Step 1: Prepare and Marinate the Chicken
Place the 1.5 lb boneless skinless chicken breasts between plastic wrap and pound to an even ½-inch thickness with a meat mallet. This ensures even cooking and prevents dry spots. Transfer to a resealable bag.
In a bowl, whisk together the 0.5 cup olive oil, 0.25 cup soy sauce, 2 tbsp apple cider vinegar, 2 tbsp brown sugar, 1 tbsp Worcestershire sauce, 1 tbsp lemon juice, 1 tbsp Dijon mustard, 1 tsp smoked paprika, 1 tsp kosher salt, and 1 tsp black pepper until the brown sugar dissolves.
Add the 4 cloves minced garlic cloves and pour the marinade over the chicken. Seal and refrigerate for at least 4 hours, preferably overnight. The longer it marinates, the deeper the flavor.
Step 2: Preheat and Prepare the Grill
Remove the chicken from the refrigerator and let it sit at room temperature for 30 minutes while you preheat your grill. This takes the chill off so it cooks evenly. Clean your grill grates thoroughly—you want a pristine surface for those perfect grill marks.
Preheat your grill to medium-high heat (about 400°F). If using charcoal, spread the coals in an even layer; for gas, turn all burners to medium-high. Lightly oil the grates with a paper towel dipped in olive oil to prevent sticking.
Step 3: Grill the Chicken to Perfection
Remove the chicken from the marinade, letting excess drip off, and place it on the hot grill. Close the lid and cook undisturbed for 5-6 minutes until you see distinct grill marks and the edges start to turn opaque.
Flip the chicken and cook for another 5-6 minutes with the lid closed. The chicken is done when the internal temperature reaches 165°F and the juices run clear. Don’t press the chicken with your spatula—this squeezes out the juices.
If flare-ups occur, move the chicken to a cooler part of the grill temporarily. You want a nice char, not burnt edges.
Step 4: Rest and Serve
Transfer the grilled chicken to a cutting board and tent loosely with foil. Let it rest for 5-10 minutes—this step is crucial as it allows the juices to redistribute throughout the meat, ensuring every bite is moist and flavorful.
Slice the chicken against the grain into ½-inch thick strips. The marinade caramelizes beautifully during grilling, giving you that signature smoky-sweet flavor with a slight char. Serve immediately with your favorite sides.
Pro Tips For Making Longhorn Chicken
- Pound the Chicken: Use a meat mallet to even out the chicken breasts to ½-inch thickness—this guarantees they cook through at the same rate and soak up the soy-vinegar marinade better.
- Bloom the Sugar: Heat the brown sugar in the olive oil for 30 seconds before adding liquids; I learned this the hard way—it melts smoother and caramelizes more evenly on the chicken.
- Skip the Overcrowding: Cook the chicken in batches if needed—steam from crowded pans turns the brown sugar glaze into a sad, watery mess instead of that sticky, glossy coating.
- Rest Before Slicing: Give it a solid 5 minutes under foil after cooking; it keeps the juices inside where they belong, not all over your cutting board.
Make-Ahead Tips for This Dish
Marinade Prep Ahead
I always mix the marinade the night before and store it in the fridge. The flavors meld better with 24 hours to develop. Use a glass jar for easy mixing and storage. 💡
Chicken Prep Timeline
Pound and marinate the chicken in the morning if cooking for dinner. This gives it 8-10 hours to soak up all those smoky, savory notes. Keep it in a resealable plastic bag to save space.
Overnight Option
For maximum flavor, prep everything the night before. The chicken can marinate safely for up to 48 hours. Just ensure it stays at 40°F or below in your fridge.
Partial Prep Shortcut
If short on time, at least pound the chicken and mix the marinade ahead. Then combine them 4 hours before grilling. This still makes a noticeable difference in flavor and texture.
Grill Prep Advance
Clean and oil your grill grates after each use. This makes your next cookout easier and prevents sticking. I keep a grill brush and tongs handy for quick prep. 🔥
Side Dish Coordination
While the chicken marinates, prep your sides. Baked potatoes or grilled veggies can be prepped 2-3 hours ahead and finished while the chicken cooks.
Nutrition Facts
Frequently Asked Questions
What’s the best way to pound chicken evenly?
Place chicken between plastic wrap and use a meat mallet to pound to ½-inch thickness. This prevents dry spots and ensures even cooking. Start from the center and work outward for uniform thickness.
Can I use chicken thighs instead of breasts?
Yes! Thighs stay juicier due to higher fat content. Adjust cooking time to 6-7 minutes per side and ensure internal temp reaches 165°F. They’ll pick up grill marks beautifully.
How do I prevent flare-ups on the grill?
Trim excess fat from chicken and keep a spray bottle of water nearby. If flames appear, move chicken to a cooler part of the grill temporarily. Avoid pressing with a spatula to reduce grease drippings.
Can I bake this instead of grilling?
Bake at 400°F for 18-20 minutes on a wire rack. Broil for the last 2 minutes to mimic char marks. The flavor will be slightly different but still delicious.

- Jollof Rice Sauce Recipe: West African Tomato and Spice Infusion - September 25, 2026
- Japanese Rice Soup Recipe: Umami-Rich Comfort in a Bowl - September 25, 2026
- Homemade Cream Of Rice Recipe: Silk-Smooth Breakfast in Minutes - September 25, 2026