
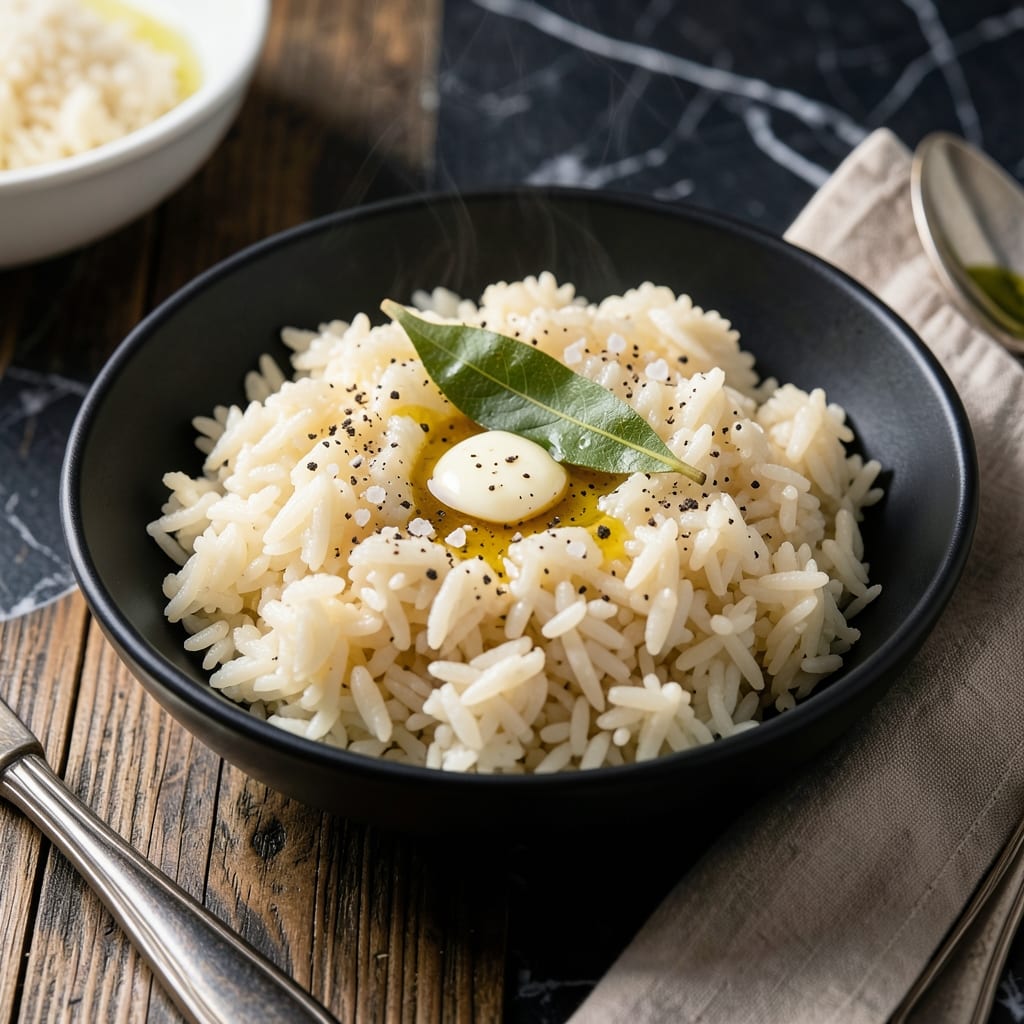
There’s a reason Marsh Hen Mill rice has been a Lowcountry staple for generations. This recipe honors that tradition with a simple, foolproof method to bring out its natural buttery flavor and delicate texture.
Cooking it with precision ensures each grain stays separate yet tender, absorbing just enough liquid to plump without turning mushy. The result is rice that tastes as rich in history as it does on the plate.
Perfect as a base for seafood, stews, or simply served with a pat of butter, it adapts to any meal while staying true to its roots. The process is straightforward, but the flavor is anything but ordinary.
Here’s how to make it right.
Ingredients for Marsh Hen Mill Rice
A handful of simple ingredients let this heritage rice shine with its natural richness and texture.
| Ingredient | Amount | Notes |
|---|---|---|
| Marsh Hen Mill White Rice 🌾 | 2 cups | Long-grain Carolina Gold preferred |
| Water 💧 | 4 cups | Filtered for best texture |
| Unsalted Butter 🧈 | 2 tbsp | For finishing, optional |
| Kosher Salt 🧂 | 1 tsp | Diamond Crystal preferred |
| Freshly Ground Black Pepper 🌶️ | ½ tsp | To taste |
| Bay Leaf 🍃 | 1 whole | Dried, for aroma |
| Garlic Cloves 🧄 | 2 cloves | Smashed, optional |
| Fresh Thyme Sprigs 🌿 | 2 whole | Optional for depth |
| Chicken Stock 🍲 | 1 cup | Low-sodium preferred |
| Lemon Zest 🍋 | ½ tsp | For brightness |
The rice is the star here. Marsh Hen Mill’s Carolina Gold is the gold standard—look for it at Southern specialty stores or online. Its buttery flavor and firm texture are unmatched. For liquid, filtered water prevents any off-flavors from interfering with the rice’s purity. The stock adds depth, but homemade or high-quality store-bought makes a difference.
No Carolina Gold? Any long-grain white rice works, though the texture won’t be identical. Skip the butter if avoiding dairy—olive oil adds a nice finish too. For extra aroma, a splash of white wine in place of some water adds complexity. The bay leaf and thyme are subtle but worth it (don’t skip the bay—it ties everything together).
Uncooked rice keeps in a cool, dark pantry for 1-2 years. Cooked rice holds in the fridge for 4-5 days or freezes for 6 months. Reheat with a splash of water to revive the grains’ fluffiness.
Why You’ll Love This Recipe
- One Pot Magic: I just dump the rice, water, butter, and a pinch of salt in a pot—no babysitting required.
- Buttery Comfort: The unsalted butter melts right in, giving every grain a rich, smooth finish that’s hard to resist.
- Feeds the Week: I make a big batch on Sunday and it pairs perfectly with everything from grilled chicken to roasted veggies all week long.
- Budget Stretch: Honestly, it’s filling, delicious, and costs pennies per serving—my wallet thanks me.
Step-by-Step Instructions for Marsh Hen Mill Rice
This traditional Lowcountry method highlights the rice’s natural richness and aroma.
Step 1: Rinse and Prepare the Marsh Hen Mill White Rice
Place the 2 cups Marsh Hen Mill White Rice in a fine-mesh strainer and rinse under cold running water until the water runs clear. This removes excess starch and prevents the grains from becoming gummy during cooking.
Rinsing also helps preserve the individual grain structure, which is essential for achieving that perfect fluffy texture. Shake the strainer gently to remove as much water as possible before proceeding to the next step.
Step 2: Combine Ingredients and Bring to a Boil
In a medium saucepan with a tight-fitting lid, combine the rinsed 2 cups Marsh Hen Mill White Rice, 4 cups Water, 1 cup Chicken Stock, 1 tsp Kosher Salt, 0.5 tsp Freshly Ground Black Pepper, 1 whole Bay Leaf, 2 cloves Garlic Cloves, and 2 whole Fresh Thyme Sprigs.
Bring the mixture to a rolling boil over high heat. Watch for the liquid to bubble vigorously and the rice to begin plumping slightly. This step ensures the grains start absorbing liquid immediately.
Step 3: Simmer Until Tender and Absorbs Liquid
Once boiling, reduce the heat to low, cover the saucepan with the lid, and let it simmer undisturbed for 18-20 minutes. The steam trapped inside is what cooks the rice evenly.
Check at the 18-minute mark—when the liquid has been absorbed and the grains are tender with no chalky center, it’s done. If it’s still firm, cook for another 2-3 minutes and check again.
Step 4: Rest and Finish with Citrus and Butter
Remove the saucepan from heat and let it sit, covered, for 10 minutes. This resting period allows the rice to steam in its own moisture, ensuring even tenderness throughout.
After resting, discard the Bay Leaf and Thyme Sprigs. Gently fluff the rice with a fork, then stir in the 2 tbsp Unsalted Butter and 0.5 tsp Lemon Zest. The butter adds richness while the zest provides a bright, fresh finish.
Pro Tips For Making Marsh Hen Mill Rice
- Rinse the Rice: Marsh Hen Mill rice can be starchy—give it a quick rinse under cold water until the water runs clear to prevent gummy texture.
- Toast the Grains: Before adding water, melt the unsalted butter in the pot, then stir the rice in it for 1-2 minutes until fragrant; I learned this the hard way—skipping it leaves the dish flat.
- Use the Right Ratio: For this rice, 1.5 cups water per 1 cup rice is the sweet spot; more and it’s mushy, less and you’ll be scraping burnt bits off the bottom.
- Let It Steam: Once the water’s absorbed, turn off the heat, cover, and let it sit for 10 minutes—sounds weird, but it works: the grains fluff up perfectly every time.
Troubleshooting This Recipe
Rice Too Firm
If your grains are still chalky after 20 minutes, add ¼ cup hot water or stock and cook for another 3-5 minutes. Always check the liquid level before assuming it’s done—Lowcountry rice needs ample moisture to soften properly. 💡
Mushy Texture
Mushy rice usually means too much liquid or stirring during cooking. Use a 1:2 rice-to-liquid ratio and resist the urge to stir. If it’s already mushy, spread it on a baking sheet to dry slightly before serving.
Burnt Bottom
This happens when heat is too high or the pot is too thin. Use a heavy-bottomed saucepan and keep heat at low once simmering. If it burns, immediately transfer rice to a new pot with fresh liquid.
Bland Flavor
Boost flavor by toasting the rice in 1 tbsp butter for 2 minutes before adding liquid. Also, ensure you’re using low-sodium stock and finish with lemon zest for brightness.
Uneven Cooking
If some grains are done while others aren’t, your heat may be uneven. Use a diffuser under the pot or switch to a burner with a more consistent flame. Stirring once halfway can help.
Liquid Not Absorbing
If liquid remains after 20 minutes, remove the lid and cook for 2-3 minutes on medium-low heat. This evaporates excess moisture while preventing overcooking. 🔥
Nutrition Facts
Frequently Asked Questions
Can I use a different type of rice?
Yes, but long-grain white rice works best for similar texture. Jasmine or basmati can substitute, though the cook time may need 2-3 minutes adjustment. Avoid instant rice as it lacks the same structure.
Why rinse the rice first?
Rinsing removes excess starch, preventing sticky or gummy grains. For this heritage variety, it ensures each kernel stays separate and absorbs liquid evenly. Skip this step only if using pre-rinsed rice.
How do I know when it’s done?
The rice is ready when all liquid is absorbed and grains are tender with no chalky center. Check at 18 minutes—if still firm, cook 2-3 minutes longer. Never stir while cooking.

- Peri Peri Rice Recipe: Spicy Portuguese One-Pot Harmony - November 6, 2026
- Mexican Flavoured Rice Recipe: Authentic Spice-Infused One-Pot Meal - November 6, 2026
- Lao Gan Ma Fried Rice Recipe: Spicy Wok-Tossed Perfection - November 6, 2026