
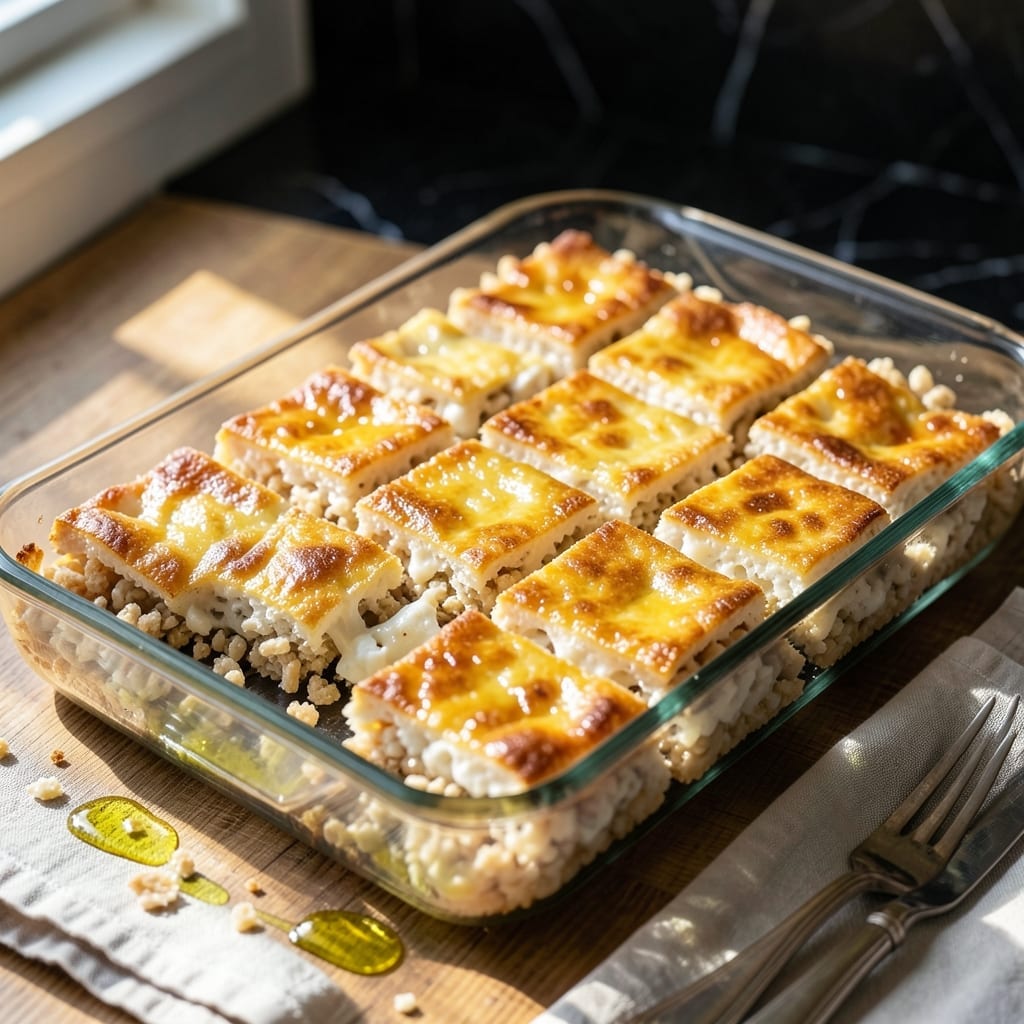
I’ve refined this classic recipe to deliver the perfect balance of texture in every bite. The key lies in precise timing and technique to achieve those coveted buttery crisp edges surrounding pillowy soft centers.
This method ensures the marshmallows melt evenly without burning, while the cereal absorbs just enough coating to hold its shape. A small but critical detail makes all the difference in the final texture.
What results is a treat that stays fresh for days, with each square offering a satisfying contrast between the slightly firm exterior and marshmallow-soft interior.
Simple ingredients and straightforward steps yield professional-quality results every time. The process takes less than 20 minutes from start to finish.
Ingredients for Marshmallow Rice Treats
Eight simple ingredients create these nostalgic treats with professional texture contrast.
| Ingredient | Amount | Notes |
|---|---|---|
| Mini Marshmallows ⚪ | 10 oz | About 6 cups, fresh for best melt |
| Rice Krispies Cereal 🥣 | 6 cups | Classic variety preferred |
| Unsalted Butter 🧈 | ½ cup | For even melting and coating |
| Vanilla Extract 💧 | 1 tsp | Pure extract for best flavor |
| Sea Salt 🧂 | ¼ tsp | Fine grain for even distribution |
| Cooking Spray 🥫 | 1 can | For greasing pan and utensils |
| Granulated Sugar 🍚 | 1 tbsp | Optional for extra sweetness |
| Light Corn Syrup 🧃 | 1 tbsp | Helps prevent crystallization |
The butter quality is non-negotiable here. European-style unsalted butter (like Plugrá or Kerrygold) has higher fat content for superior crispness on the edges. Mini marshmallows melt more evenly than large ones—Kraft Jet-Puffed are the standard. For cereal, Kellogg’s Rice Krispies have the perfect snap, but store brands work in a pinch. Avoid stale cereal at all costs (check the box date).
No mini marshmallows? Cut large ones into quarters—just melt them slowly to prevent scorching. Need a vegan version? Dandies brand marshmallows work perfectly. Out of corn syrup? Honey or agave at the same ratio keeps the texture smooth. For a gourmet touch, swap vanilla for almond extract (use half the amount). The salt can be omitted, but it enhances all the flavors.
Store finished treats in an airtight container at room temperature for up to 3 days. For longer storage, wrap individual squares in parchment and freeze for 6 weeks. Press gently when cutting—don’t compress or they’ll lose that pillowy center. Always use a well-greased pan and spatula to prevent sticking.
Why You’ll Love This Recipe
- One Bowl Wonder: I melt the butter and marshmallows in the same pot I mix everything in—no extra dishes to wash.
- Goey Perfection: The mini marshmallows melt faster and create that stretchy, cloud-like texture that clings to every crispy bite.
- Crowd Pleaser: I’ve served these at birthdays, bake sales, and even just because—kids and adults always come back for seconds.
- Budget Friendly: Five ingredients, most of which I already have in my pantry, and it makes a big batch for pennies per serving.
Step-by-Step Instructions for Marshmallow Rice Treats
Master the technique for achieving that coveted contrast of textures in every square.
Step 1: Prepare the Pan and Melt the Butter
Lightly coat a 9×13-inch baking dish with cooking spray, ensuring all surfaces are covered. This creates a non-stick barrier that prevents the mixture from adhering to the pan, making it easier to remove and cut into clean squares later.
In a large, heavy-bottomed pot, melt the 0.5 cup unsalted butter over low heat. I prefer using a light-colored pot for this step, as it allows you to monitor the butter’s color more easily, ensuring it melts without browning.
Step 2: Create the Marshmallow Mixture
Once the butter is fully melted, add the 10 oz mini marshmallows, 1 tbsp granulated sugar, and 1 tbsp light corn syrup. Stir constantly with a heatproof spatula. The sugar and corn syrup work in tandem to create a smoother, more stable mixture that resists crystallization.
Continue stirring until the mixture becomes completely smooth and homogeneous, with no visible marshmallow lumps. This usually takes 5-7 minutes over low heat. Remove from heat and immediately stir in the 1 tsp vanilla extract and 0.25 tsp sea salt for balanced sweetness and depth.
Step 3: Incorporate the Cereal
Working quickly, add all 6 cups Rice Krispies cereal to the pot. Use the same spatula to fold the cereal into the marshmallow mixture, pressing gently to ensure every piece is thoroughly coated. The cereal will begin to soften as it absorbs the warm mixture.
The key here is to work efficiently—the mixture will begin to set as it cools. You want to achieve complete coverage before it starts to firm up. If the mixture seems too thick to fold easily, return the pot to low heat for 30-60 seconds to loosen it slightly.
Step 4: Press and Shape with Precision
Transfer the mixture to the prepared baking dish. Lightly coat your hands or a spatula with additional cooking spray to prevent sticking. Press the mixture evenly into the pan, applying firm, consistent pressure to create a uniform layer.
For the signature buttery crisp edges, press slightly harder along the perimeter of the pan. This compression creates a denser edge that will crisp up beautifully as it sets. Allow the treats to cool at room temperature for 30-45 minutes until fully firm.
Step 5: Cut and Serve
Once completely cool and set, use a sharp knife to cut into squares. For clean cuts, dip the knife in hot water and wipe it between each slice. This prevents the mixture from sticking to the blade and dragging through the treats.
Store in an airtight container at room temperature for up to 3 days. The treats are best enjoyed the same day, when the contrast between the crisp edges and pillowy centers is most pronounced. Serve at room temperature for optimal texture.
Pro Tips For Making Marshmallow Rice Treats
- Melt Butter Low: Keep the heat on low when melting the butter and marshmallows—I learned this the hard way after scorching a batch that tasted like burnt sugar.
- Use Fresh Marshmallows: Skip the stale mini marshmallows; fresh ones melt smoother and give that perfect gooey texture every time.
- Press While Warm: Don’t wait for the mixture to cool before pressing it into the pan, or it’ll turn rock-hard—work fast while it’s still sticky and pliable.
- Add Vanilla Last: Stir in the vanilla extract after removing from heat; high heat can dull its flavor, and you’ll actually taste the difference.
Regional Styles of marshmallow rice treats
Southern Pecan Twist
In the South, we add ½ cup chopped pecans to the cereal before mixing. Toast them first in a dry skillet over medium heat for 3-4 minutes to bring out their rich, buttery flavor. This adds a delightful crunch that complements the pillowy centers. 💛
Midwest Marshmallow Madness
Midwestern bakers love using jet-puffed marshmallows with a splash of almond extract instead of vanilla. The almond adds a subtle depth that pairs beautifully with the buttery cereal. Some even mix in ½ cup mini chocolate chips for a sweeter twist.
West Coast Health Swap
On the West Coast, you’ll find versions with puffed brown rice cereal and coconut oil replacing butter. I’ve also seen recipes using agave syrup instead of corn syrup for a slightly lighter take. The texture is a bit different but still delicious.
Northeast Nostalgia
New England bakers often stick to the classic but add 1 tbsp cinnamon to the marshmallow mixture for a warm, spiced flavor. Some even dust the finished treats with a bit of powdered sugar for a bakery-style finish. It reminds me of childhood visits to my grandmother’s kitchen.
Texas Bold Flavor
Everything’s bigger in Texas, including the flavor in these treats. Try adding 1 tsp instant coffee granules to the marshmallow mix for a mocha-like depth. Or, for a spicy kick, sprinkle ½ tsp cayenne pepper into the cereal before combining. 🔥
Pacific Northwest
In the Pacific Northwest, local honey often replaces corn syrup, and toasted hazelnuts substitute for pecans. The honey adds a floral note, while the hazelnuts bring a rich, earthy crunch. It’s a perfect reflection of the region’s love for natural, artisanal ingredients.
Nutrition Facts
Frequently Asked Questions
Can I use regular marshmallows instead of mini?
Yes, cut large marshmallows into quarters before melting. They’ll melt slower, so use low heat and stir constantly to prevent scorching. Mini marshmallows melt more evenly, but the regular ones work in a pinch.
Why did my treats turn out hard?
Overcooking the marshmallow mixture or pressing too firmly when shaping can cause hardness. Melt over low heat just until smooth and press gently into the pan. Let cool completely before cutting.
How can I make them vegan?
Swap regular marshmallows for vegan brands like Dandies and use coconut oil instead of butter. The texture and flavor remain nearly identical. Ensure all ingredients are certified vegan.
How long do they stay fresh?
Store in an airtight container at room temperature for up to 3 days. For longer storage, wrap individual squares and freeze for up to 6 weeks. Thaw at room temperature before serving.

- Mujadara Rice and Lentils Recipe: Earthy Spiced Lentils With Caramelized Onions - November 1, 2026
- Naija Fried Rice Recipe: Street-Style Spice With Veggie Crunch - November 1, 2026
- Mushy Rice Recipe: Fluffy Grains Transformed in Minutes - November 1, 2026