
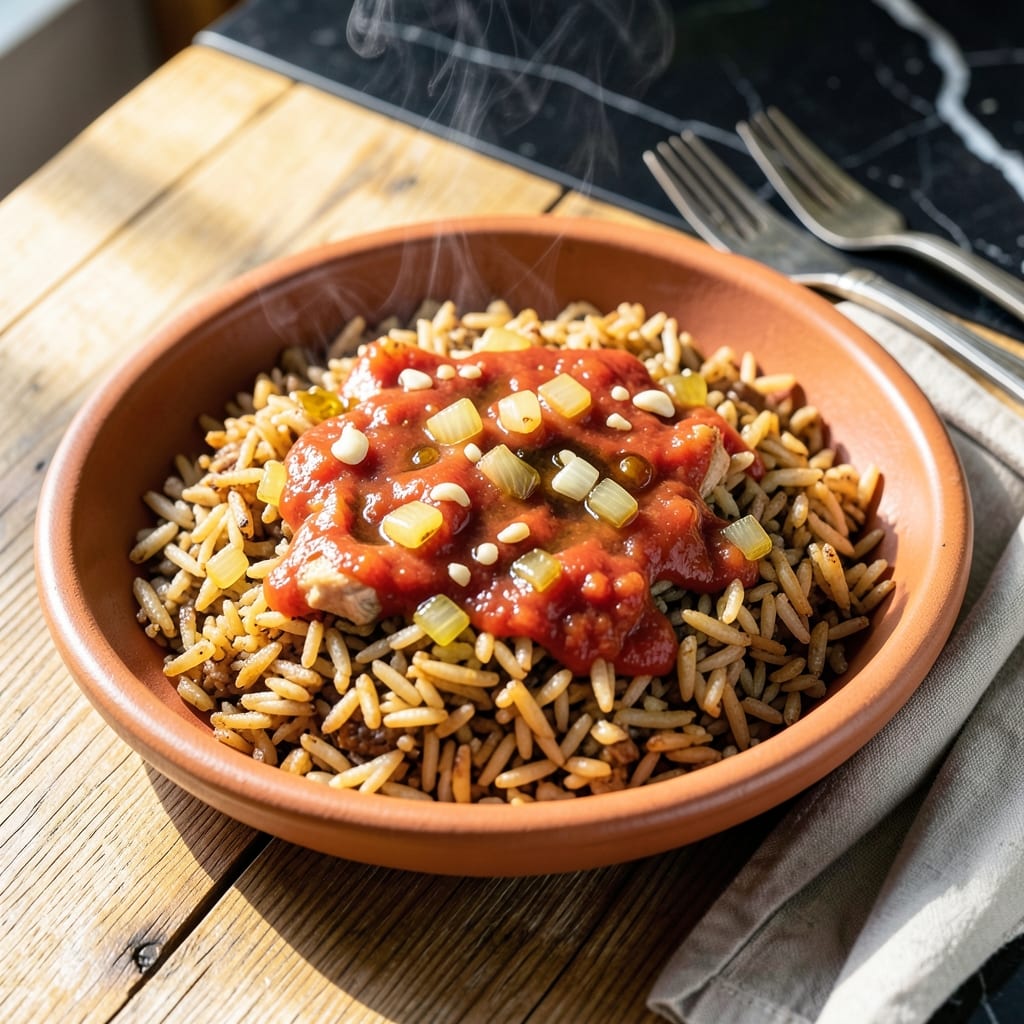
Achieving restaurant-style Mexican rice at home requires attention to detail and authentic technique. This version delivers the signature vibrant color and rich tomato flavor you expect from your favorite eatery.
The secret lies in toasting the rice first, which creates a nutty base and prevents mushiness. I use a blend of tomato sauce and chicken broth for depth, with garlic and onion for aromatic complexity.
You’ll end up with perfectly fluffy grains, each infused with smoky, savory flavor. The rice stays separate and light, never sticky or clumpy, just like the authentic version served in Mexican restaurants.
This method takes about 30 minutes and uses simple pantry staples. The results will rival any restaurant plate.
Ingredients for Mexican Rice Recipe Restaurant Style
Pantry staples and fresh herbs create this vibrant, restaurant-quality dish at home.
| Ingredient | Amount | Notes |
|---|---|---|
| Long-Grain White Rice 🍚 | 2 cups | Rinsed until water runs clear |
| Tomato Sauce 🍅 | 1 cup | Use high-quality canned |
| Chicken Broth 🥣 | 3 cups | Low-sodium preferred |
| Yellow Onion 🧅 | 1 whole | Finely diced |
| Garlic Cloves 🧄 | 3 cloves | Minced finely |
| Vegetable Oil 🫒 | ¼ cup | Or any neutral oil |
| Ground Cumin 🌿 | 1 tsp | Toasted lightly for depth |
| Dried Oregano 🍃 | 1 tsp | Mexican oregano ideal |
| Bay Leaf 🌿 | 1 whole | Removed before serving |
| Salt 🧂 | 1 ½ tsp | Adjust to taste |
| Fresh Cilantro 🌿 | ¼ cup | Chopped, for garnish |
| Lime 🍋 | 1 whole | Juiced, for brightness |
| Green Peas 🌱 | ½ cup | Fresh or frozen |
| Carrot 🥕 | 1 whole | Finely diced for texture |
The rice is the foundation, so long-grain white rice is non-negotiable—jasmine or basmati won’t give you that classic Mexican restaurant texture. Tomato sauce should be good quality (I like Hunts or Muir Glen), and the chicken broth needs to be low-sodium so you can control the seasoning. Fresh cilantro and lime at the end are the flavor brighteners that make it taste authentic.
No tomato sauce? Blended canned tomatoes work in a pinch. Vegetable broth can swap for chicken broth to keep it vegetarian. Out of cumin? Add a pinch of coriander for warmth. The peas and carrots are classic additions (frozen works perfectly), but you can skip them for a simpler version. Just don’t skip toasting the rice—that’s what gives it the nutty base.
Leftovers keep well for 4-5 days in the fridge and reheat beautifully. The rice actually tastes better the next day once flavors meld. Freeze for up to 3 months if you’ve got extras (portion into bags for easy meals).
Why You’ll Love This Recipe
- One Pot Magic: I toss everything in a single skillet—rice, tomato sauce, broth—and let it simmer hands-off. No fancy techniques, just flavor.
- Garlic-Kissed Depth: The sizzling garlic and onions in the broth give it that restaurant-quality richness I crave.
- Meal Prep MVP: I make a big batch Sunday and it reheats beautifully for lunches all week. (Yes, even on a Tuesday night)
- Budget Stretcher: A pound of rice and pantry staples feed my family for days. Honestly, it’s my go-to when the wallet’s feeling light.
Step-by-Step Instructions for Mexican Rice Restaurant Style
This authentic process delivers the perfectly fluffy texture and vibrant flavor you expect from your favorite spot.
Step 1: Toast the Rice to Nutty Perfection
Heat 0.25 cup Vegetable Oil in a large skillet over medium-high heat. Add the 2 cups Long-Grain White Rice and spread it into an even layer. Let it toast undisturbed for 3-4 minutes until the edges turn golden brown and you catch a nutty aroma.
Stir the rice and continue toasting for another 2-3 minutes until uniformly light golden. This step is non-negotiable—it creates a flavor base that defines authentic Mexican rice. Watch closely; it goes from perfect to burnt quickly.
Step 2: Build the Flavor Foundation
Add the finely diced Yellow Onion and cook for 3 minutes until it becomes translucent. Stir in the minced Garlic Cloves and cook for 30 seconds until fragrant—don’t let it brown or it’ll turn bitter.
Pour in the 1 cup Tomato Sauce, 1 tsp Ground Cumin, 1 tsp Dried Oregano, and 1.5 tsp Salt. Cook for 2 minutes, stirring constantly, until the mixture darkens slightly and thickens. This creates the rich, brick-red color characteristic of restaurant-style rice.
Step 3: Simmer with Broth and Vegetables
Carefully pour in the 3 cups Chicken Broth, then add the 1 whole Bay Leaf, finely diced Carrot, and 0.5 cup Green Peas. Stir to combine and bring to a gentle boil over medium-high heat.
Once boiling, reduce heat to low, cover, and simmer for 20-25 minutes. Don’t peek during this time—releasing steam disrupts the cooking process. You’ll know it’s done when the liquid is fully absorbed and the rice is tender.
Step 4: Rest and Finish for Maximum Flavor
Remove from heat and let the rice rest, covered, for 10 minutes. This allows the grains to steam and become perfectly fluffy. Discard the Bay Leaf before serving.
Gently fluff the rice with a fork, then stir in the juice of 1 whole Lime. Transfer to a serving dish and garnish with 0.25 cup Fresh Cilantro. The lime brightens all the flavors, while the cilantro adds the fresh finish that makes this dish genuinely authentic.
Pro Tips For Making Mexican Rice Recipe Restaurant Style
- Toast the Rice: Cook the rice in oil until golden brown—about 5-7 minutes—before adding liquids. I learned this the hard way after ending up with mushy rice more times than I care to admit.
- Use Hot Broth: Pour in chicken broth that’s already simmering, not cold, to keep the cooking temperature steady and prevent starchy, gummy rice.
- Skip the Rinsing: Don’t rinse the long-grain white rice first; the starch actually helps create that classic restaurant-style texture.
- Bloom the Garlic: Sauté the minced garlic in the oil just until fragrant—about 30 seconds—then add the onion to avoid bitter, burnt bits in your final dish.
Common Mistakes When Making This Dish
Skipping the Toast
I can’t stress this enough—never skip toasting the rice. This step creates that nutty base flavor and prevents mushy grains. Without toasting, your rice will lack depth and may turn gummy. I use medium-high heat and watch closely to avoid burning. 🌡️
Overcrowding the Pan
Use a large skillet or Dutch oven to give the rice room to toast evenly. If you crowd the pan, the rice will steam instead of brown. I recommend at least a 12-inch skillet for 2 cups of rice to ensure proper toasting and cooking.
Peeking While Cooking
Once you cover the rice to simmer, resist the urge to peek. Every time you lift the lid, you release steam, which lowers the temperature and disrupts the cooking process. Keep it covered for the full 20-25 minutes for perfectly fluffy results.
Wrong Rice Choice
Long-grain white rice is essential for that classic restaurant texture. Jasmine or basmati rice won’t give you the right consistency. I’ve tried other varieties, and they either turn mushy or stay too firm. Stick with long-grain white rice for authentic results.
Over-Stirring
After adding the broth, give it a good stir to combine, but then leave it alone. Over-stirring can break the grains and make the rice mushy. Just cover and let it simmer undisturbed until the liquid is absorbed and the rice is tender.
Skipping the Rest
Let your rice rest covered for 10 minutes after cooking. This allows the grains to steam and become perfectly fluffy. Skipping this step can leave you with dense, sticky rice. I always set a timer to remind myself. 💡
Nutrition Facts
Frequently Asked Questions
Why do I need to toast the rice first?
Toasting creates a nutty base flavor and prevents mushy grains. This step is essential for authentic texture and depth. Skip it, and your rice will lack that signature restaurant taste.
Can I use brown rice instead?
No, long-grain white rice is required for the right texture. Brown rice has a different cooking time and won’t achieve the fluffy consistency. Stick to white for best results.
How do I keep the rice from sticking?
Use a large skillet and avoid stirring after adding broth. Letting it cook undisturbed with the lid on ensures even cooking and prevents sticking.
Can I make this ahead of time?
Yes! It actually tastes better the next day. Store in an airtight container in the fridge for up to 5 days or freeze for 3 months.

- Jollof Rice Sauce Recipe: West African Tomato and Spice Infusion - September 25, 2026
- Japanese Rice Soup Recipe: Umami-Rich Comfort in a Bowl - September 25, 2026
- Homemade Cream Of Rice Recipe: Silk-Smooth Breakfast in Minutes - September 25, 2026