
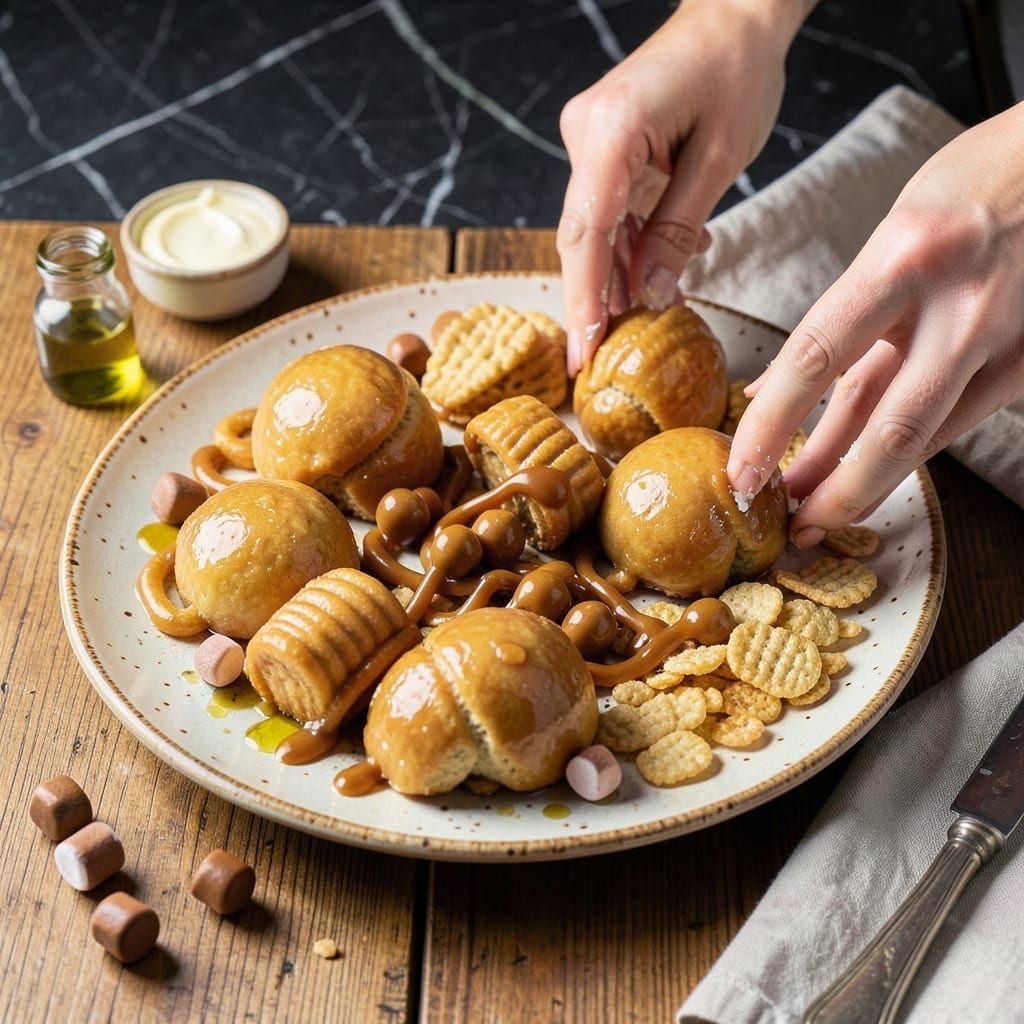
There’s something timeless about the combination of crispy rice cereal and melted marshmallows that brings out the kid in everyone. This recipe transforms simple ingredients into a versatile treat that can be shaped, molded, or pressed into any form you like.
The secret lies in the perfect balance of buttery richness and gooey marshmallow, creating a mixture that holds its shape without being sticky or overly dense. It’s a foolproof method that works every time, whether you’re making classic squares or creative shapes.
What you’ll end up with is a treat that’s crispy on the outside, soft on the inside, and endlessly customizable. It’s ideal for parties, lunchboxes, or a fun afternoon project with the kids.
Ready in 15 minutes, this recipe is as easy as it is delicious. Let’s get started.
Ingredients for Moldable Rice Krispie
Buttery marshmallows meet crispy rice cereal for a treat that holds its shape beautifully.
| Ingredient | Amount | Notes |
|---|---|---|
| Rice Krispies Cereal 🥣 | 6 cups | Crispy rice cereal, plain |
| Mini Marshmallows 🍬 | 10 oz | Or 4 cups regular marshmallows |
| Unsalted Butter 🧈 | ½ cup | 1 stick, for buttery richness |
| Vanilla Extract 🌿 | 1 tsp | Pure extract preferred |
| Salt 🧂 | ¼ tsp | Fine sea salt or table salt |
| Vegetable Shortening 🫒 | 1 tbsp | Optional, for extra moldability |
| Light Corn Syrup 💧 | 2 tbsp | Keeps mixture soft and pliable |
| Powdered Sugar 🍚 | ½ cup | For dusting molds if desired |
The butter quality matters here—Plugra or European-style offers superior flavor, but any unsalted butter works. Kellogg’s Rice Krispies are the gold standard for texture, though store brands are fine in a pinch. Mini marshmallows melt faster and more evenly than regular ones. Look for Jet-Puffed or Kraft brands for consistent results. The cereal should be fresh for maximum crispiness.
No mini marshmallows? Regular ones work fine (use 4 cups). Skipping vanilla? The flavor won’t be as deep, but it’s fine. Need a dairy-free version? Swap butter for Earth Balance or coconut oil. Corn syrup can be replaced with honey or agave, but texture may vary slightly. For extra moldability, the shortening is key—Crisco is the most reliable brand.
Store leftovers in an airtight container at room temperature for up to 3 days. For longer storage, freeze shaped treats on a baking sheet first, then transfer to a bag—they’ll keep for 6 weeks. Dust molds with powdered sugar if mixture sticks (worth the extra minute).
Why You’ll Love This Recipe
- One Pot Wonder: I melt the butter and marshmallows together, stir in the cereal, and boom—done. No oven, no fuss.
- Vanilla Kiss: The vanilla extract makes these taste like more than just sugar and crunch. Honestly, it’s the little touch that keeps me coming back.
- Shape Your Way: I press them into pans for squares, roll them into balls for parties, or even flatten into nests for holiday treats.
- Budget Hero: A box of cereal and a bag of marshmallows feed a crowd for pennies. I’ll be real: it’s my go-to for last-minute school events.
Step-by-Step Instructions for Moldable Rice Krispie Treats
Master the technique for perfectly moldable treats with a smooth, pliable texture every time.
Step 1: Melt and Combine the Base Ingredients
In a large saucepan, melt the 0.5 cup Unsalted Butter over low heat. Once fully melted, add the 10 oz Mini Marshmallows, 2 tbsp Light Corn Syrup, and 0.25 tsp Salt. Stir constantly with a silicone spatula until the mixture is completely smooth and glossy.
The corn syrup is crucial here—it prevents the marshmallows from becoming brittle when cooled, ensuring your final product stays soft and workable. Watch for the mixture to pull away slightly from the sides of the pan, a sign it’s ready for the next step.
Step 2: Incorporate Flavor and Cereal
Remove the saucepan from heat and immediately stir in the 1 tsp Vanilla Extract. Then add all 6 cups Rice Krispies Cereal at once. Fold gently but thoroughly with the spatula, ensuring every piece of cereal is evenly coated with the marshmallow mixture.
This step requires quick action—the marshmallow mixture begins to set as it cools. Work efficiently to maintain the cereal’s crispness while fully integrating it into the sticky base. The mixture should glisten and hold together when pressed.
Step 3: Add Shortening for Moldability
Once the cereal is fully incorporated, add the 1 tbsp Vegetable Shortening to the mixture. Fold it in completely—the shortening creates a more pliable texture that won’t stick to your hands or molds as you shape the treats.
I’ve found that this small addition makes a significant difference in workability, especially for intricate shapes or molds. The mixture should now feel slightly more lubricated and easier to manipulate without tearing.
Step 4: Shape and Set in Molds
Lightly dust your work surface and molds with 0.5 cup Powdered Sugar to prevent sticking. Transfer the mixture onto the prepared surface and begin shaping it into your desired forms, pressing firmly to fill molds completely.
Work quickly—the mixture will start to set within 5-7 minutes. If it becomes too difficult to shape, briefly warm your hands under hot water and dry them before continuing. The powdered sugar not only prevents sticking but also adds a subtle sweetness to the finished treats.
Allow the shaped treats to cool and set at room temperature for 20-25 minutes until firm to the touch. The final product should hold its shape perfectly while remaining soft and chewy.
Pro Tips For Making Moldable Rice Krispie
- Melt Butter Slowly: Use low heat to melt the butter—high heat will brown it too fast, and burnt butter ruins the flavor of your rice krispie mix.
- Use Fresh Marshmallows: Mini marshmallows that have been sitting open in the pantry get hard and won’t melt smoothly; fresh ones melt faster and bind better.
- Press While Warm: Shape the mixture into molds or pans immediately after mixing—once it cools, it hardens fast and won’t stick together as well.
- Grease Your Hands: Lightly butter your hands or spatula before pressing the mix into shape to prevent it from sticking and making a mess.
Serving Suggestions for This Dish
Party-Ready Shapes
Press the warm mixture into silicone molds like stars, hearts, or holiday themes for festive treats. I use Wilton brand molds—they release cleanly and come in fun designs. Dust molds with powdered sugar first for easy removal. 💫
Classic Squares
For traditional squares, press the mixture evenly into a 9×13-inch pan lined with parchment. Use a buttered spatula to smooth the top. Let cool completely before cutting into 2-inch squares with a sharp knife dipped in hot water.
Edible Gift Ideas
Shape into balls and wrap in cellophane with ribbons for party favors. Add a sprig of fresh mint for color contrast. These make great classroom treats or stocking stuffers.
Creative Presentation
Stack molded treats on a tiered stand for a showstopping dessert display. Alternate colors if you’ve made multiple batches. I love using clear acrylic stands from Michaels for visibility.
Interactive Fun
Let kids shape their own treats with cookie cutters. Provide plastic knives and cutting boards for safe handling. The mixture stays workable for about 10 minutes after mixing.
Serving Temperature
These taste best at room temperature. If serving from the fridge, let them sit for 15 minutes first. The texture softens slightly, making them easier to bite into without losing their shape. 🎉
Nutrition Facts
Frequently Asked Questions
Why do I need corn syrup?
The 2 tbsp Light Corn Syrup keeps the mixture soft and pliable, preventing brittleness when cooled. Without it, your shapes may crack or lose their form.
How do I prevent sticking to molds?
Lightly dust molds with powdered sugar before pressing in the mixture. This creates a barrier and adds a subtle sweetness to your treats.
Can I use regular marshmallows instead of mini?
Yes! Use 4 cups of regular marshmallows. They melt just as well but may take slightly longer to fully dissolve in the butter mixture.
How long will shaped treats stay fresh?
Store in an airtight container at room temperature for up to 3 days. For longer storage, freeze for up to 6 weeks.

- Mujadara Rice and Lentils Recipe: Earthy Spiced Lentils With Caramelized Onions - November 1, 2026
- Naija Fried Rice Recipe: Street-Style Spice With Veggie Crunch - November 1, 2026
- Mushy Rice Recipe: Fluffy Grains Transformed in Minutes - November 1, 2026