
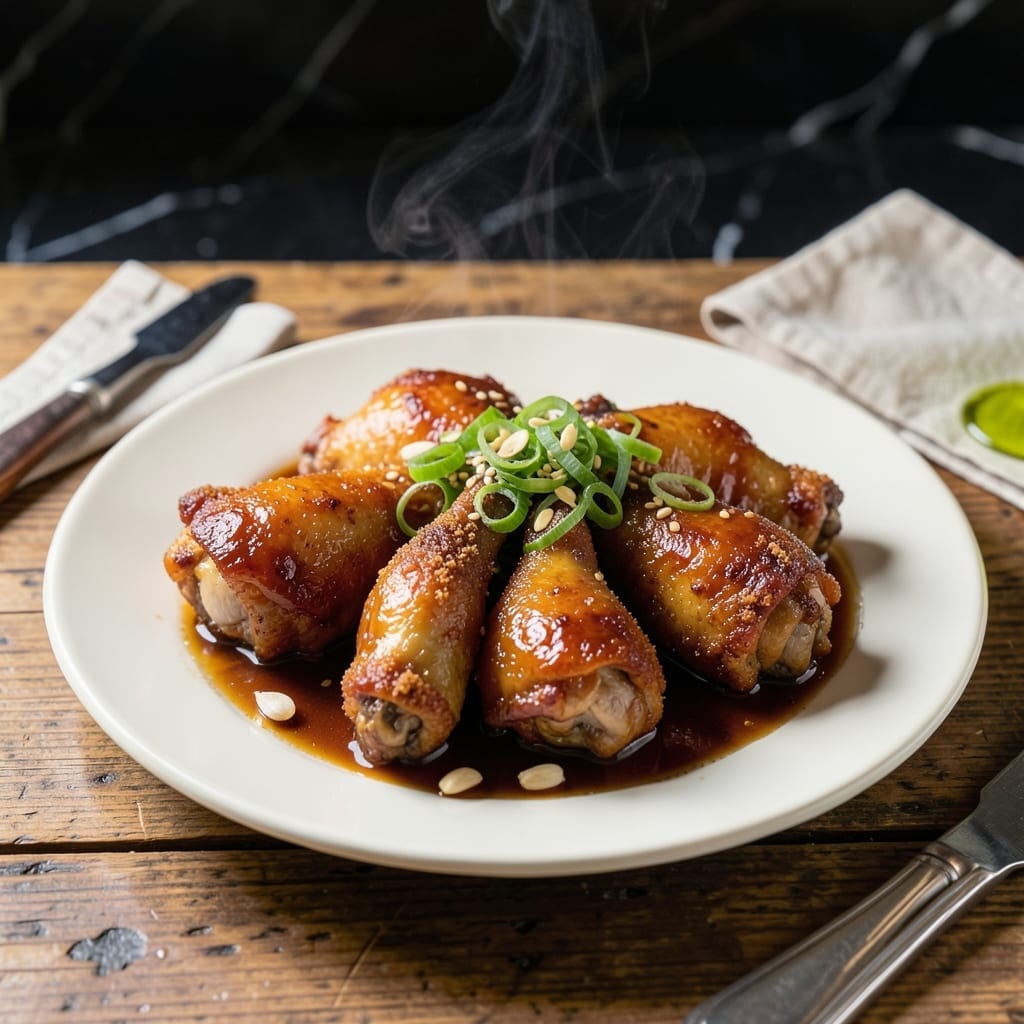
This Mongolian chicken delivers restaurant-quality sweet and savory flavors in a weeknight-friendly dish. The sauce combines soy, brown sugar, and garlic into a glossy glaze that clings to every piece of tender chicken.
The cooking process is streamlined for efficiency. Chicken thighs sear quickly in a hot pan, then finish cooking in the sauce. This ensures the meat stays juicy while absorbing maximum flavor from the sticky, umami-rich coating.
What sets this version apart is its balance. The sauce reduces to the perfect consistency—thick enough to coat the chicken but still pourable. Each bite delivers the ideal ratio of sweet, savory, and just a hint of ginger warmth.
Ready in under 30 minutes, this dish proves you don’t need takeout to enjoy bold Asian-inspired flavors at home. Serve with steamed rice to soak up every drop of sauce.
Ingredients for Mongolian Chicken Recipe Easy
Pantry staples plus fresh ginger and garlic bring this dish to life.
| Ingredient | Amount | Notes |
|---|---|---|
| Boneless Skinless Chicken Thighs 🍗 | 1 ½ lb | Cut into bite-sized pieces |
| Cornstarch 🌾 | ½ cup | For coating chicken |
| Vegetable Oil 🫒 | 2 tbsp | High smoke point for frying |
| Soy Sauce 🥢 | ½ cup | Low-sodium preferred |
| Brown Sugar 🍚 | ½ cup | Packed, for sweetness |
| Garlic Cloves 🧄 | 4 cloves | Minced finely |
| Fresh Ginger 🌿 | 1 tbsp | Grated or minced |
| Rice Vinegar 💧 | 2 tbsp | For acidity balance |
| Green Onions 🧅 | 4 whole | Sliced, for garnish |
| Sesame Seeds 🌰 | 1 tbsp | Toasted, for garnish |
| Red Pepper Flakes 🌶️ | ½ tsp | Optional for heat |
| Water 💧 | ¼ cup | To thin sauce |
| Sesame Oil 🫒 | 1 tsp | For finishing drizzle |
The chicken thighs are key here. Boneless, skinless stay juicy and cook fast—look for uniform size so everything finishes together. Costco has great bulk packs, but any supermarket will do. For the soy sauce, Kikkoman is my go-to (low-sodium keeps the salt in check). Fresh ginger and garlic make a huge difference—don’t skimp on these.
No rice vinegar? Apple cider vinegar works in a pinch. Brown sugar can be swapped with honey or maple syrup (use a little less). If you’re avoiding gluten, tamari instead of soy sauce does the trick. Chicken breasts work but they dry out faster—thighs are forgiving and way more flavorful. Skip the cornstarch if you must, but the sauce won’t cling as well.
Sauce thickens as it cools—add a splash of water when reheating. Leftovers keep 4-5 days in the fridge or freeze for 3 months. The green onions wilt fast, so add them fresh when serving (don’t mix them in early).
Why You’ll Love This Recipe
- One Pan Wonder: I toss the chicken in cornstarch, sear it, then let the soy and brown sugar work their magic—all in the same pan.
- Sweet-Savory Fix: That sticky, caramelized glaze from the brown sugar and soy? I could drink it with a spoon.
- Weeknight Hero: Between us, this is my go-to when I need dinner on the table faster than the kids can argue over homework.
- Stretches Further: Leftovers? Even better the next day. I’ll be real: I’ve been known to double the batch just to have extra.
Step-by-Step Instructions for Mongolian Chicken
Here’s the method. Straightforward, tested, works every time.
Step 1: Coat and Brown the Chicken
Cut the 1.5 lb boneless skinless chicken thighs into bite-sized pieces. Toss them with the 0.5 cup cornstarch until each piece is evenly coated. I like to press the cornstarch into the meat to ensure it sticks well—this creates that signature crispy exterior.
Heat the 2 tbsp vegetable oil in a large skillet over medium-high heat. When the oil shimmers and a piece of coated chicken sizzles when dropped in, add the chicken in a single layer without crowding. Cook for 3-4 minutes until golden brown on the first side, then flip and cook another 2-3 minutes until crispy. Transfer to a plate and set aside.
Step 2: Build the Flavorful Sauce Base
In the same skillet, reduce heat to medium. Add the minced 4 cloves garlic cloves and grated 1 tbsp fresh ginger. Stir constantly for 30-45 seconds until fragrant—don’t let them burn, or they’ll turn bitter.
Pour in the 0.5 cup soy sauce, 0.5 cup brown sugar, and 2 tbsp rice vinegar. Stir to combine, scraping up any browned bits from the bottom of the pan. Bring to a gentle simmer and cook for 2 minutes to let the sugar dissolve completely. The mixture will look glossy and slightly thickened.
Step 3: Combine Chicken and Sauce
Return the cooked chicken to the skillet along with any accumulated juices. Stir to coat the chicken evenly in the sauce. Pour in the 0.25 cup water to thin the sauce slightly—this helps it cling perfectly to every piece.
Increase the heat to medium-high and let it cook for another 2-3 minutes until the sauce thickens and the chicken is heated through. You’ll see the sauce bubble and turn into a beautiful glossy glaze that coats the back of a spoon.
Step 4: Finish and Garnish
Remove from heat and stir in the 0.5 tsp red pepper flakes (if using) and drizzle with 1 tsp sesame oil. Taste and adjust seasoning if needed. The sauce should balance sweet, salty, and tangy with a slight kick from the pepper flakes.
Garnish with sliced 4 whole green onions and 1 tbsp sesame seeds. Serve immediately over steamed rice while the chicken is still crispy and the sauce is hot and glossy. The contrast of textures and flavors is what makes this dish so satisfying.
Pro Tips For Making Mongolian Chicken Recipe Easy
- Velvet the Chicken: Toss the chicken pieces in cornstarch with 1 teaspoon of oil before cooking—this keeps them absurdly tender and prevents that rubbery texture I used to get.
- Blister the Sauce: After adding soy sauce and brown sugar, let it bubble hard for 2-3 minutes until it thickens into a glossy coat. I learned this the hard way—watery sauce ruins the dish.
- Skip the Overcrowding: Cook the chicken in batches if needed—dumping it all in at once steams instead of sears, and you’ll end up with sad, pale meat.
- Use Dark Brown Sugar: Light brown works, but dark brown sugar adds a deeper molasses note that makes the sauce taste richer without extra effort.
Make-Ahead Tips for This mongolian chicken recipe easy
Prep Ahead Strategy
You can prep the chicken and sauce separately the night before. Cut the 1.5 lb chicken thighs into pieces, coat with 0.5 cup cornstarch, and refrigerate in a sealed container. This saves 10 minutes on cooking day. 💡
Sauce Pre-Mixing
Combine the 0.5 cup soy sauce, 0.5 cup brown sugar, and 2 tbsp rice vinegar in a mason jar and shake well. Store in the fridge for up to 3 days. This ensures the sugar dissolves evenly before cooking.
Freeze for Later
Cook the entire dish, let it cool completely, then freeze in airtight containers for up to 3 months. I use quart-sized freezer bags laid flat to save space. Thaw overnight in the fridge before reheating.
Reheating Method
Reheat on the stovetop over medium-low heat with a splash of water to revive the sauce. Cover the pan to trap steam and prevent drying. Stir occasionally until heated through, about 5-7 minutes. ❄️
Garnish Fresh
Always add the green onions and sesame seeds fresh when serving. These lose texture and color if mixed in early. Keep a small container of pre-sliced green onions in the fridge for quick garnishing.
Rice Timing
Start cooking your rice when you begin browning the chicken. Most white rice takes 15-20 minutes, which aligns perfectly with the chicken’s cooking time. Use a rice cooker for hands-off preparation.
Nutrition Facts
Frequently Asked Questions
Can I use chicken breasts instead of thighs?
Yes, but thighs stay juicier. Breasts work if cut into uniform pieces and cooked for 2-3 minutes less. They tend to dry out faster, so keep an eye on them.
How do I make the sauce thicker?
Simmer uncovered for an extra 1-2 minutes. A cornstarch slurry (mix 1 tbsp cornstarch with 1 tbsp water) can also thicken it quickly. Stir until glossy.
What if my sauce is too salty?
Balance it with a pinch of brown sugar or a splash of rice vinegar. Adding 1/4 cup water and simmering longer can also mellow the saltiness.
Can I skip the cornstarch coating?
You can, but the sauce won’t cling as well. For best results, use at least 1/4 cup cornstarch to get that signature crispy texture. The coating locks in moisture too.

- Jollof Rice Sauce Recipe: West African Tomato and Spice Infusion - September 25, 2026
- Japanese Rice Soup Recipe: Umami-Rich Comfort in a Bowl - September 25, 2026
- Homemade Cream Of Rice Recipe: Silk-Smooth Breakfast in Minutes - September 25, 2026