
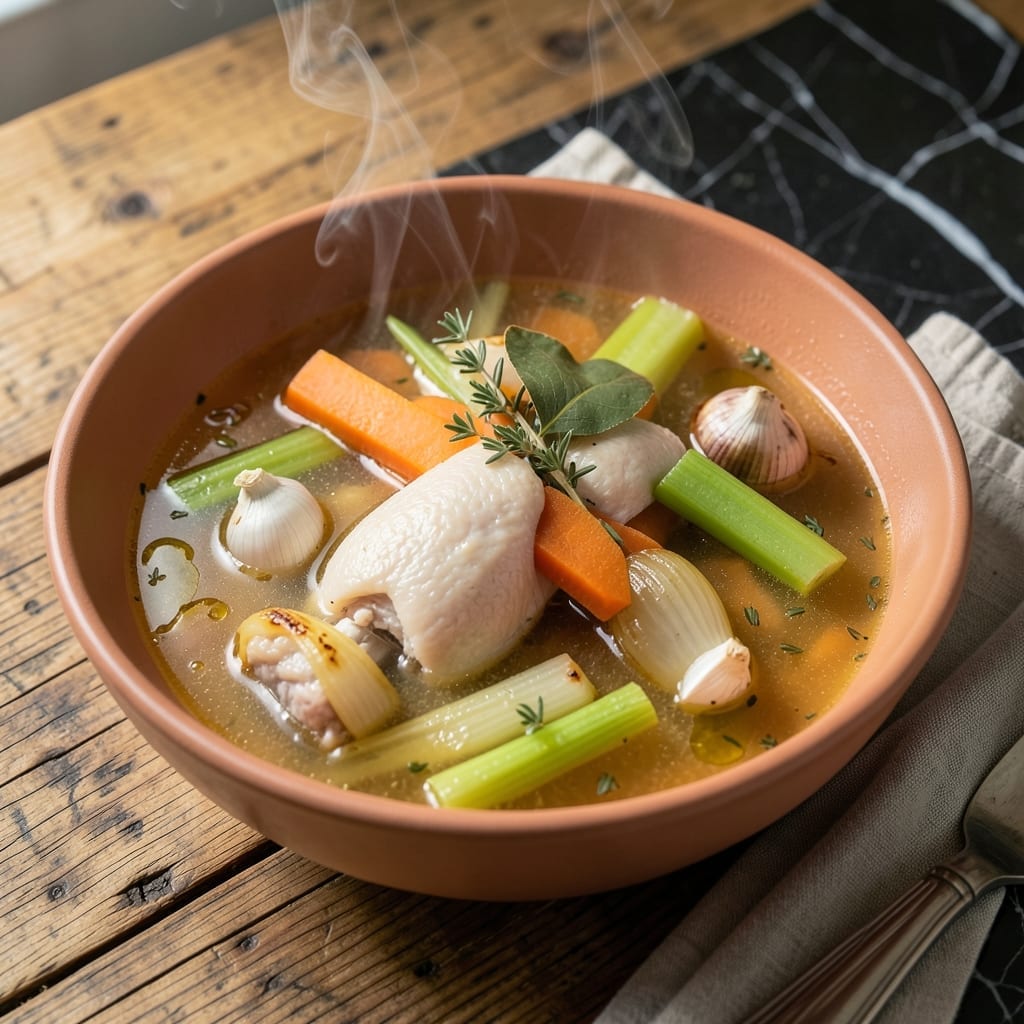
There’s something deeply satisfying about a pot of chicken broth simmering on the stovetop, filling your kitchen with its rich, comforting aroma. This old-fashioned method relies on slow cooking to extract every bit of flavor from the bones and vegetables.
The process is simple but precise: a long, gentle simmer transforms humble ingredients into a golden, nutrient-packed liquid. No shortcuts here—just time, patience, and a watchful eye to skim off any impurities that rise to the surface.
What you’ll end up with is a clear, flavorful broth that serves as the foundation for soups, stews, or sipping on its own. It’s a testament to the idea that the best dishes often come from the simplest techniques.
Store it in the fridge for up to a week or freeze for later use. This is cooking at its most nourishing.
Ingredients for Old Fashioned Chicken Broth
Simple, humble ingredients transformed into liquid gold through time and care.
| Ingredient | Amount | Notes |
|---|---|---|
| Chicken Bones 🍗 | 2 lb | Carcass, necks, or backs preferred |
| Cold Water 💧 | 12 cups | Enough to cover bones by 2 inches |
| Yellow Onions 🧅 | 2 whole | Quartered, skin on |
| Carrots 🥕 | 3 whole | Cut into large chunks |
| Celery Stalks 🥬 | 3 whole | Cut into large chunks |
| Garlic Cloves 🧄 | 6 cloves | Unpeeled, lightly crushed |
| Bay Leaves 🌿 | 2 whole | Dried, whole leaves |
| Whole Black Peppercorns 🌶️ | 1 tsp | Lightly crushed |
| Fresh Thyme Sprigs 🌿 | 4 whole | Or 1 tsp dried thyme |
| Fresh Parsley Stems 🌿 | 1 bunch | Reserve leaves for garnish |
| Kosher Salt 🧂 | 1 tsp | Adjust to taste after straining |
| Apple Cider Vinegar 🍏 | 1 tbsp | Helps extract minerals from bones |
The chicken bones are paramount. Local butcher shops often sell backs, necks, and feet specifically for stock—ask for organic or pasture-raised if available. These parts have more connective tissue, which breaks down into gelatin during the long simmer. For the vegetables, farmers market produce will give you the most flavor, but supermarket items work perfectly well. Don’t bother peeling the onions—those skins add beautiful color.
No chicken bones? Turkey or duck bones work equally well. Short on fresh herbs? Dried thyme and bay leaves at half the quantity. If you don’t have apple cider vinegar, white vinegar or lemon juice will do the trick. The vegetables can be swapped out for others in the allium or root families—leeks, parsnips, or turnips all add depth. Just avoid cruciferous vegetables like broccoli or cabbage.
Broth keeps beautifully in the fridge for 5-7 days or can be frozen for 6 months. For easiest storage, pour into ice cube trays and freeze, then transfer to freezer bags. This way you can pull out just the amount you need. Always leave headspace in containers for expansion.
Why You’ll Love This Recipe
- I’ll be real: it costs almost nothing to turn scraps and a few veggies into quarts of broth that outshine anything from a store shelf.
- Set It and Forget: I toss the bones, cold water, and chopped veggies in a pot and let the stove do the work for hours.
- Rich, Deep Flavor: The slow simmer pulls every bit of goodness from the chicken bones and classic mirepoix—onions, carrots, celery—into a golden liquid that tastes like home.
- Meal Prep MVP: Honestly, I make a big batch on Sunday and use it all week for soups, risottos, or just sipping when I need a warm pick-me-up.
Step-by-Step Instructions for Old Fashioned Chicken Broth
Master this traditional technique for a rich, nourishing broth with depth of flavor.
Step 1: Par-Blanch the Chicken Bones
Place the 2 lb Chicken Bones in a large stockpot and cover with cold water. Bring to a boil over high heat, then reduce to a simmer for 5-7 minutes. This step removes impurities that would otherwise cloud your finished broth.
You’ll see foam and scum rise to the surface during this process. Skim this off with a fine-mesh strainer or spoon. Drain the bones in a colander and rinse them under cold water to remove any remaining residue. This ensures a crystal-clear, clean-tasting final product.
Step 2: Combine All Ingredients and Bring to a Simmer
Return the blanched Chicken Bones to the cleaned stockpot. Add the 12 cups Cold Water, ensuring the bones are submerged by 2 inches. The water level will reduce during cooking, so this initial coverage is critical.
Add the 2 whole Yellow Onions (quartered with skin on), 3 whole Carrots (cut into large chunks), 3 whole Celery Stalks (cut into large chunks), 6 cloves Garlic Cloves (unpeeled and lightly crushed), 2 whole Bay Leaves, 1 tsp Whole Black Peppercorns (lightly crushed), 4 whole Fresh Thyme Sprigs, 1 bunch Fresh Parsley Stems, 1 tsp Kosher Salt, and 1 tbsp Apple Cider Vinegar. The vinegar helps extract minerals and collagen from the bones.
Step 3: Maintain a Gentle Simmer
Bring the mixture to a boil over high heat, then immediately reduce to the lowest possible simmer. You want just a few bubbles occasionally breaking the surface—vigorous boiling will make the broth cloudy and can break down the vegetables too quickly.
Partially cover the pot and maintain this gentle simmer for 4-6 hours. Skim off any foam that rises to the surface during the first hour of cooking. The longer simmering time develops a richer, more gelatinous broth as the collagen in the bones slowly dissolves.
Step 4: Strain and Finish the Broth
After simmering, the broth should have a deep golden color and a rich aroma. Carefully strain the broth through a fine-mesh sieve into a large bowl or another pot, discarding all solids. Press gently on the solids to extract as much liquid as possible, but don’t squeeze or the broth may become cloudy.
Let the broth cool slightly, then taste and adjust the seasoning with additional Kosher Salt if needed. For the clearest broth, you can chill it completely and skim off any solidified fat before using or storing. This yields about 8 cups of finished broth, perfect for soups, sauces, or sipping on its own.
Pro Tips For Making Old Fashioned Chicken Broth
- Start with cold water: Plunge the bones into cold water before turning on the heat—I learned this the hard way after my first few batches turned cloudy from boiling too fast. The gradual temperature rise coaxes out impurities you can skim off as they rise. —
- Roast the bones first: Toss the chicken bones with a little oil and roast at 400°F for 20-25 minutes until golden. My grandmother swore by this, and it adds a depth of flavor that raw bones just can’t match. —
- Skip the salt early: Resist the urge to salt the broth as it cooks—the water reduces significantly, and you’ll end up with an unpleasantly salty finish. Season to taste only after straining. —
- Simmer, don’t boil: Keep the heat low enough that you see gentle bubbles, not a rolling boil. After burning three batches, I finally figured out that a hard boil makes broth bitter and cloudy.
Common Mistakes When Making Perfect Results
Skipping the Blanch
I know it’s tempting to skip the par-blanching step, but this 5-7 minute process is crucial for a clear, clean-tasting broth. Without it, impurities from the chicken bones will cloud your finished product and create an off-putting flavor. Trust me, it’s worth the extra effort. 💡
Boiling Too Vigorously
A rolling boil might seem like it speeds up the process, but it actually breaks down the chicken bones and vegetables too quickly, resulting in a murky, bitter broth. Keep the heat at the lowest possible simmer—just a few gentle bubbles breaking the surface.
Overcrowding the Pot
If your stockpot is too small, you might be tempted to overfill it. Always ensure your chicken bones are covered by 2 inches of water and that the pot is no more than ¾ full. This gives the broth room to simmer properly without boiling over.
Neglecting to Skim
During the first hour of simmering, foam and impurities will rise to the top. Use a fine-mesh strainer or spoon to skim these off regularly. I find that a ladle works well for this task. This simple step makes a world of difference in the clarity of your broth.
Under-Simmering
For the richest flavor and most gelatinous texture, maintain that gentle simmer for the full 4-6 hours. Anything less and you’ll miss out on the depth of flavor that comes from slowly extracting all the goodness from the bones and vegetables. 🔥
Squeezing the Solids
When straining your broth, resist the urge to squeeze the solids to extract every last drop. This can push unwanted particles into your broth, making it cloudy. Instead, press gently and let gravity do the work.
Nutrition Facts
Frequently Asked Questions
Why do I need to blanch the bones first?
Blanching removes impurities and blood that would otherwise cloud your broth. This 5-7 minute step ensures a clean, clear finished product with better flavor. Skipping it can result in a murky, bitter taste.
Can I use a slow cooker instead of the stovetop?
Yes! Cook on low for 8-10 hours or high for 4-6 hours. The gentle heat mimics stovetop simmering. Avoid boiling—keep it at a low, steady temperature for best results.
How do I fix cloudy broth?
Strain through a cheesecloth-lined sieve and avoid squeezing the solids. For next time, skim foam regularly during the first 1 hour and maintain a gentle simmer, never a boil.
Can I add salt at the beginning?
It’s better to wait until the end. As the broth reduces, salt becomes more concentrated. Taste and adjust with Kosher Salt after straining for perfect seasoning.

- Jollof Rice Sauce Recipe: West African Tomato and Spice Infusion - September 25, 2026
- Japanese Rice Soup Recipe: Umami-Rich Comfort in a Bowl - September 25, 2026
- Homemade Cream Of Rice Recipe: Silk-Smooth Breakfast in Minutes - September 25, 2026