
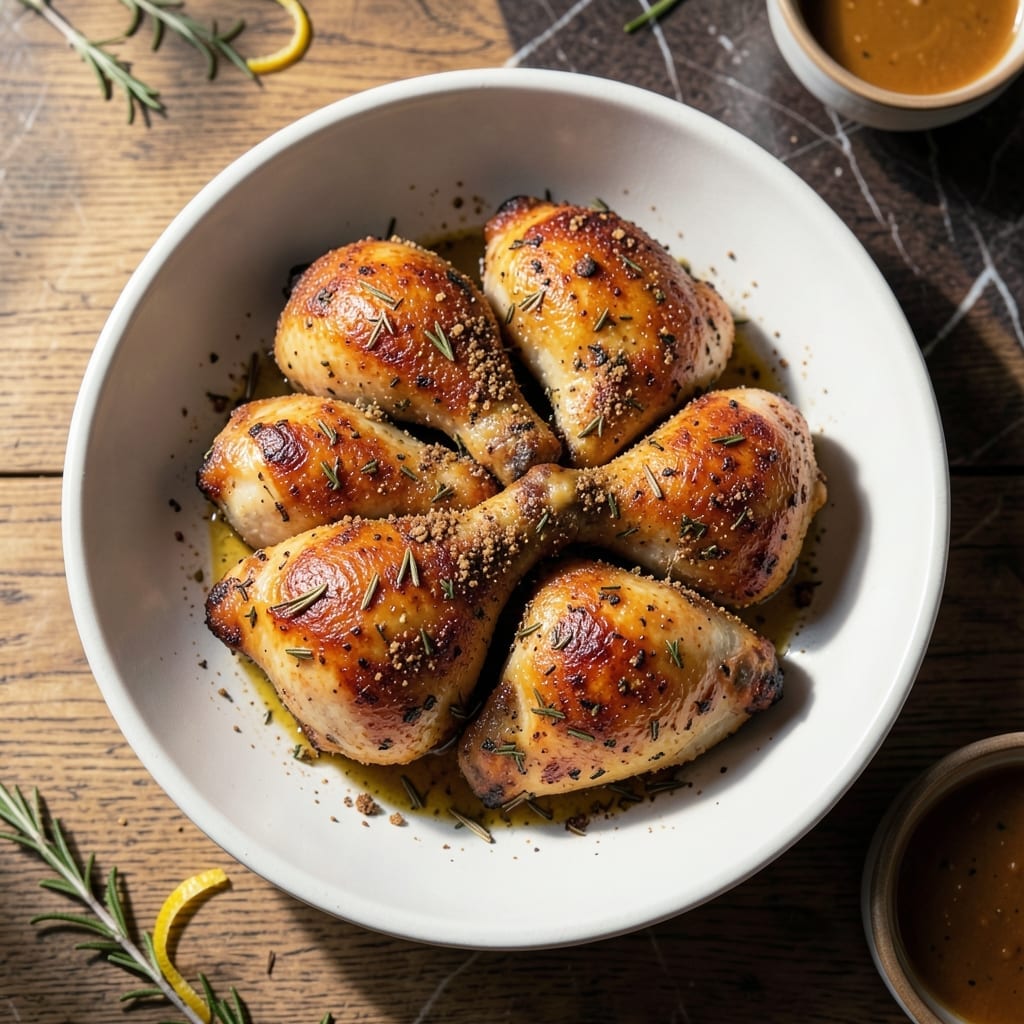
This home-style chicken recipe brings comfort to your table with minimal effort and maximum flavor. Developed for busy days when you need a reliable, satisfying meal, it delivers tender, juicy chicken with a golden finish.
The method is straightforward but never sacrifices taste. Simple ingredients combine with a proven technique to create a dish that feels like a warm hug. It’s the kind of meal that turns an ordinary evening into something special.
Expect perfectly cooked chicken with a tender interior and a lightly crisped exterior. The aromas alone will have everyone gathering around the table, eager for that first bite.
Ideal for weeknight dinners or casual weekends, this recipe adapts easily to your schedule. Let’s bring this comfort classic to life.
Ingredients for Mr Food Chicken Recipe Today
Simple, quality ingredients deliver that home-style comfort everyone craves at the dinner table.
| Ingredient | Amount | Notes |
|---|---|---|
| Chicken Thighs 🍗 | 1 ½ lb | Boneless, skinless, trimmed |
| All-Purpose Flour 🌾 | ½ cup | For light coating |
| Kosher Salt 🧂 | 1 ½ tsp | Diamond Crystal preferred |
| Black Pepper 🌶️ | 1 tsp | Freshly ground |
| Garlic Powder 🧄 | 1 tsp | For even flavor distribution |
| Onion Powder 🧅 | 1 tsp | Enhances depth of flavor |
| Paprika 🌶️ | 1 tsp | Sweet or smoked variety |
| Dried Thyme 🌿 | ½ tsp | Crushed between fingers |
| Dried Rosemary 🍃 | ½ tsp | Crushed between fingers |
| Olive Oil 🫒 | 2 tbsp | For searing chicken |
| Butter 🧈 | 2 tbsp | Unsalted, for richness |
| Chicken Broth 🍲 | ½ cup | Low-sodium preferred |
| Heavy Cream 🥛 | ¼ cup | For creamy finish |
| Fresh Parsley 🌿 | 2 tbsp | Chopped, for garnish |
The chicken is the foundation—thighs stay juicier than breasts during cooking. Look for plump, evenly sized pieces with good marbling. Costco or Sam’s Club are great for bulk purchases if you’re feeding a crowd. The herbs should be freshly crushed to release their oils. For the broth, Swanson or Kitchen Basics offer reliable low-sodium options that won’t overpower the dish.
Out of thighs? Drumsticks work too (adjust cooking time by 5 minutes). No fresh parsley? Dried at half the amount. For a dairy-free version, coconut milk replaces cream beautifully. If you’re missing an herb, poultry seasoning covers the bases. The flour can be swapped for cornstarch for a gluten-free option—just cut the amount by half.
Leftovers keep 4 days refrigerated in an airtight container. Reheat gently to preserve moisture. The dish freezes well for up to 3 months—portion before freezing for easy meals. Always bring chicken to room temperature before cooking for even doneness.
Why You’ll Love This Recipe
- One Pan Wonder: I love that I just toss the thighs with flour and spices, then bake—no messy breading station, no splattering oil.
- Garlicky Crisp: That garlic powder in the flour coating gives every bite a punch. Honestly, it’s the kind of flavor that makes you pause mid-chew.
- Weeknight Hero: Between us, this is my Tuesday lifesaver—ready before the kids finish their homework.
- Budget Winner: Chicken thighs stay cheap, and a little flour plus pantry spices stretch this to feed four with leftovers for my lunch.
Step-by-Step Instructions for Home-Style Chicken
Here’s the method I use to create a comforting dish with tender chicken and rich, creamy sauce.
Step 1: Season and Coat the Chicken Thighs
In a shallow bowl, combine the all-purpose flour, kosher salt, black pepper, garlic powder, onion powder, paprika, dried thyme, and dried rosemary. crush the herbs between your fingers to release their aroma as you mix.
Pat the chicken thighs dry with paper towels to ensure a good sear. Dredge each piece in the flour mixture, pressing gently to adhere. Shake off any excess—the coating should be light and even. This creates a flavorful crust and helps thicken the sauce later.
Step 2: Sear the Chicken to Golden Perfection
Heat the olive oil in a large, heavy skillet over medium-high heat until it shimmers. Add the butter and let it melt completely. The combination of oil and butter gives you the best of both—high smoke point and rich flavor.
Carefully place the coated chicken thighs in the hot skillet. Cook for 4-5 minutes per side until golden brown and crisp. Don’t move the pieces until they release easily from the pan—this ensures a proper crust. Transfer the chicken to a plate and tent with foil to keep warm.
Step 3: Build the Creamy Pan Sauce
Reduce the heat to medium and pour in the chicken broth, scraping up all the browned bits from the bottom of the skillet with a wooden spoon. These fond bits are packed with flavor and will dissolve into the sauce.
Let the broth simmer for 2-3 minutes until slightly reduced. Stir in the heavy cream and continue simmering for another 2 minutes until the sauce thickens enough to coat the back of a spoon. The sauce should be velvety and rich, not thin or watery.
Step 4: Finish and Serve
Return the chicken thighs to the skillet along with any accumulated juices. Spoon the sauce over the chicken and let it simmer for 1-2 minutes to heat through and allow the flavors to meld together beautifully.
Garnish with the fresh parsley and serve immediately. The parsley adds a bright, fresh contrast to the rich, creamy sauce. This dish pairs perfectly with mashed potatoes, rice, or crusty bread to soak up every last bit of the delicious sauce.
Pro Tips For Making Mr Food Chicken Recipe Today
- Season Generously: I learned this the hard way—chicken thighs need more salt than you think, especially with just kosher salt and garlic powder. Coat them like you mean it before dredging in flour.
- Pat Dry First: Sounds weird, but it works: blot the thighs with a paper towel before seasoning. Wet skin steams instead of crisping, and nobody wants soggy coating.
- Hot Oil, Quick Sear: Crank the heat to medium-high before adding the chicken. If the oil isn’t shimmering, you’ll end up with pale, greasy thighs instead of that golden crust.
- Rest Before Serving: Give the chicken 5 minutes under foil after cooking. It keeps the juices inside where they belong—my grandmother swore by this, and she was right.
Serving Suggestions for This Dish
Family-Style Plating
Arrange the chicken on a large serving platter with the creamy sauce spooned generously over the top. This presentation encourages everyone to dig in together. I love using a white ceramic platter to make the golden chicken pop visually. 💛
Starch Pairings
Buttery mashed potatoes are my go-to—they soak up that rich sauce beautifully. For something lighter, try fluffy jasmine rice or crusty sourdough bread. Each option brings a different texture to complement the tender chicken.
Fresh Sides
A simple green salad with a tangy vinaigrette cuts through the richness. I toss mixed greens with 1 tbsp lemon juice and 3 tbsp olive oil. Steamed green beans with garlic also work wonderfully for a heartier meal.
Garnish Touch
Beyond the parsley, a sprinkle of freshly cracked black pepper adds subtle heat. For color contrast, add thin lemon slices around the platter. These small details make the dish look as good as it tastes.
Serving Temperature
Serve this dish immediately while the sauce is hot and the chicken is at its juiciest. If you need to hold it, keep the platter covered in a 200°F oven for up to 15 minutes without drying it out. 🔥
Portion Control
Allow 2-3 pieces per person depending on your sides. I always make extra sauce—it’s the star of the show. Keep a small pitcher of warm sauce on the table for those who want more.
Nutrition Facts
Frequently Asked Questions
Can I use chicken breasts instead of thighs?
Yes, but adjust cooking time to 3-4 minutes per side to prevent dryness. Thighs are preferred for their juiciness.
What if my sauce is too thin?
Simmer uncovered for 1-2 extra minutes or mix 1 tsp cornstarch with water and stir in. This thickens it without changing flavor.
How do I store leftovers?
Keep in an airtight container for up to 4 days in the fridge. Reheat gently on the stove to maintain texture.
Can I make this dairy-free?
Swap heavy cream for coconut milk and use dairy-free butter. The flavor remains rich and creamy.

- Jollof Rice Sauce Recipe: West African Tomato and Spice Infusion - September 25, 2026
- Japanese Rice Soup Recipe: Umami-Rich Comfort in a Bowl - September 25, 2026
- Homemade Cream Of Rice Recipe: Silk-Smooth Breakfast in Minutes - September 25, 2026