
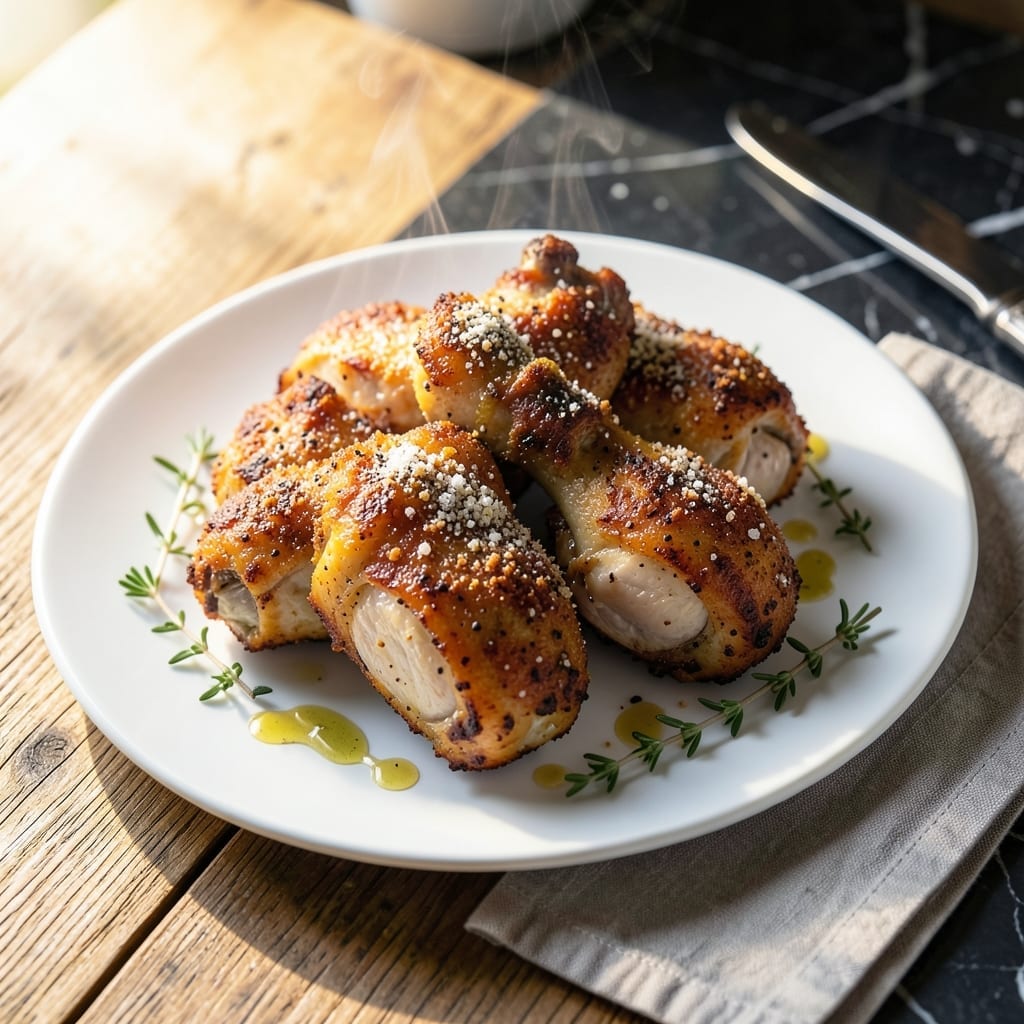
This pan-fried chicken delivers on two essential promises: a crispy golden crust and perfectly juicy centers every time. The secret lies in proper temperature control and a well-seasoned flour coating that creates that signature crunch.
I’ve tested countless variations to perfect this method, focusing on achieving even browning without drying out the meat. The result is a foolproof technique that works with both bone-in and boneless pieces, ensuring consistent results regardless of cut.
What sets this apart is the balance between texture and flavor. The crust stays shatteringly crisp while the interior remains tender and moist, with seasoning that penetrates deep into the meat rather than just coating the surface.
Serve hot for the best experience, when the crust is at its peak crispness. The contrast between the crunchy exterior and succulent interior makes this dish irresistible.
Ingredients for Pan Fried Chicken
Quality chicken and a well-seasoned flour blend create that signature crunch and juicy interior.
| Ingredient | Amount | Notes |
|---|---|---|
| Chicken Thighs 🍗 | 2 lb | Bone-in, skin-on preferred |
| All-Purpose Flour 🌾 | 1 ½ cups | For dredging, well-seasoned |
| Kosher Salt 🧂 | 1 ½ tsp | Diamond Crystal preferred |
| Freshly Ground Black Pepper 🌶️ | 1 tsp | Coarse grind for texture |
| Garlic Powder 🧄 | 1 tsp | For depth in seasoning |
| Onion Powder 🧅 | 1 tsp | Balances savory profile |
| Paprika 🌶️ | 1 tsp | Sweet or smoked variety |
| Cayenne Pepper 🔥 | ¼ tsp | Adjust for heat preference |
| Buttermilk 🥛 | 1 cup | Full-fat for richness |
| Vegetable Oil 🫒 | 1 cup | High smoke point for frying |
| Unsalted Butter 🧈 | 2 tbsp | For basting during frying |
| Fresh Thyme 🌿 | 2 tsp | Chopped, optional garnish |
The chicken is the foundation here. Bone-in, skin-on thighs yield the juiciest results due to their fat content and connective tissue. Whole Foods or local butchers often carry high-quality, air-chilled options. For the flour, use all-purpose—no substitutions—as its protein content ensures the proper crust formation. The buttermilk should be full-fat for maximum tenderness and moisture retention.
For heat adjustment, reduce or omit the cayenne if sensitive to spice. Freshly ground black pepper is non-negotiable—its sharpness cuts through the richness. If buttermilk isn’t available, whole milk with a tablespoon of lemon juice works in a pinch. The vegetable oil must have a high smoke point—peanut or canola oil are suitable alternatives to avoid bitterness.
The dredged chicken can rest 10-15 minutes before frying to help the coating adhere. Store raw chicken in the coldest part of the fridge for up to 2 days before cooking. Leftover fried chicken keeps 3-4 days refrigerated, though it’s best enjoyed immediately for optimal crispness.
Why You’ll Love This Recipe
- One Pan Wonder: I love that it comes together in a single skillet—just flour, season, and fry.
- Craving-Worthy Crust: The mix of garlic powder, salt, and pepper gives that golden, crispy coating I can’t resist.
- Weeknight Hero: It’s my go-to for busy evenings when I need something hearty and fast.
- Budget-Friendly Meal: Chicken thighs are affordable, and this recipe stretches them into a filling dinner.
Step-by-Step Instructions for Pan Fried Chicken
Master the technique for achieving that perfect balance of crispy exterior and juicy interior.
Step 1: Season and Dredge the Chicken Thighs
Pat the 2 lb Chicken Thighs dry with paper towels—this is crucial for a crispy crust. In a shallow dish, whisk together the 1.5 cups All-Purpose Flour, 1.5 tsp Kosher Salt, 1 tsp Freshly Ground Black Pepper, 1 tsp Garlic Powder, 1 tsp Onion Powder, 1 tsp Paprika, and 0.25 tsp Cayenne Pepper until evenly combined.
Dip each piece of chicken into the 1 cup Buttermilk, letting any excess drip off, then dredge it in the seasoned flour. Press firmly to ensure the flour adheres well. Place the dredged thighs on a wire rack and let them rest for 10 minutes—this helps the coating set.
Step 2: Heat the Oil for Frying
In a large, heavy-bottomed skillet (cast iron works best), pour in the 1 cup Vegetable Oil and add the 2 tbsp Unsalted Butter. Heat over medium-high heat until the oil reaches 350-365°F. You’ll know it’s ready when a pinch of flour sizzles immediately upon contact or when the butter stops foaming.
Use a deep-fry thermometer for accuracy, but if you don’t have one, look for visual cues: the oil should shimmer, and small bubbles will form around the edge of the pan. Maintaining the right temperature ensures the chicken cooks through without burning the crust.
Step 3: Fry the Chicken to Golden Perfection
Carefully place 2-3 thighs in the hot oil, skin-side down, using tongs to avoid splattering. Avoid overcrowding the pan—this lowers the oil temperature and leads to soggy chicken. Fry for 6-8 minutes until the skin is deep golden brown and crispy.
Flip the chicken and cook for another 6-8 minutes until the internal temperature reaches 165°F and the coating is evenly golden brown. Baste the chicken with the hot oil and butter mixture occasionally to ensure even browning and extra crispiness.
Step 4: Drain and Rest Before Serving
Transfer the fried chicken to a wire rack set over a baking sheet or a paper towel-lined plate. This allows excess oil to drain while keeping the crust crispy. Sprinkle with the 2 tsp Fresh Thyme for a fresh, aromatic finish, if desired.
Let the chicken rest for 5-10 minutes before serving. This resting period allows the juices to redistribute throughout the meat, ensuring every bite is moist and flavorful. Serve immediately while hot and crispy.
Pro Tips For Making Pan Fried Chicken
- Heat the Pan First: Get that skillet ripping hot before adding the oil—about 2 minutes on medium-high. I learned this the hard way after too many pale, greasy pieces.
- Pat Thighs Dry: Blot the chicken thighs with paper towels before dredging. Sounds weird, but it works: the crust sticks better and you’ll hear that beautiful sizzle.
- Skip the Crowding: Leave space between pieces in the pan, even if it means cooking in batches. Steaming from overcrowding turns the coating soggy.
- Season the Flour: Mix kosher salt, black pepper, and garlic powder right into the flour before dredging. More even flavor than just sprinkling on the meat.
Wine and Beer Pairings for This Dish
Crisp White Wines
A chilled Sauvignon Blanc from New Zealand cuts through the richness beautifully with its bright acidity and citrus notes. I also love Pinot Grigio from Northern Italy—its light body won’t overwhelm the dish. 🍷
Rich White Options
For those who prefer more body, a buttery Chardonnay from California complements the crispy crust wonderfully. The oak aging adds a subtle vanilla note that pairs well with the seasoning. Serve at 45-50°F for best results.
Light Beer Choices
A crisp Pilsner or Lager is my go-to beer pairing—their effervescence cleanses your palate between bites. Heineken or Stella Artois both work perfectly. Keep the beer ice-cold for maximum refreshment. 🍺
Darker Beer Alternatives
If you prefer malty flavors, try an Amber Ale like Fat Tire. Its caramel notes balance the savory seasoning of the chicken. Avoid heavy stouts or IPAs—they’ll compete with the dish’s flavors.
Rosè Wine Surprise
A dry Provence rosé offers a delightful contrast with its strawberry and melon notes. The subtle fruitiness enhances the chicken’s seasoning without being overpowering. Chill for 2-3 hours before serving.
Nutrition Facts
Frequently Asked Questions
What’s the best oil for frying?
Use oils with a high smoke point like vegetable, peanut, or canola. They handle 350-365°F without burning. Avoid olive oil—its low smoke point can create bitterness.
Can I use chicken breasts instead of thighs?
Yes, but they cook faster and can dry out. Reduce frying time to 5-6 minutes per side and monitor internal temp closely. Thighs are preferred for their natural juiciness.
Why did my coating fall off?
Pat the chicken completely dry before dredging and rest it 10 minutes after coating. This helps the flour adhere. Also, avoid moving the pieces too soon in the pan.
How do I keep it crispy when serving a crowd?
Place cooked pieces on a wire rack in a 200°F oven. This prevents steam buildup while keeping them warm. Never stack them—this traps moisture.

- Jollof Rice Sauce Recipe: West African Tomato and Spice Infusion - September 25, 2026
- Japanese Rice Soup Recipe: Umami-Rich Comfort in a Bowl - September 25, 2026
- Homemade Cream Of Rice Recipe: Silk-Smooth Breakfast in Minutes - September 25, 2026