
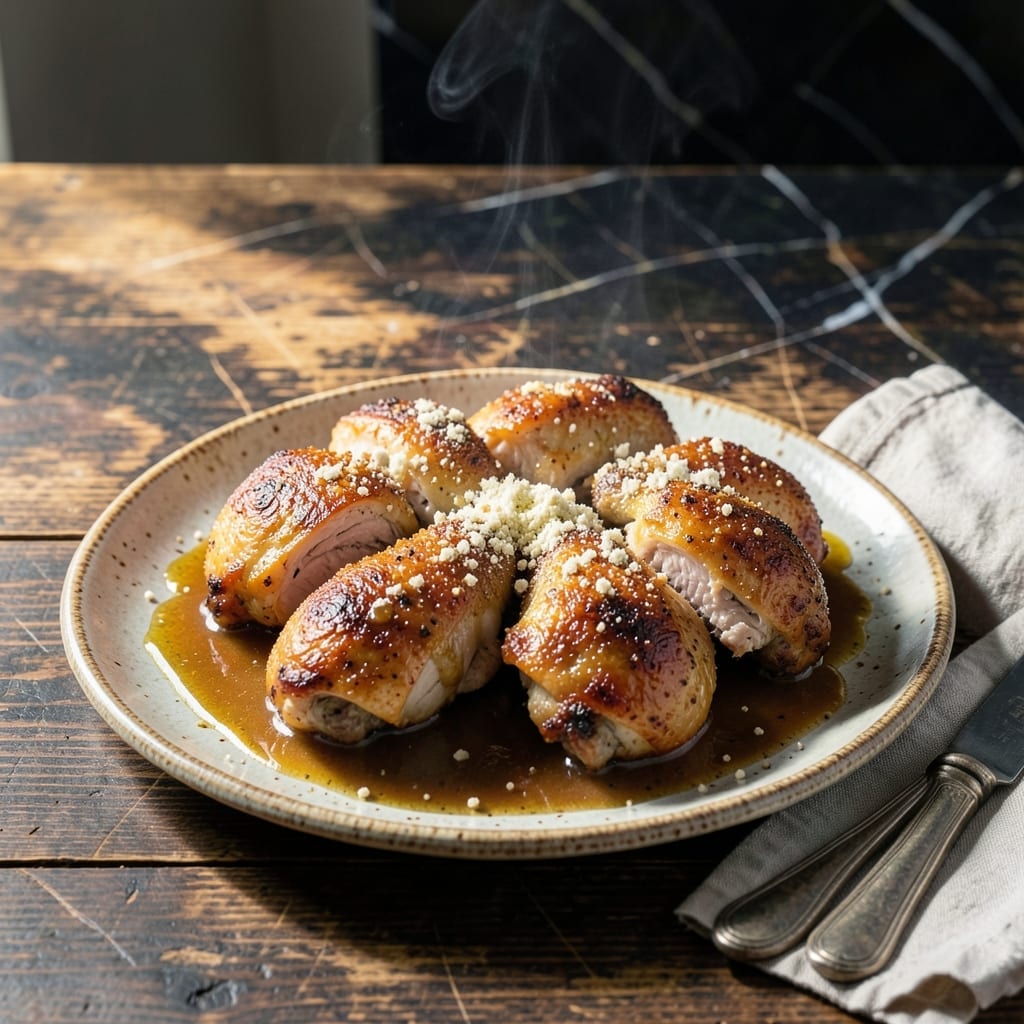
This cast-iron skillet chicken brings the hearty, rustic flavors of the Old West to your modern kitchen. A proven method delivers tender meat with a golden-brown crust that locks in every drop of juiciness.
Simple ingredients come together with a foolproof technique—browning the chicken first, then finishing it in a rich, savory gravy. The result is a meal that feels like a warm embrace on a chilly evening.
What emerges is comfort food at its finest: juicy chicken, a velvety sauce, and the kind of flavor that lingers long after the plate is empty. It’s the kind of dish that builds memories around the dinner table.
Perfect for family suppers or when you need a taste of tradition. Here’s how to make it right.
Ingredients for Pioneer Chicken
Simple, hearty ingredients for a dish that feels like home on the range.
| Ingredient | Amount | Notes |
|---|---|---|
| Chicken Thighs 🍗 | 4 whole | Bone-in, skin-on preferred |
| All-Purpose Flour 🌾 | ½ cup | For dredging chicken |
| Salt 🧂 | 1 ½ tsp | Kosher or sea salt |
| Black Pepper 🌶️ | 1 tsp | Freshly ground preferred |
| Garlic Powder 🧄 | 1 tsp | Not garlic salt |
| Onion Powder 🧅 | 1 tsp | Adds depth to gravy |
| Vegetable Oil 🫒 | ¼ cup | High smoke point for frying |
| Butter 🧈 | 2 tbsp | Unsalted for gravy |
| Chicken Broth 🥣 | 1 ½ cups | Low-sodium preferred |
| Whole Milk 🥛 | ½ cup | For creamy gravy |
| Fresh Thyme 🌿 | 1 tbsp | Chopped, or 1 tsp dried |
| Fresh Rosemary 🍃 | 1 tbsp | Chopped, or 1 tsp dried |
| Yellow Onion 🧅 | 1 whole | Medium, finely diced |
The chicken thighs are key here—bone-in, skin-on gives you that golden-brown crust and juicy meat. Look for free-range or organic at your butcher or Whole Foods for the best flavor. The flour for dredging should be all-purpose, nothing fancy. If you’re making this often, grab a 5-pound bag and keep it in an airtight container.
No fresh thyme or rosemary? Dried herbs at one-third the amount work in a pinch. Swap chicken broth for vegetable broth if that’s what you have. Whole milk can be 2% or half-and-half for a richer gravy. If avoiding dairy, coconut milk adds creaminess without the lactose.
Leftovers keep in the fridge for 3-4 days, and the gravy thickens even more as it cools. Freeze portions for up to 3 months—perfect for a quick comfort meal later. Reheat gently on the stove with a splash of broth.
Why You’ll Love This Recipe
- One Pan Wonder: I toss the chicken thighs with flour and spices, then bake—no fuss, no extra dishes.
- Crispy & Savory: That garlic powder in the flour gives it a golden crust with serious flavor.
- Weeknight Hero: Honestly, it’s my go-to for busy evenings when I need dinner fast.
- Budget Friendly: Chicken thighs are cheap, and this recipe stretches them into a filling meal.
Step-by-Step Instructions for Pioneer Chicken
Here’s the method. Straightforward, tested, works every time.
Step 1: Season and Dredge the Chicken Thighs
Combine the 0.5 cup All-Purpose Flour, 1.5 tsp Salt, 1 tsp Black Pepper, 1 tsp Garlic Powder, and 1 tsp Onion Powder in a shallow dish. This blend creates a flavorful crust and thickens the gravy later. Whisk until evenly distributed—no lumps.
Pat the 4 whole Chicken Thighs dry with paper towels, then dredge each piece in the flour mixture, pressing gently to adhere. Shake off excess. The coating should look even and light, not thick or pasty. Let the dredged thighs rest for 5 minutes to set the coating.
Step 2: Pan-Fry the Chicken Thighs
Heat the 0.25 cup Vegetable Oil in a large, heavy skillet over medium-high heat until shimmering but not smoking. Add the chicken thighs skin-side down and cook undisturbed for 8-10 minutes until the crust is deep golden brown and crisp.
Resist the urge to move the chicken—this ensures a proper sear. Flip and cook the second side for 6-8 minutes until also golden brown and the internal temperature reaches 165°F. Transfer the chicken to a plate and tent with foil to keep warm.
Step 3: Build the Creamy Gravy Base
Pour off all but 2 tablespoons of the oil from the skillet, leaving the browned bits intact. Reduce heat to medium and add the 2 tbsp Butter. Once melted, stir in the finely diced Yellow Onion, 1 tbsp Fresh Thyme, and 1 tbsp Fresh Rosemary.
Cook for 3-4 minutes, stirring often, until the onion softens and the herbs become fragrant. Sprinkle in 1 tablespoon of the leftover dredging flour to thicken the gravy, stirring constantly for 1 minute to cook off the raw taste.
Step 4: Finish the Gravy and Serve
Slowly pour in the 1.5 cups Chicken Broth while whisking to prevent lumps. Bring to a gentle simmer and cook for 3-4 minutes until slightly thickened. Stir in the 0.5 cup Whole Milk and simmer for another 2 minutes until the gravy coats the back of a spoon.
Return the chicken to the skillet, spooning gravy over the top. Simmer together for 2-3 minutes to marry the flavors. The gravy should be rich and velvety, clinging to the crispy chicken. Serve hot, with extra gravy spooned over each portion.
Pro Tips For Making Pioneer Chicken
- Pat Thighs Dry: I learned this the hard way—wet chicken steams instead of browning, so blot those thighs with paper towels before dredging in flour.
- Season the Flour: Mix salt, pepper, and garlic powder right into the flour before coating; it sticks better and flavors every bite.
- Don’t Overcrowd: After burning three batches, I finally figured out that leaving space between thighs in the pan keeps them crispy instead of soggy.
- Use Thigh Skin: Sounds weird, but it works: leave the skin on for extra crunch and flavor—it renders down beautifully with the flour crust.
Dietary Considerations for pioneer chicken
Gluten-Free Option
Swap the 0.5 cup All-Purpose Flour for a 1:1 gluten-free flour blend like King Arthur Measure for Measure. The texture remains crispy, and the gravy thickens just as well. I’ve tested this with Bob’s Red Mill too—works perfectly every time. 💪
Dairy-Free Adaptation
Replace 2 tbsp Butter with olive oil or vegan butter, and use coconut milk instead of 0.5 cup Whole Milk for the gravy. The coconut adds a subtle sweetness that complements the savory flavors beautifully.
Lower-Carb Version
For a keto-friendly take, skip the flour dredge entirely. Instead, season the chicken with salt, pepper, and spices, then sear it as directed. The gravy will be thinner but just as flavorful. Add 1 tsp xanthan gum to thicken it if needed.
Lactose-Free Swap
Use lactose-free milk or unsweetened almond milk in place of 0.5 cup Whole Milk. The gravy will still be creamy and rich. I prefer Lactaid brand for the closest texture match. 🥛
Allergen Awareness
This dish contains wheat (from flour) and dairy (from butter and milk). For nut allergies, ensure your flour and broth are processed in nut-free facilities. Always check labels for hidden allergens.
Lower-Sodium Choice
Use low-sodium chicken broth and reduce the 1.5 tsp Salt by half. Boost flavor with extra herbs like fresh thyme or rosemary. The dish stays just as satisfying without the extra sodium.
Nutrition Facts
Frequently Asked Questions
Can I use boneless chicken thighs?
Yes, but bone-in adds more flavor and keeps the meat juicier. If using boneless, reduce cooking time by 2-3 minutes per side to prevent drying out. The gravy will still be just as rich.
What if my gravy is too thin?
Mix 1 tablespoon of cornstarch with 1 tablespoon cold water, then stir into simmering gravy. Cook for 1-2 minutes until it thickens. Avoid adding too much at once.
Can I make this ahead of time?
Cook the chicken and gravy, then refrigerate separately for up to 2 days. Reheat gently on the stove, adding a splash of broth if needed. The flavors deepen overnight.

- Jollof Rice Sauce Recipe: West African Tomato and Spice Infusion - September 25, 2026
- Japanese Rice Soup Recipe: Umami-Rich Comfort in a Bowl - September 25, 2026
- Homemade Cream Of Rice Recipe: Silk-Smooth Breakfast in Minutes - September 25, 2026